so, I went to work with my tape measure and all the shiz I could steal, borrow, and beg (again, the theme here is CHEAP and STOCK(ish) looking)
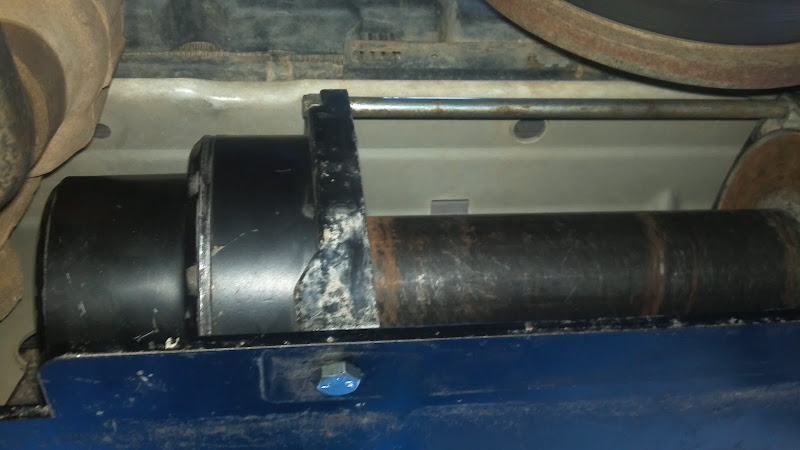
Tow hook mounts and a TJ winch plate netted me this:
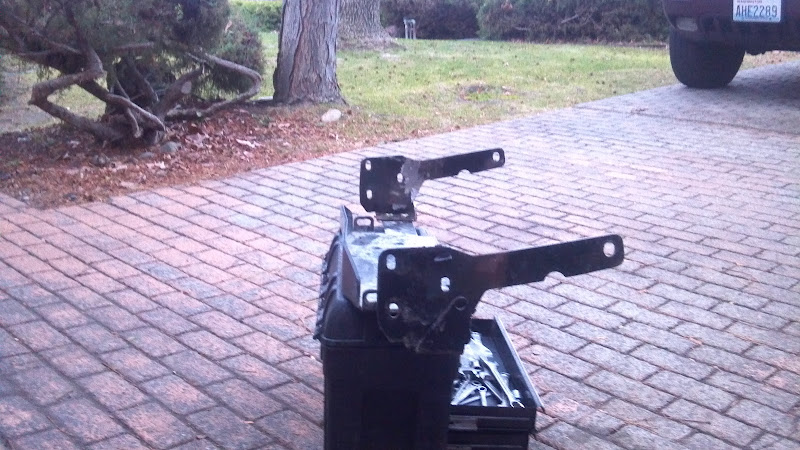
The tow hook brackets, in addition to using the stock bumper bolts, use 1 1/2" bolt all the way through the uniframe rail on either side. So. . .6x 3/8 grade 8 bolts and 2x 1/2" bolts of unknown grade (came with the kit).
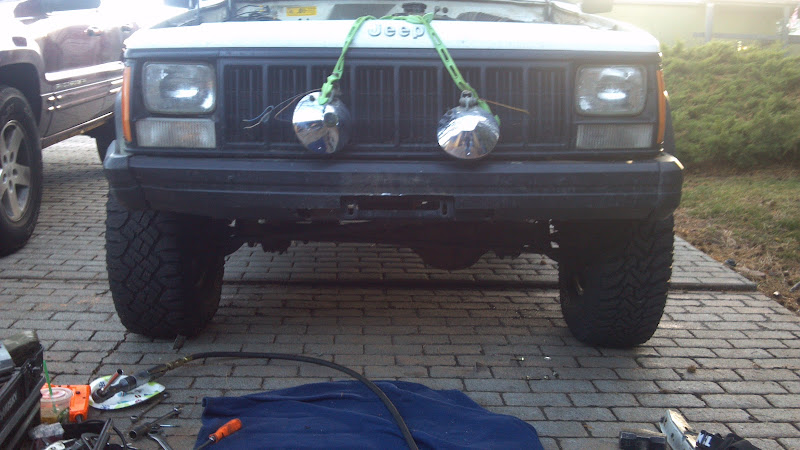
Then. . .I put it up to see what was what. . .this is AFTER about a million hours of laying on my back with a tape measure and my cell phone.
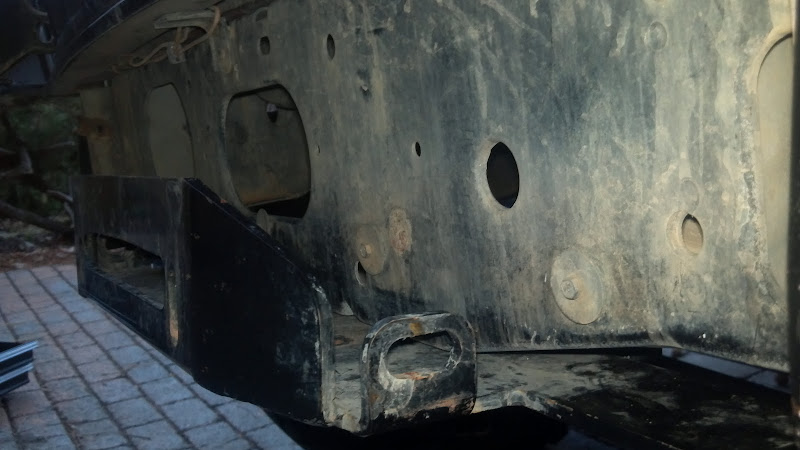
Obviously, some stuff is in the way there. So. . .
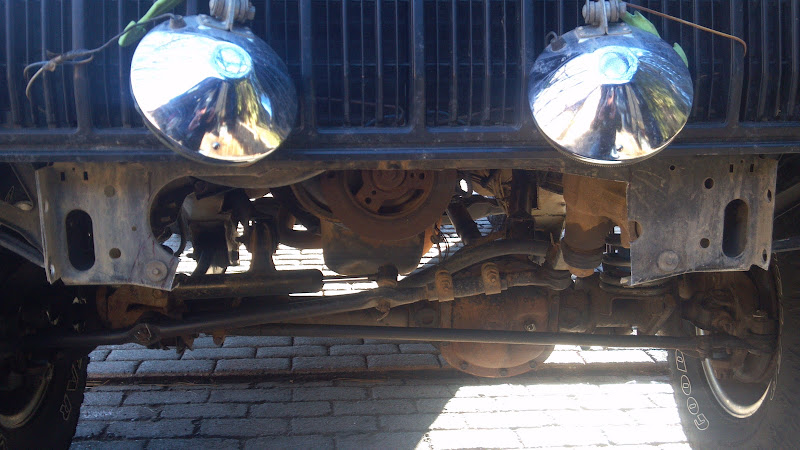
And then some creative cutting on the bumper to clear the fairlead, etc. . .
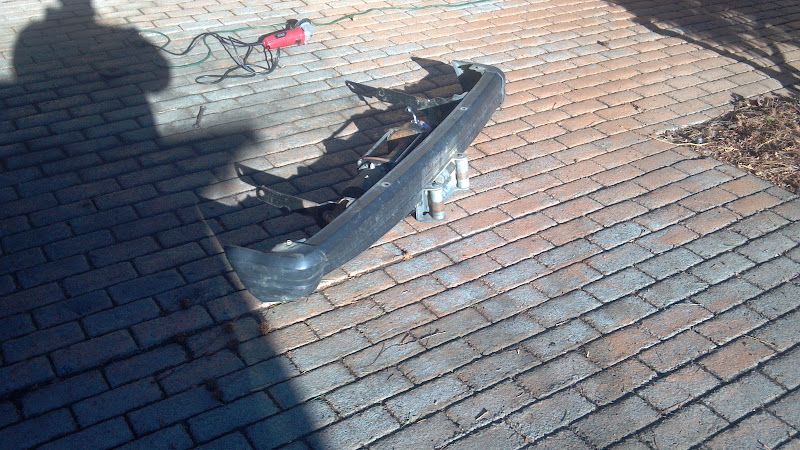
It is all bolted up now. I won't be using a roller fairlead because I'm getting a few ' of synthetic. The combination of the way the plate came out and an aluminum fairlead makes it so I can put the license plate over the whole works.
Here's what it looks like with the winch.
The license plate covers the whole center area pretty well. . .
Now, please understand that it is NOT done. I need to get the winch wired up and get a steering box brace in there...interestingly, I had one in my hands just the other day, but I gave it to Lee. . .the brace alone with the big chunk of 1/4" plate should be stiffer than the chunk of factory crossmember that I removed. Should be 5x5 before we hit FS1302.