Page 5 of 8
Posted: Wed May 13, 2015 7:48 pm
by bobracing
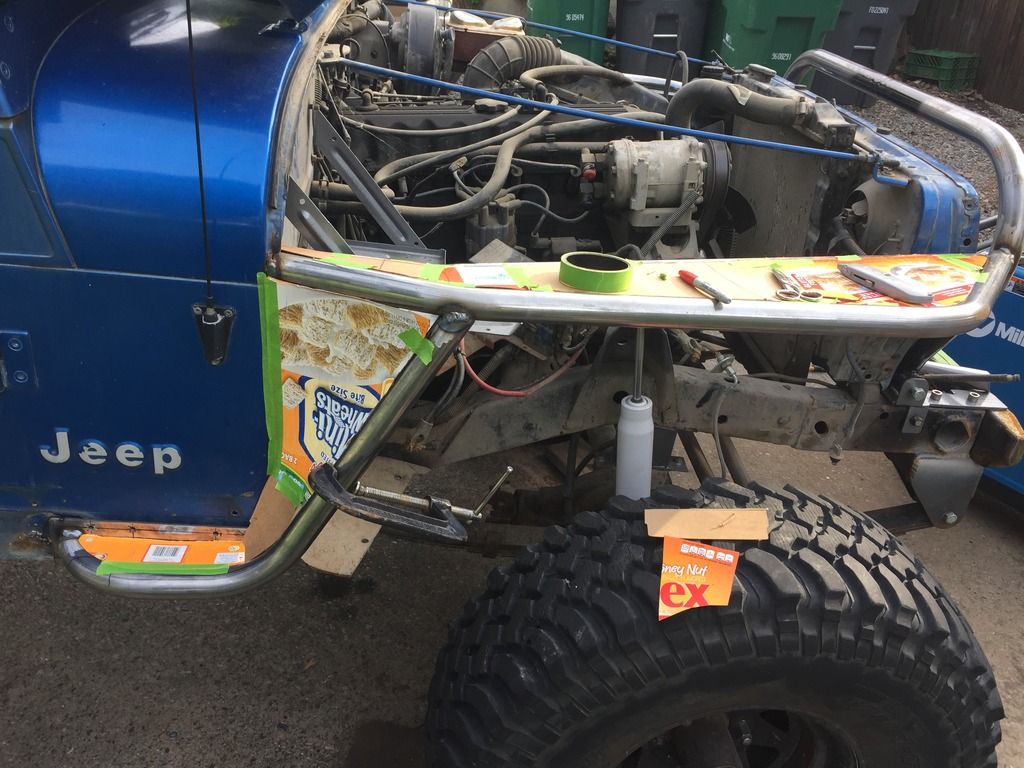
And tonight, new fender mounts.
Then about a 1 1/2" hood trim.
Posted: Fri May 15, 2015 8:01 pm
by bobracing
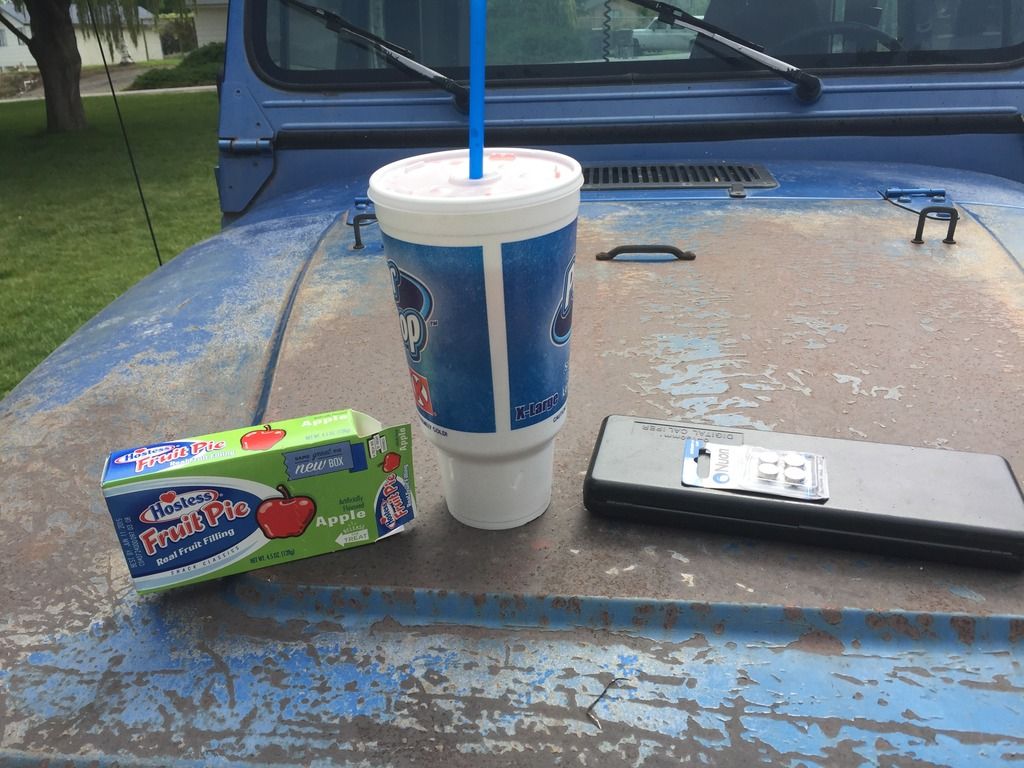
Got to start with a good breakfast.
Then on to some fenders, at least the top part.
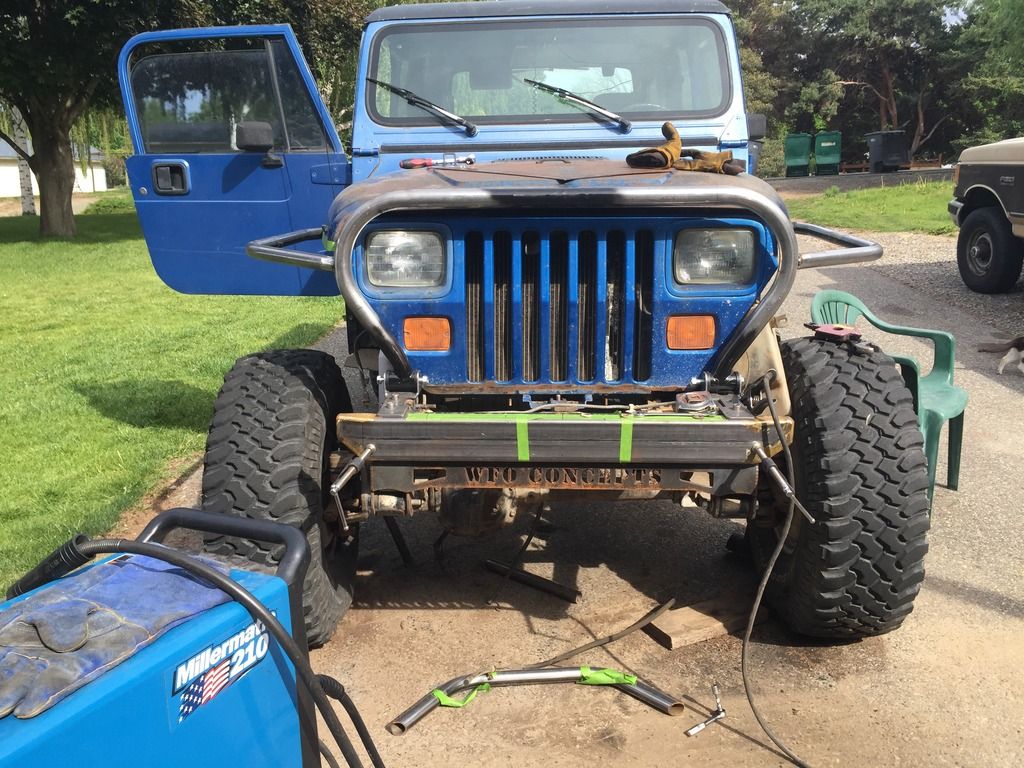
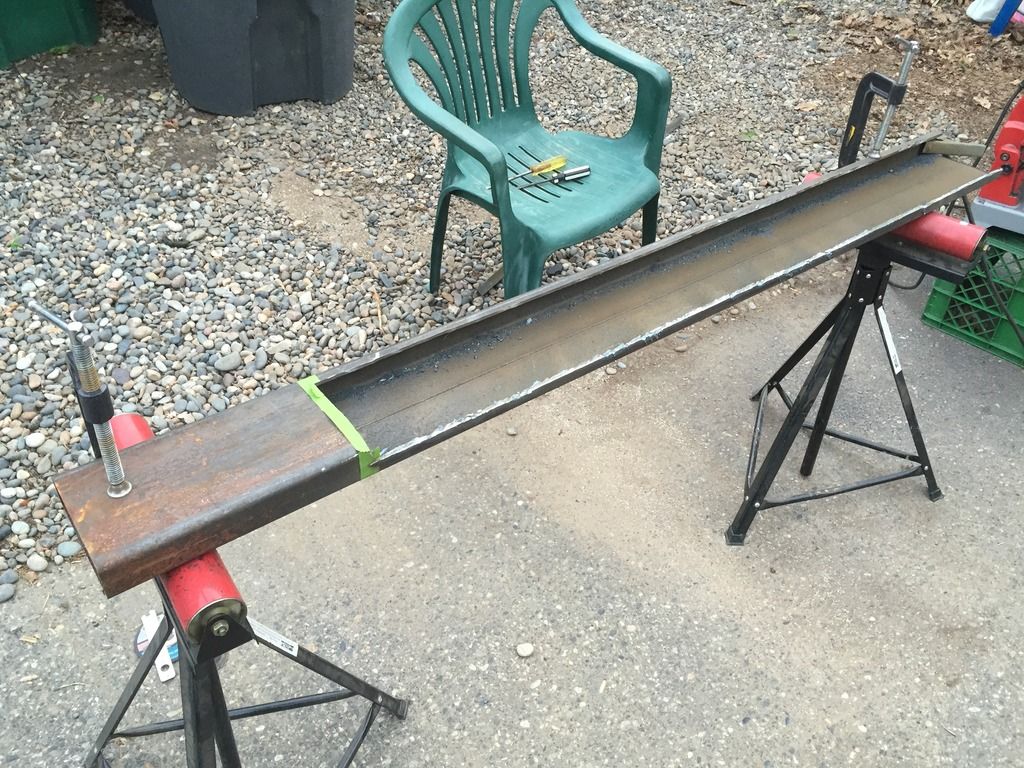
Then worked towards the rockers. Have to thank Toby for the rect. to rocker idea. Using a cutoff wheel thru 54" of 3/16 takes forever. Used a plasma cutter on the bottom which is much faster but not near as nice of a cut.
A little trimming around the flare
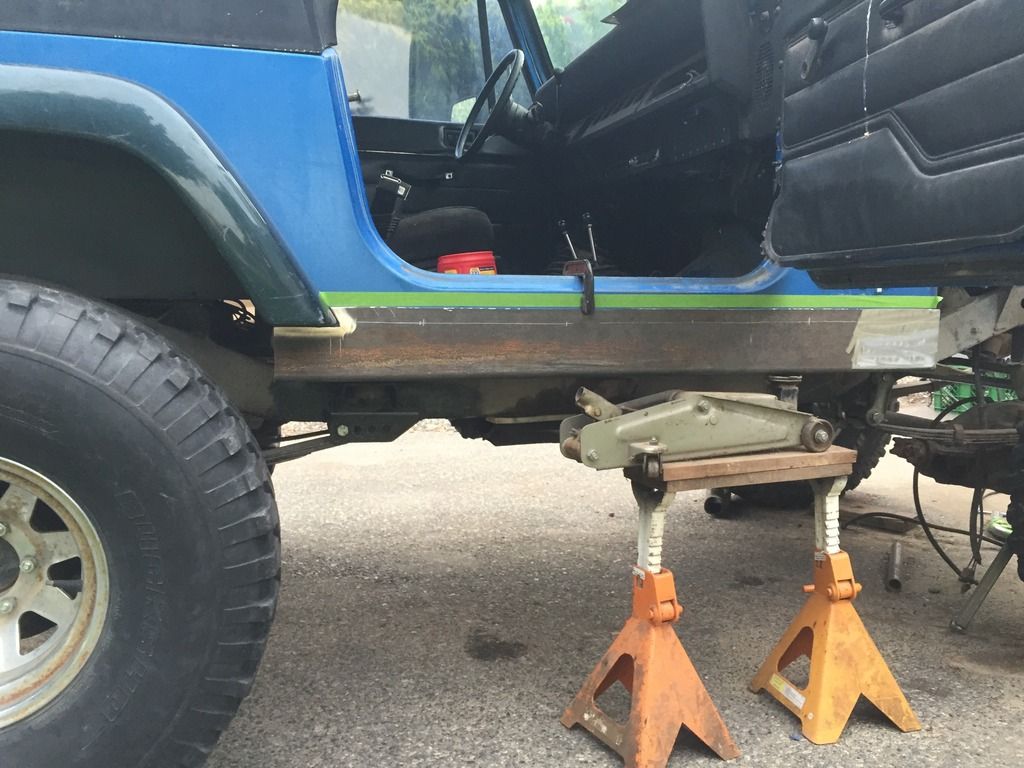
And a nice point to tie the fenders into.
Posted: Tue May 19, 2015 8:37 pm
by bobracing
Posted: Sun May 24, 2015 8:29 pm
by bobracing
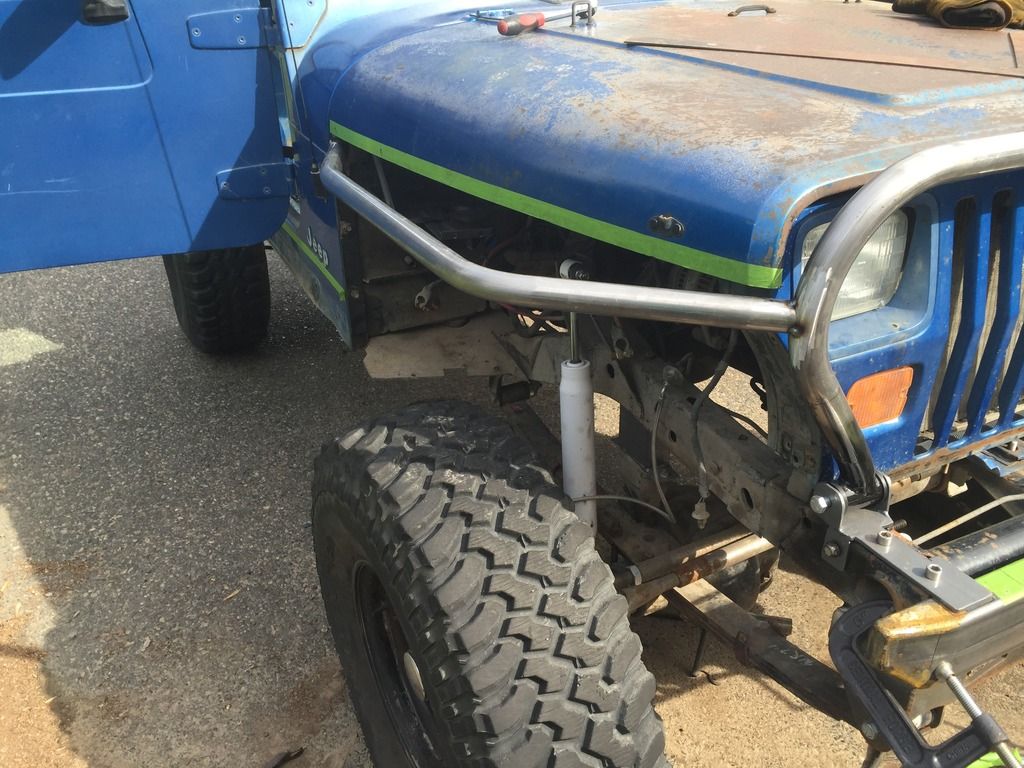
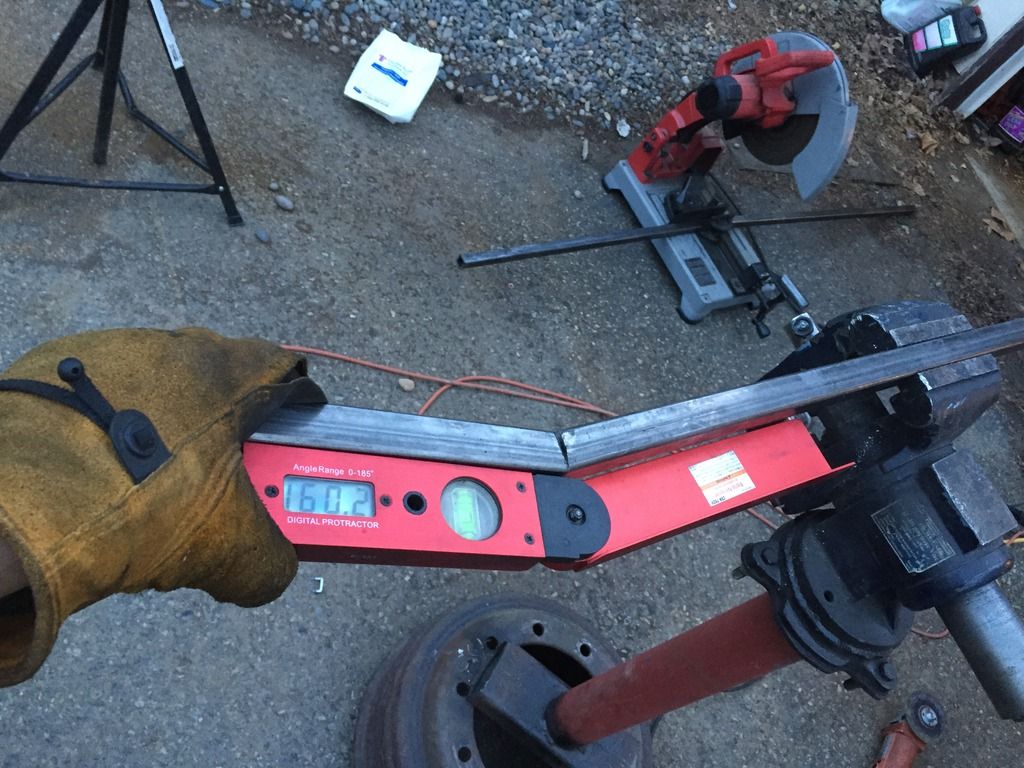
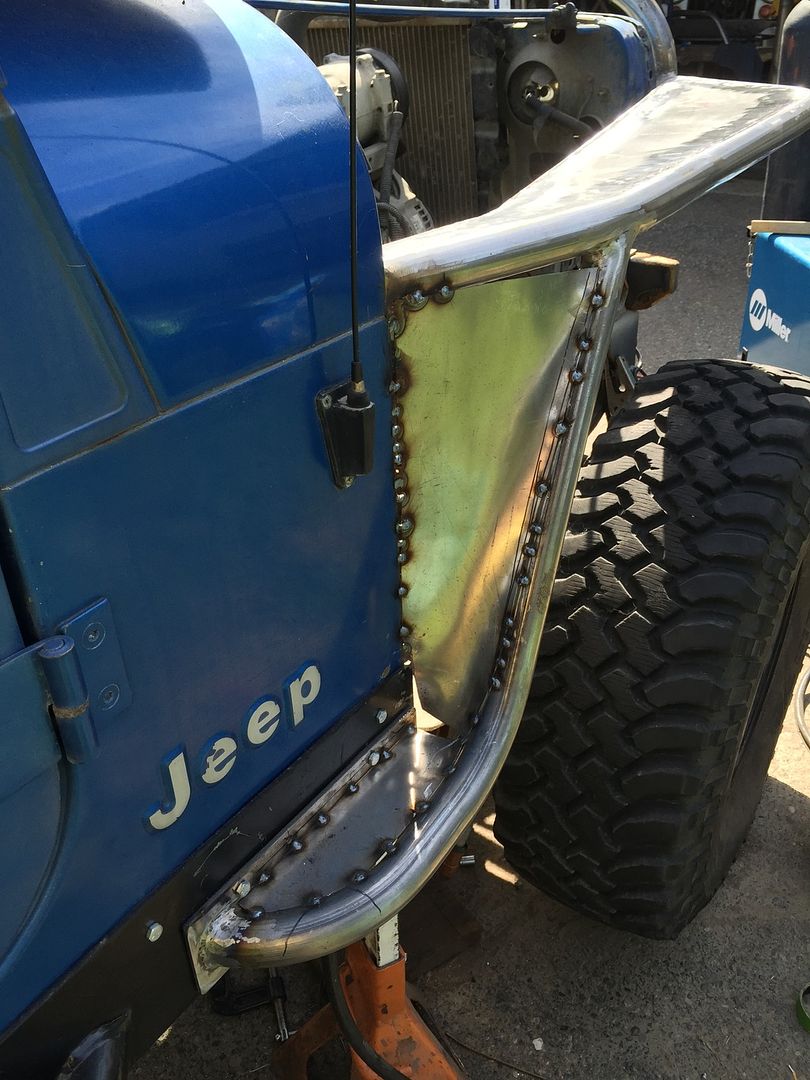
Little more on the fenders
Pie cut
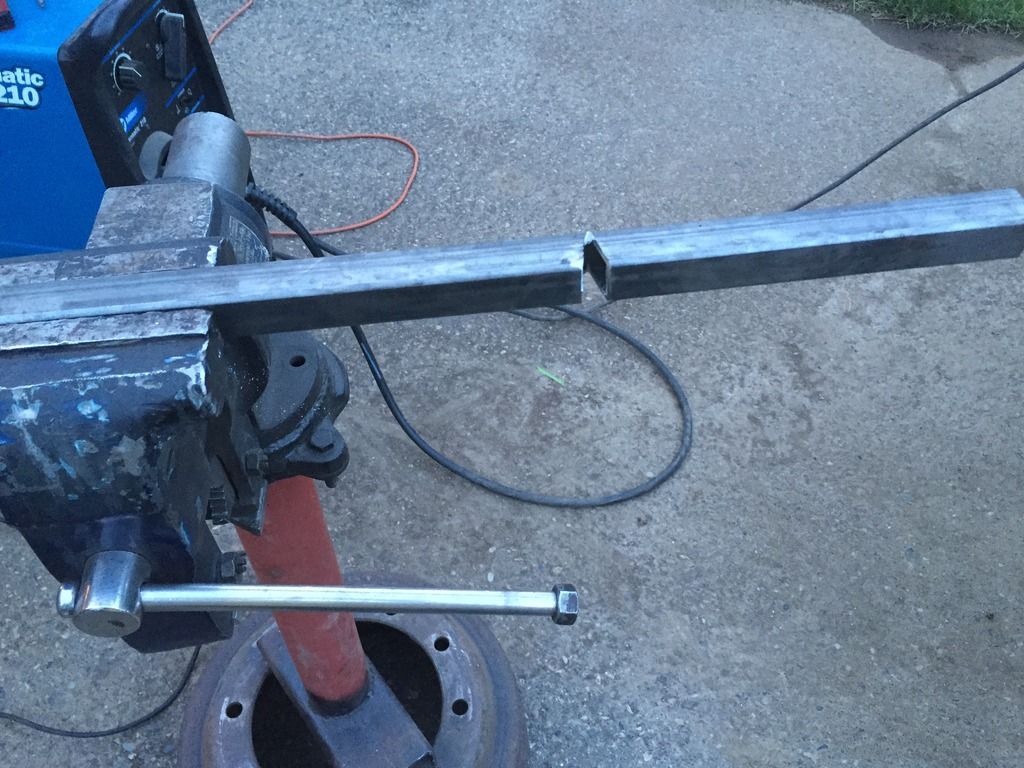
Getting the angle
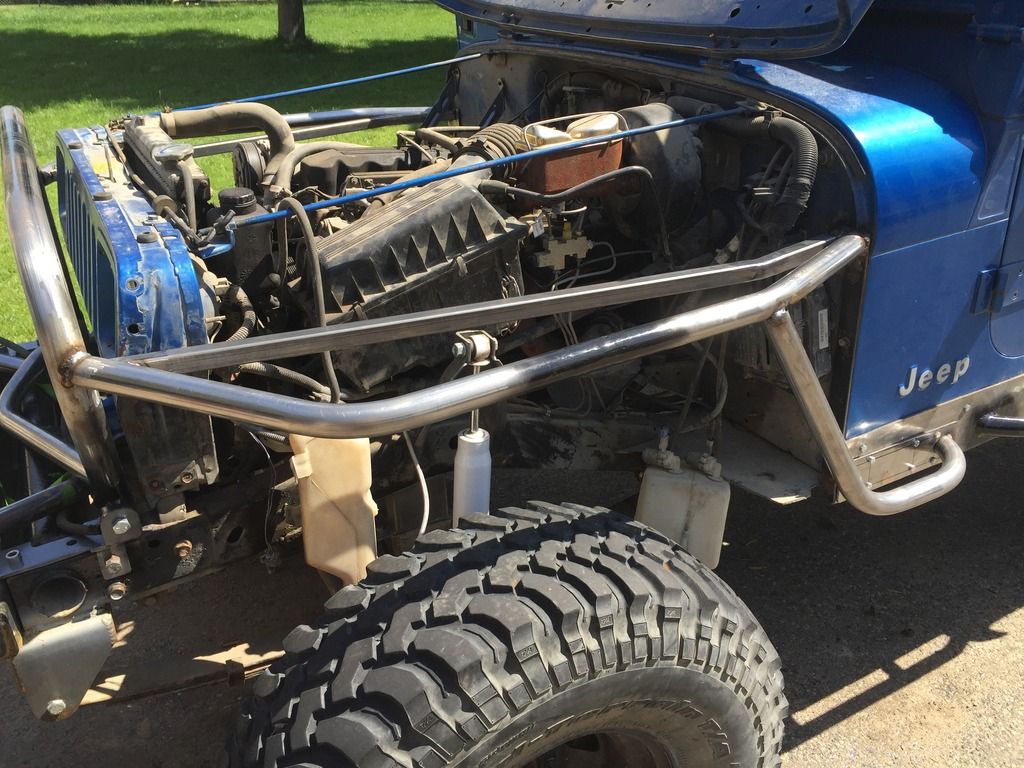
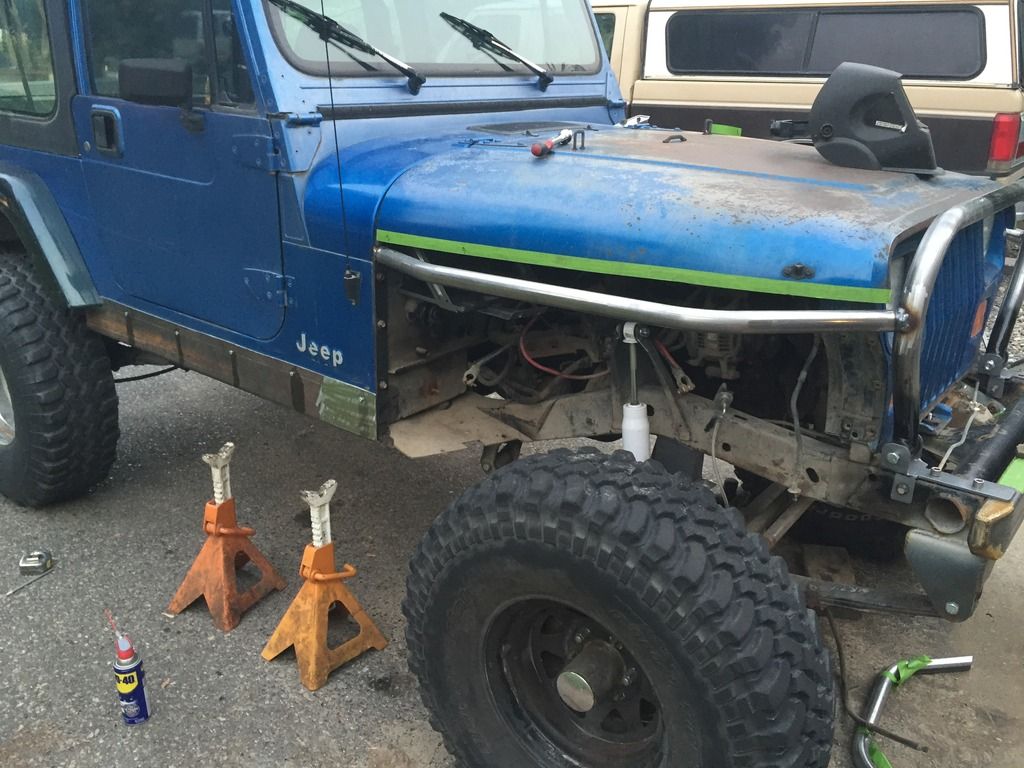
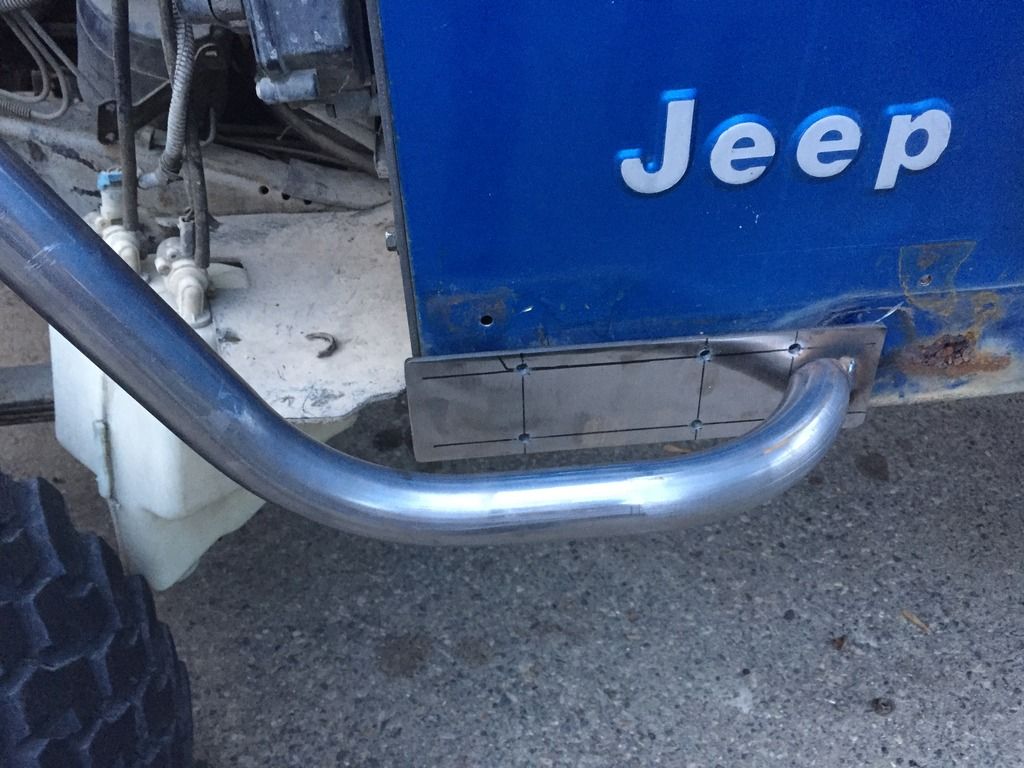
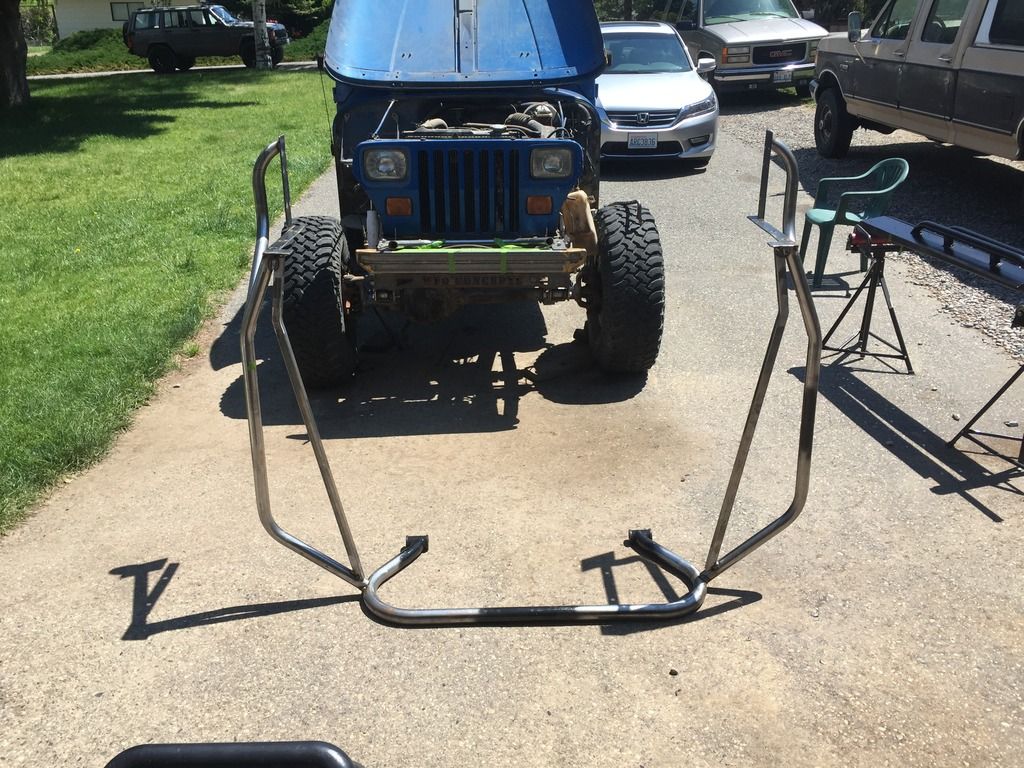
Nose/fender mounts. Allows the rocker or nose to be removed separately.
A little ahead of my self but was interested in seeing what it will look like.
Posted: Mon May 25, 2015 5:12 pm
by bobracing
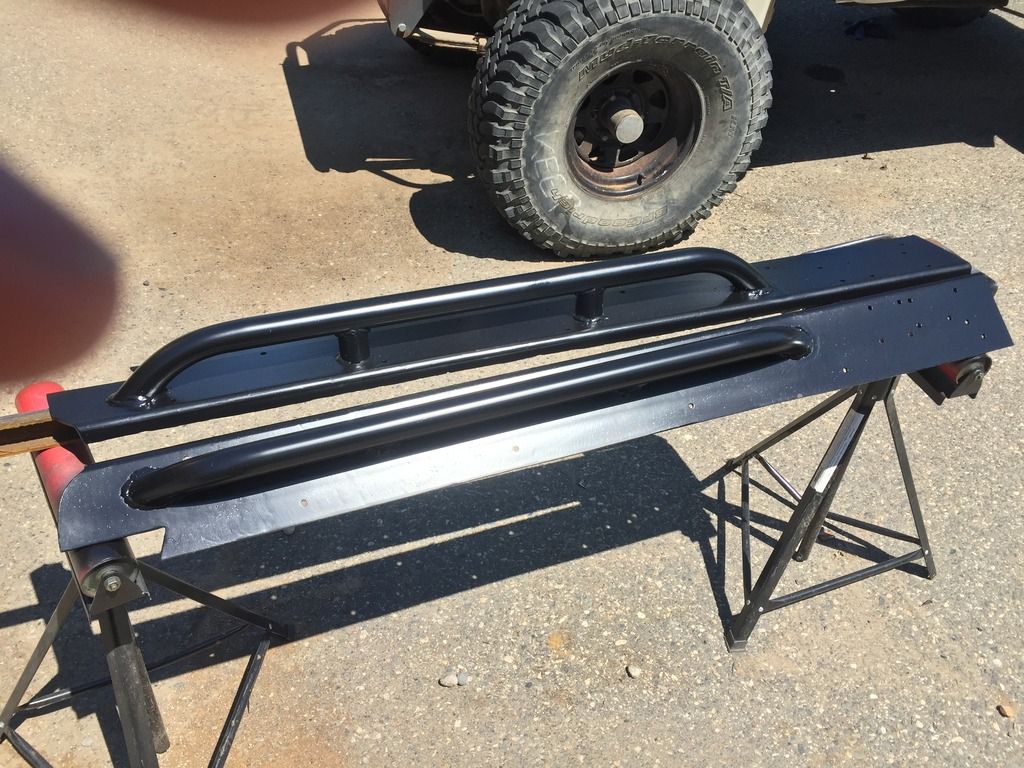
Yesterday I finish the second rocker and got them painted. Don't really like the mess with mixing paint so it's rattle cans for me, easy touch-up too. Now I had all kinds of plans for the dark gray hammer coat buuuut, after buying what I thought was dark it ended up being light and looked like, well not very nice, so black it is.
So today's adventure was to finish weld the nose up and start tacking fenders in. That lasted about 30sec when the shielding gas finally ran out.
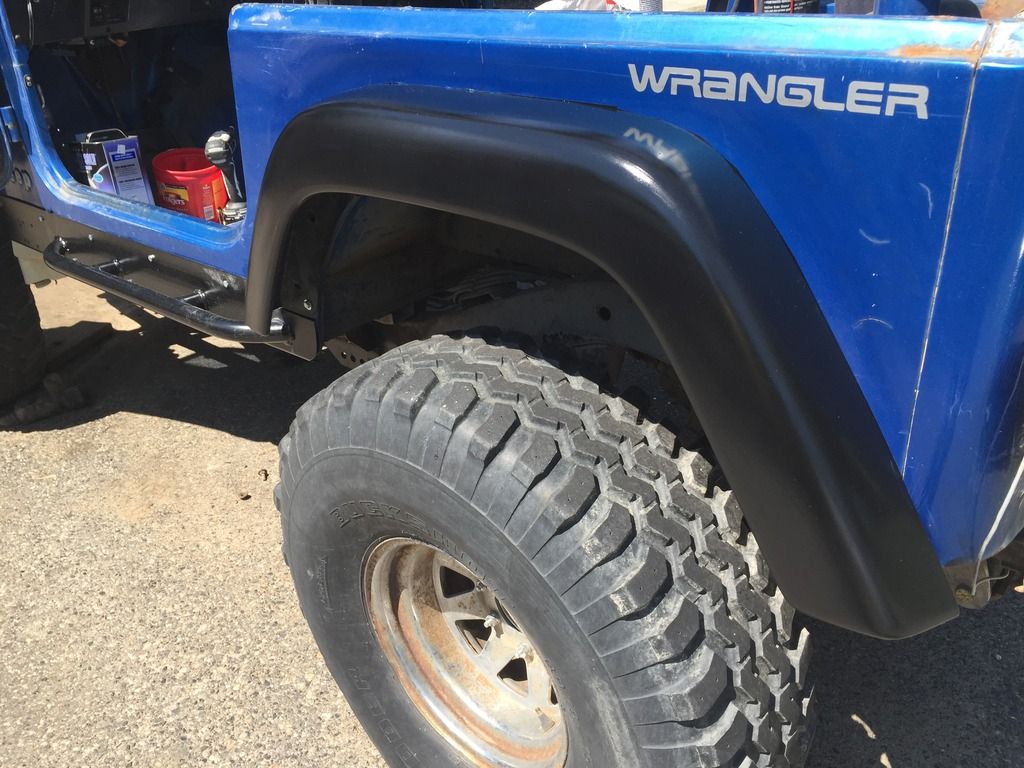
With no shield gas, time to do something different. The TJ flares were free and didn't exactly match the Jeep in a shinny dark green color. Something that was perfectly functioning but bothered me, so a can of flat black Fusion paint was purchased.
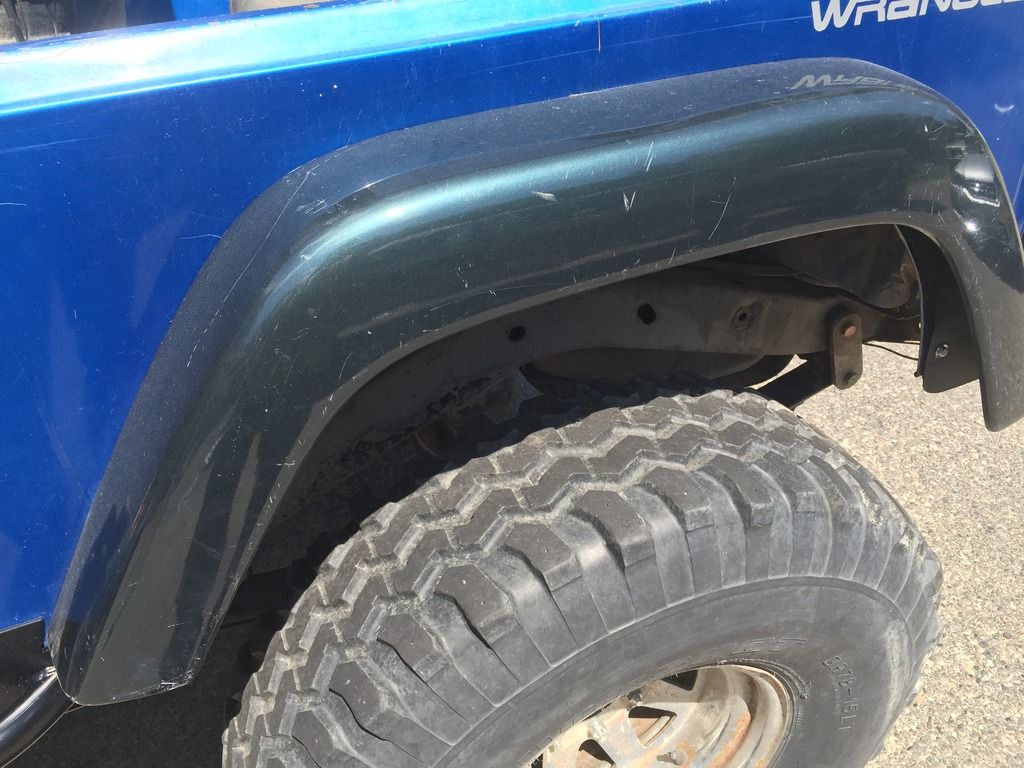
It said no prep needed but it was shinny and paint usually doesn't stick to shinny.
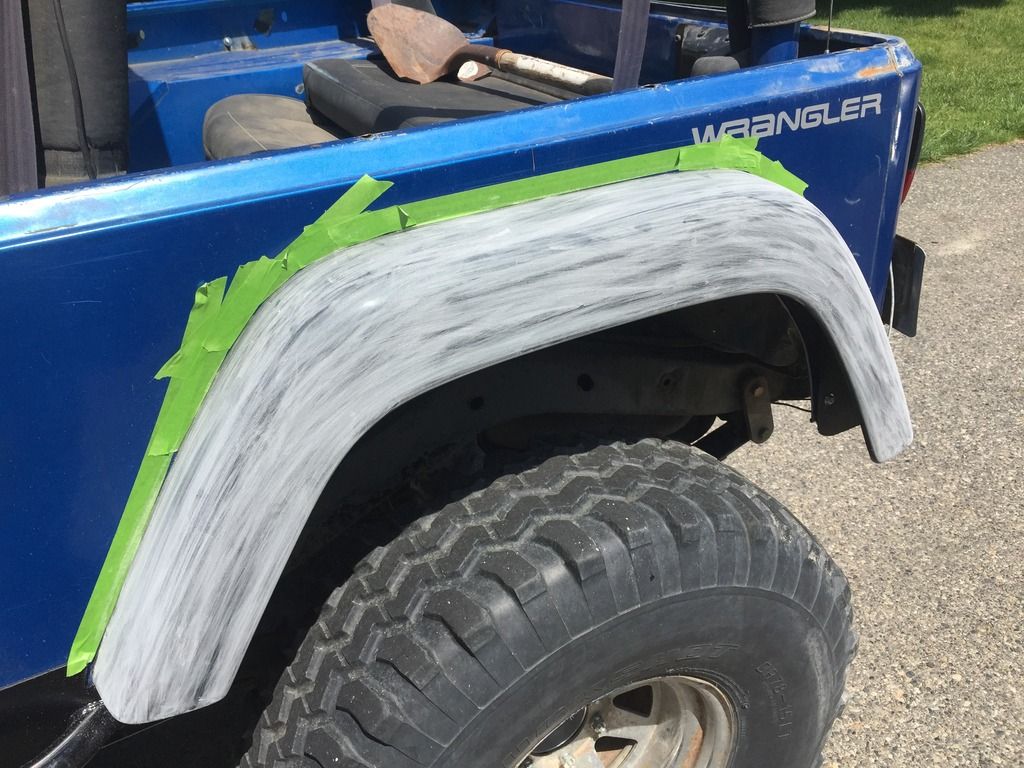
And after a couple of coats, I'm happy with the way it came out.
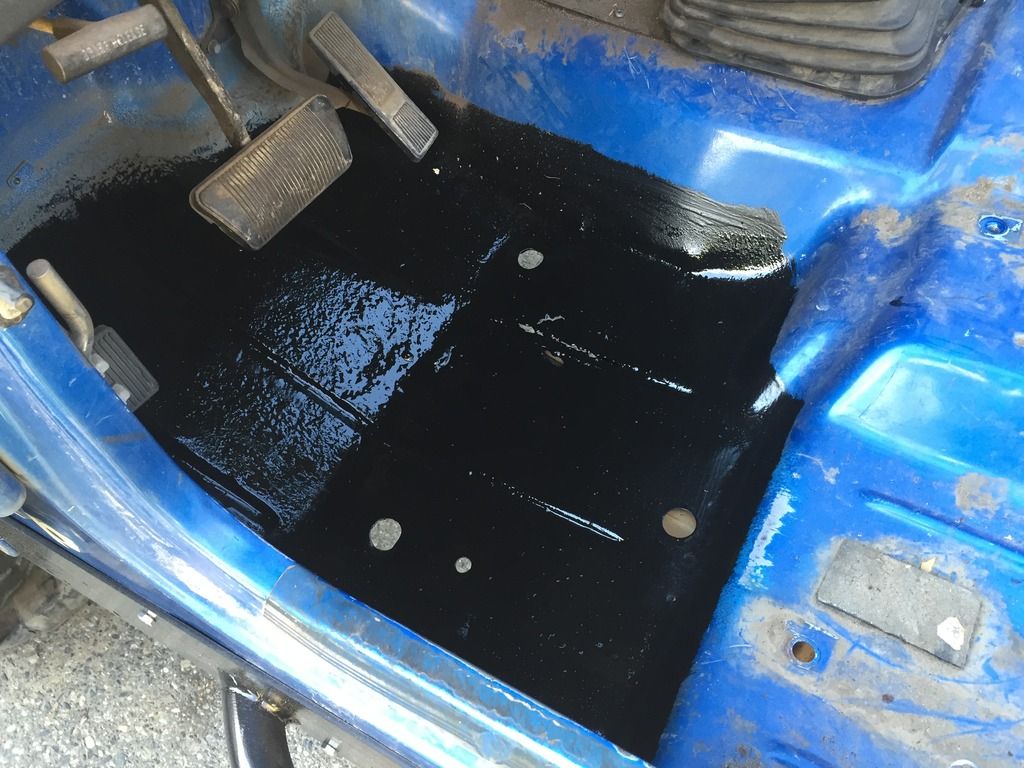
The floor also has issues, and an old can of POR15 was used to lock the rust down. The holes are still there but I'll cover it with something glued down, fuel lines run under them.
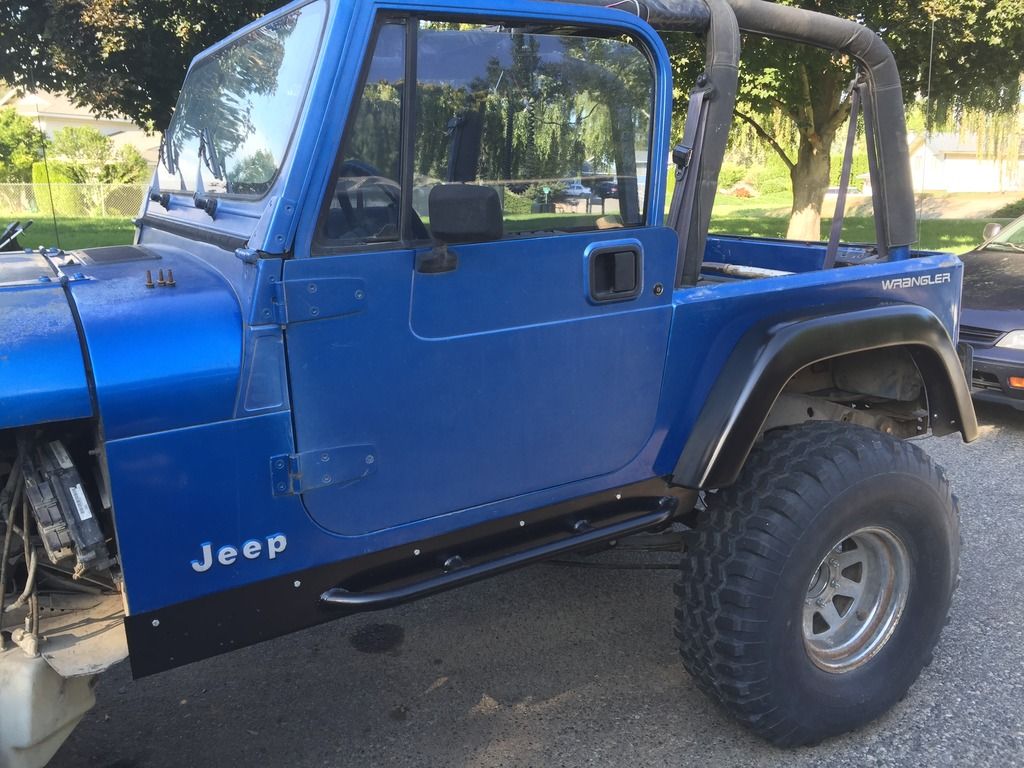
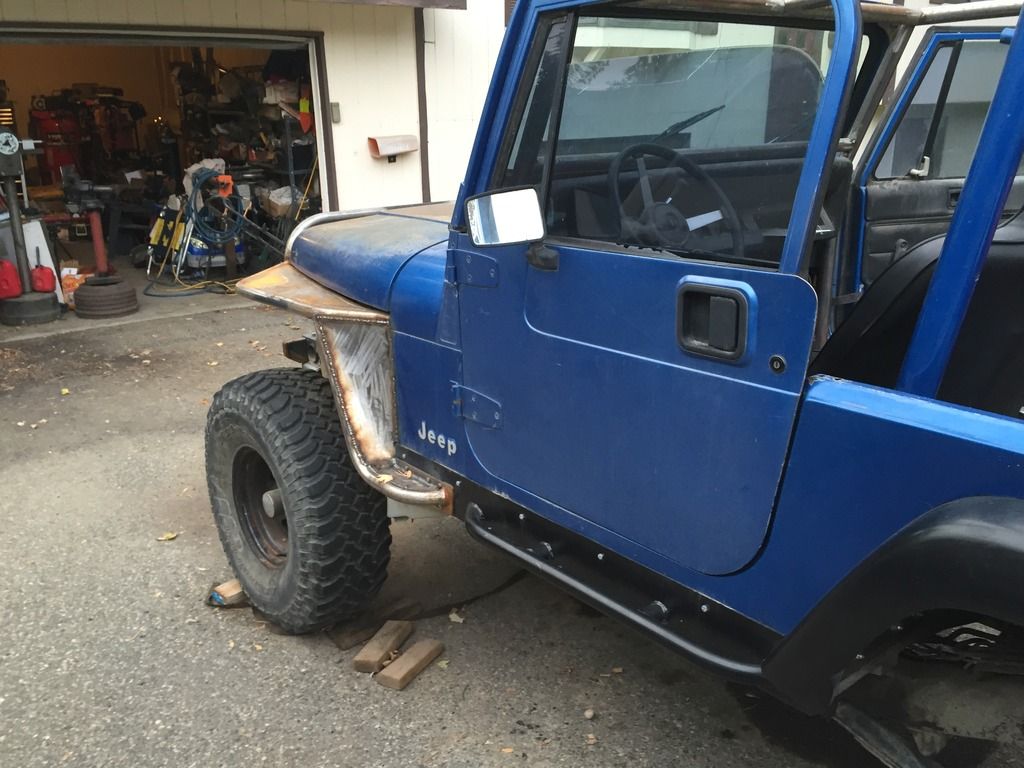
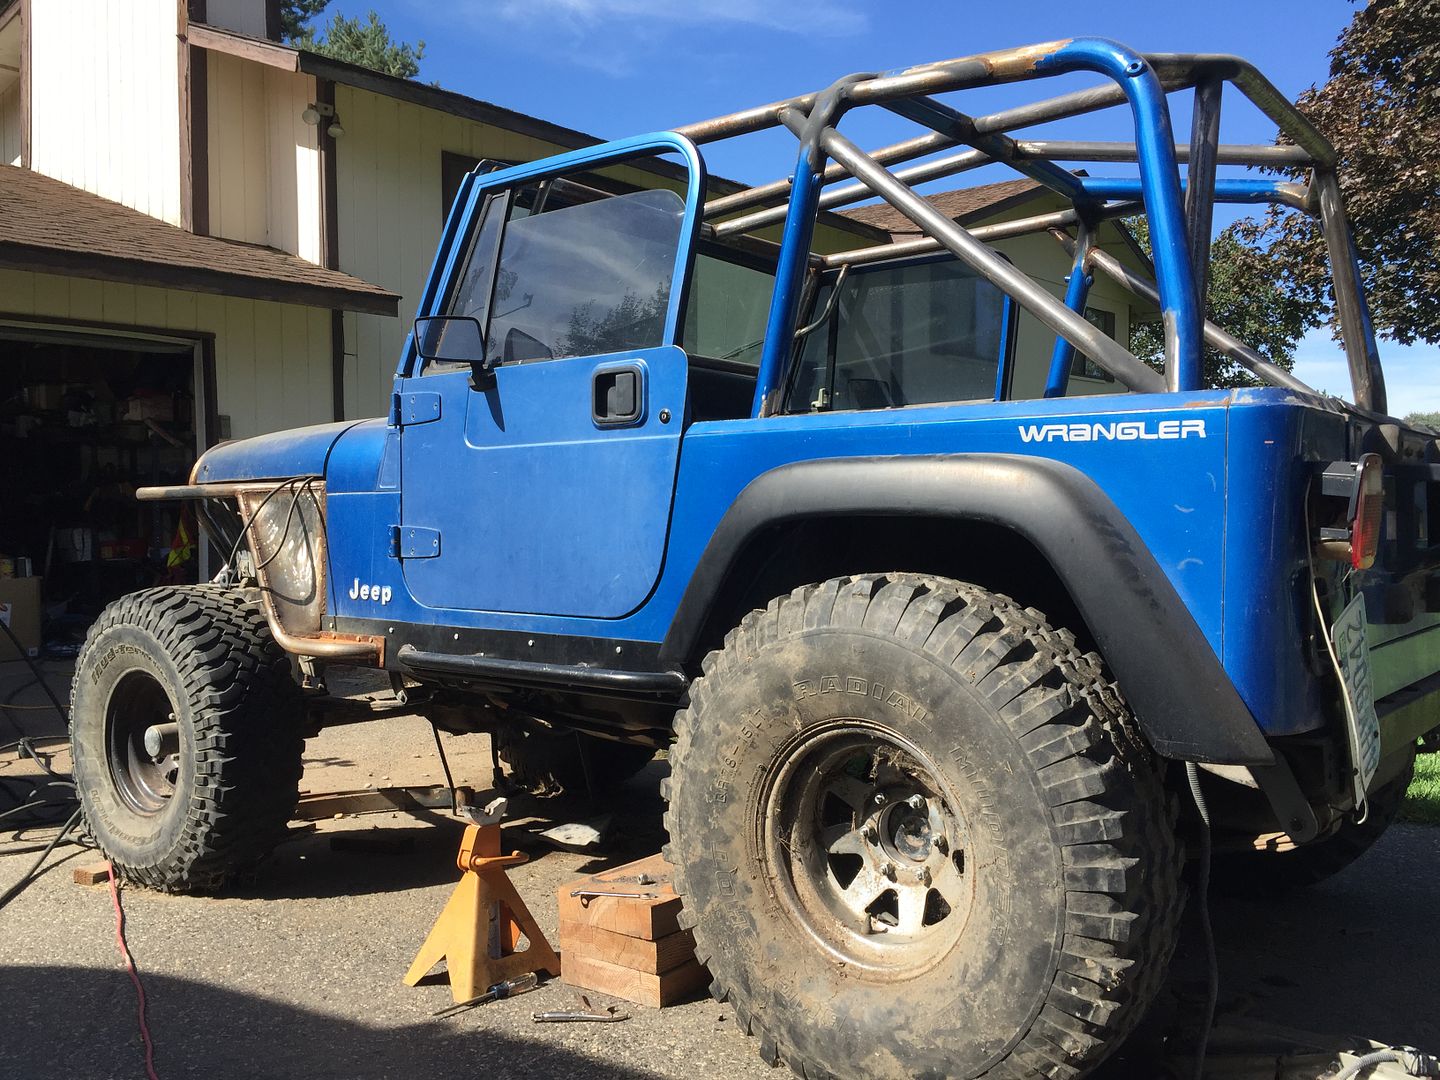
And a couple of poser shot with the rockers and flares.

Posted: Mon May 25, 2015 7:22 pm
by Jay W
Is it just me or are the rear flares on backwards?
Posted: Mon May 25, 2015 8:26 pm
by bobracing
Yes, as a matter of fact, they are backwards.
Posted: Sat Jun 06, 2015 4:25 pm
by bobracing
More slow progress.
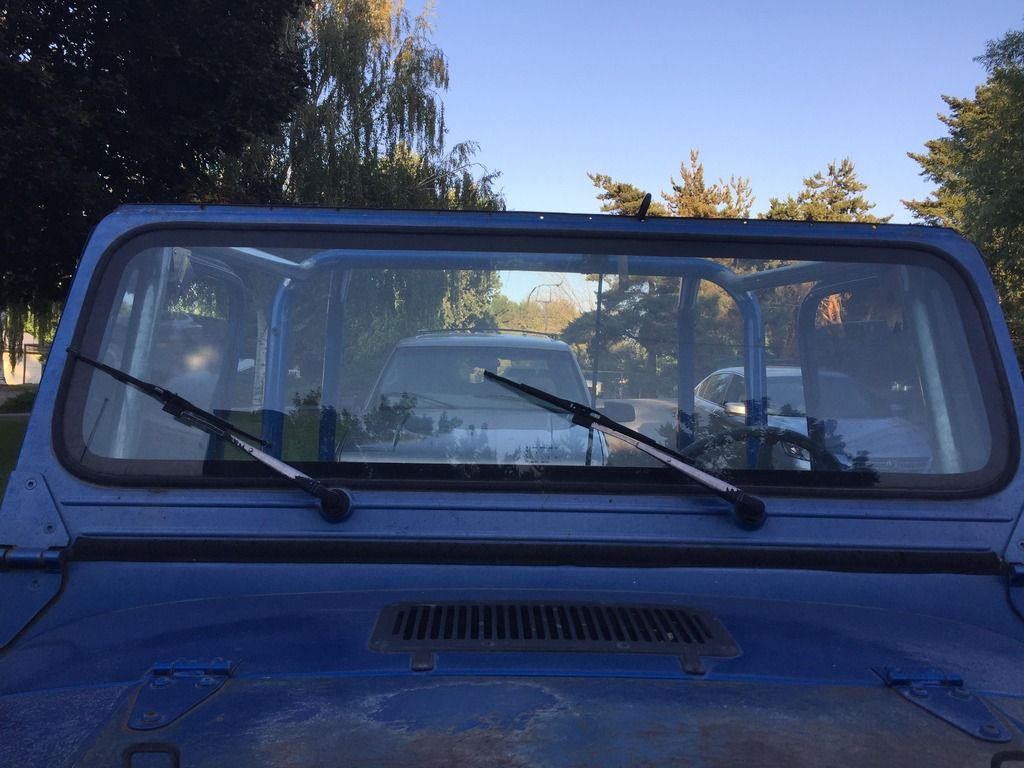
While pulling stuff apart, you just never know what you'll find.
22shells Under the front window.
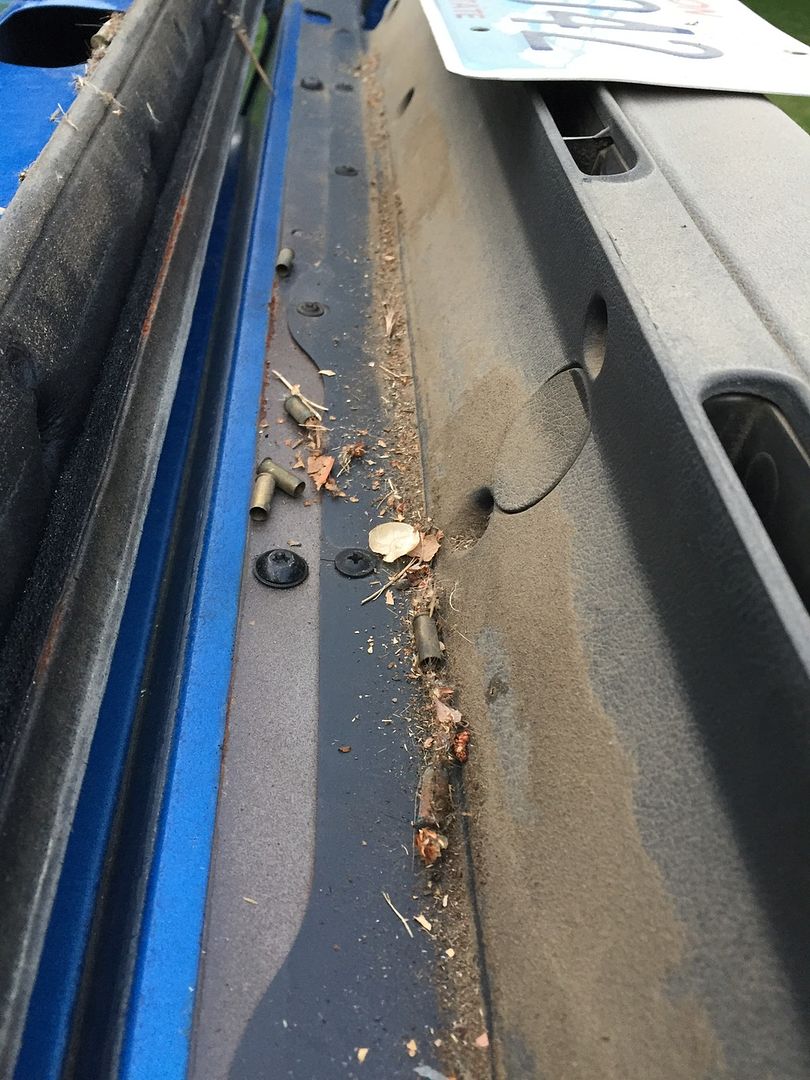
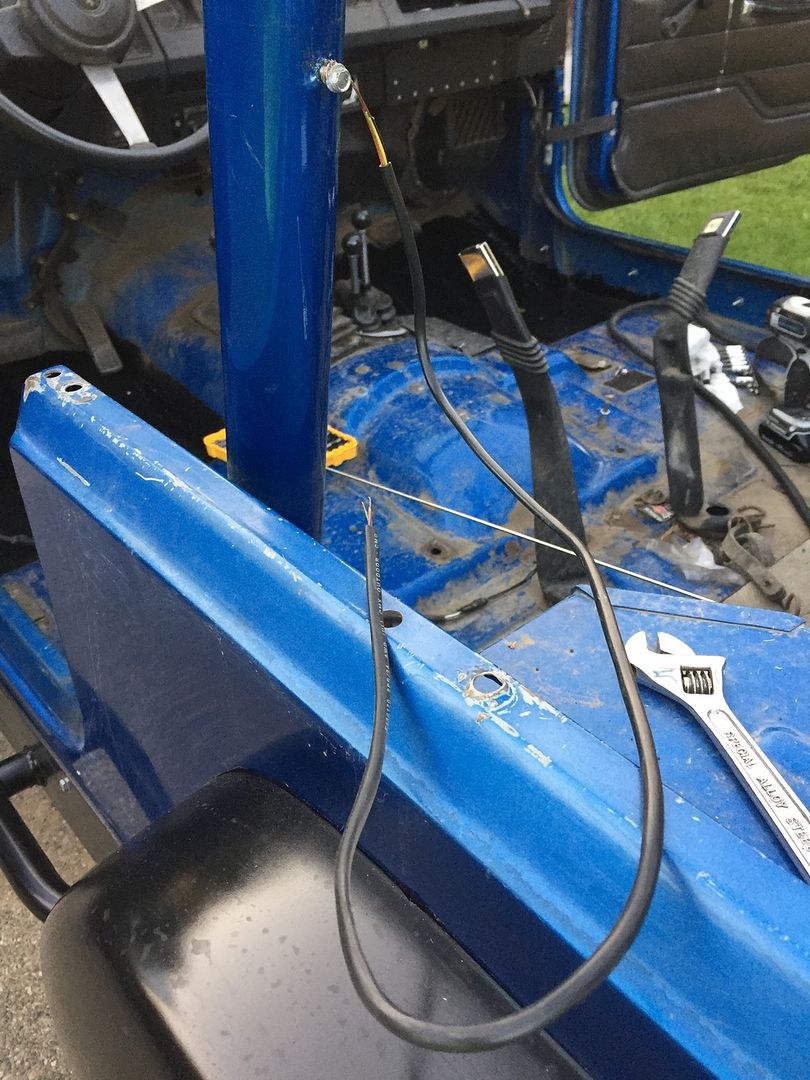
4 wire grounds going?????
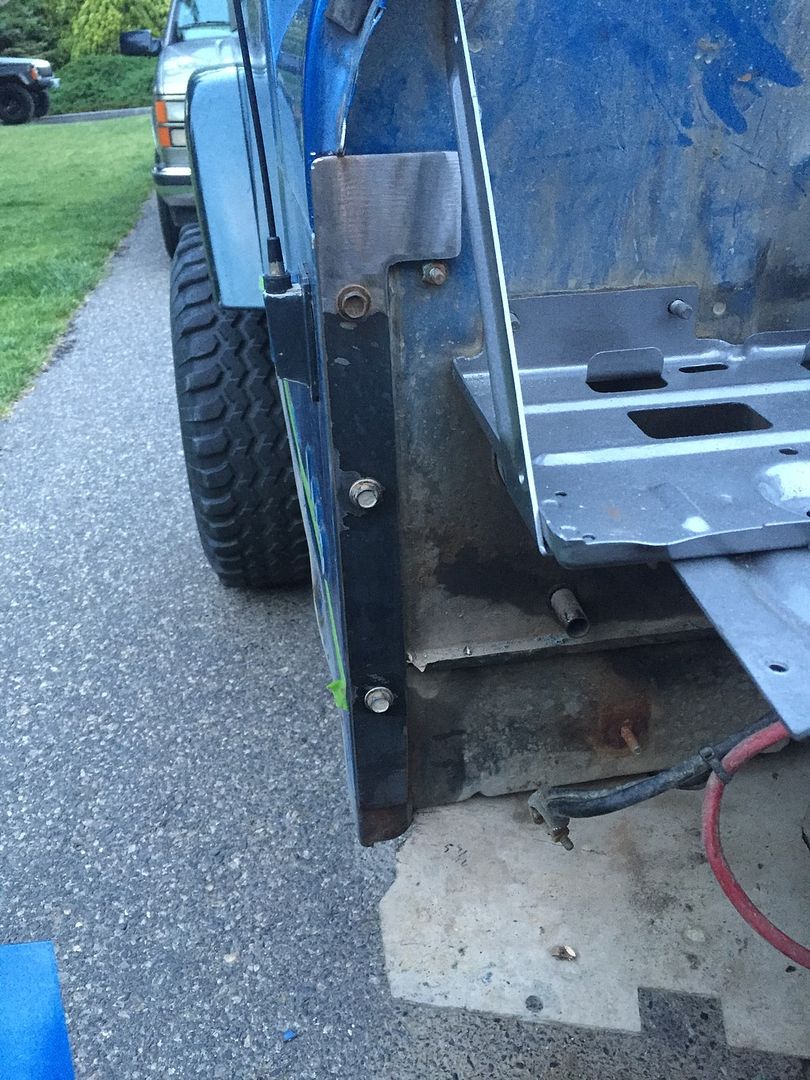
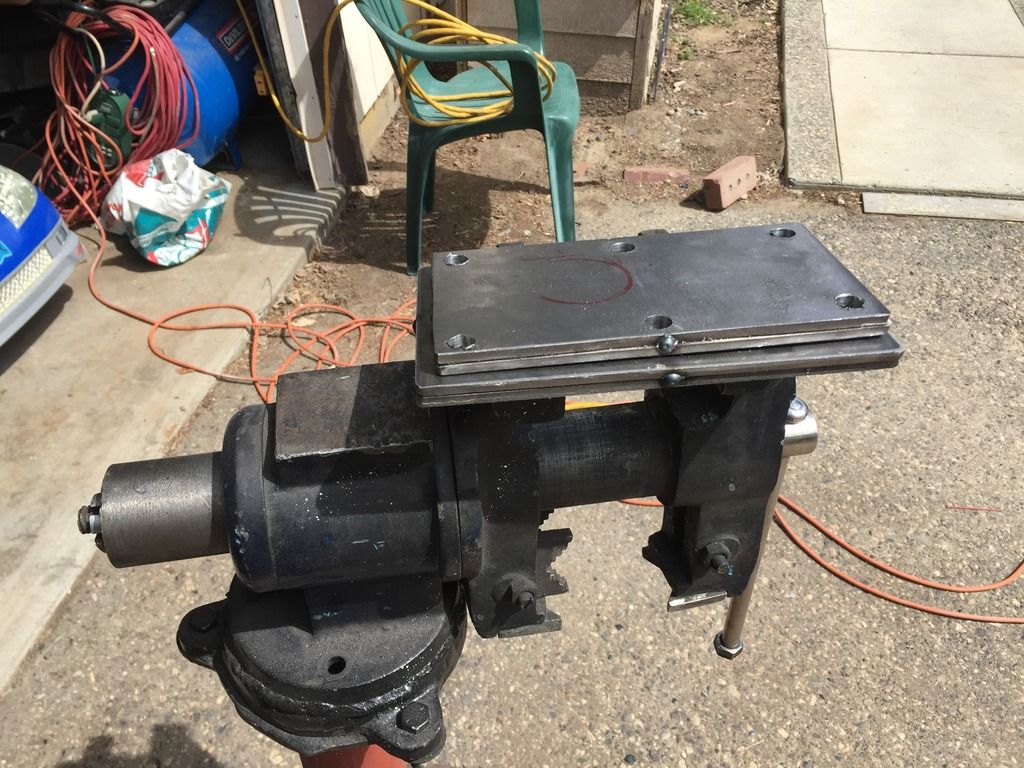
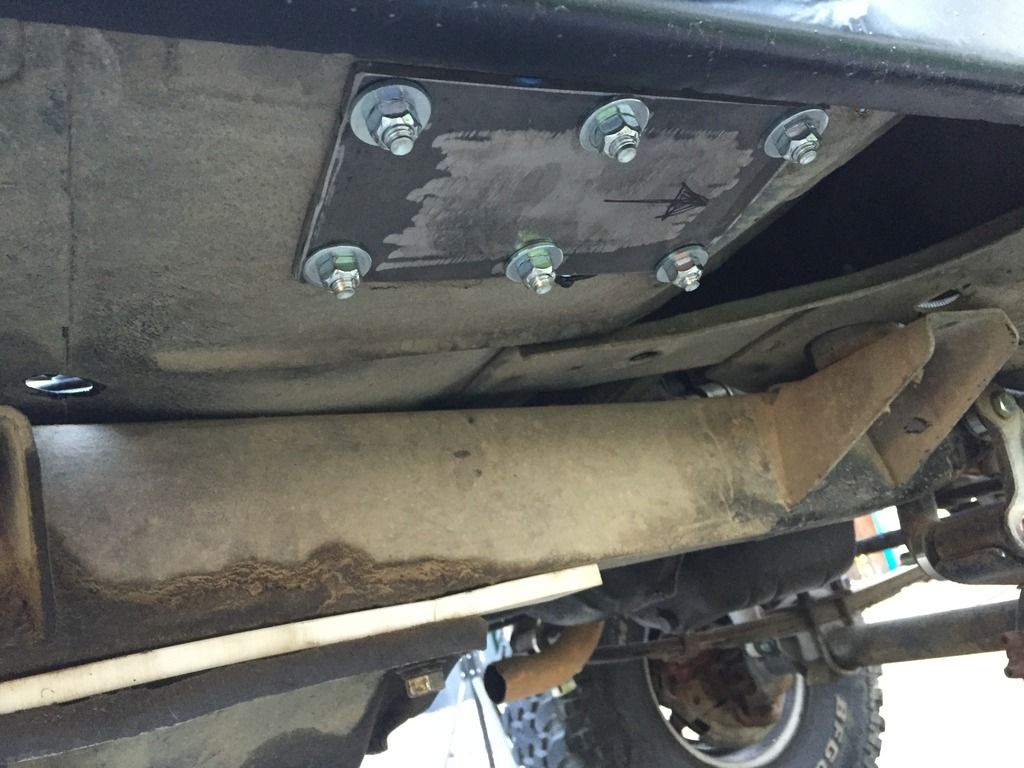
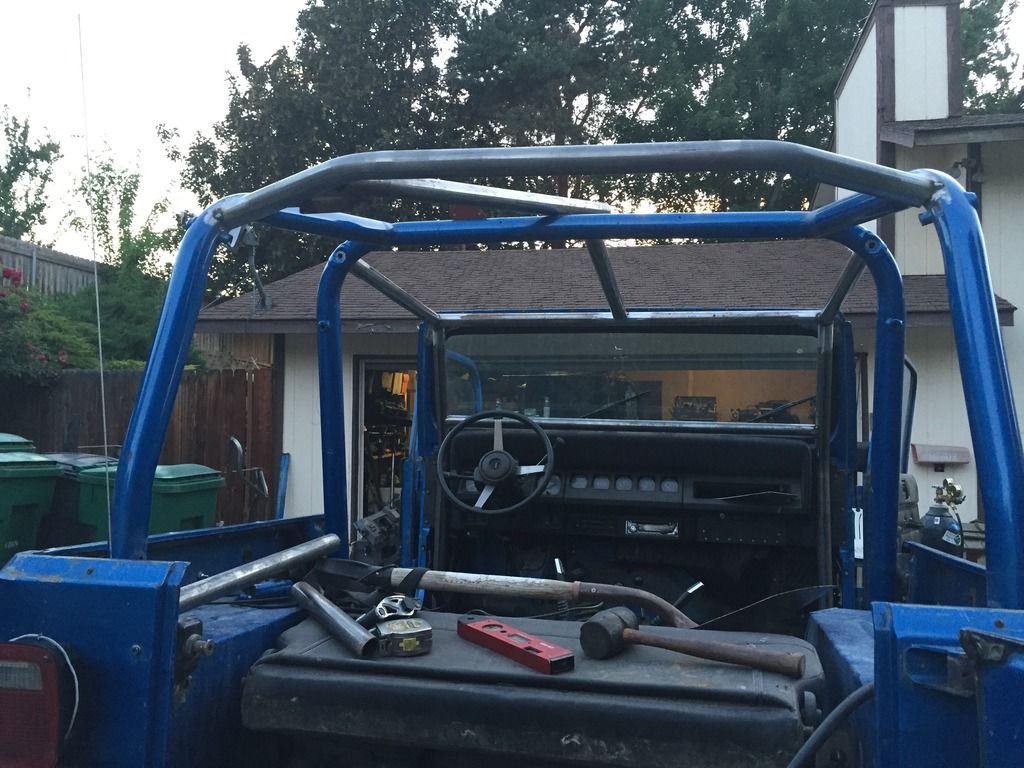
Some new heavier plates instead of the sheet metal that was there.
Different sizes to not make a punch thru the floor.

Stacked and tacked the plates together so the holes are somewhat consistent.
Plates bolted to the floor.
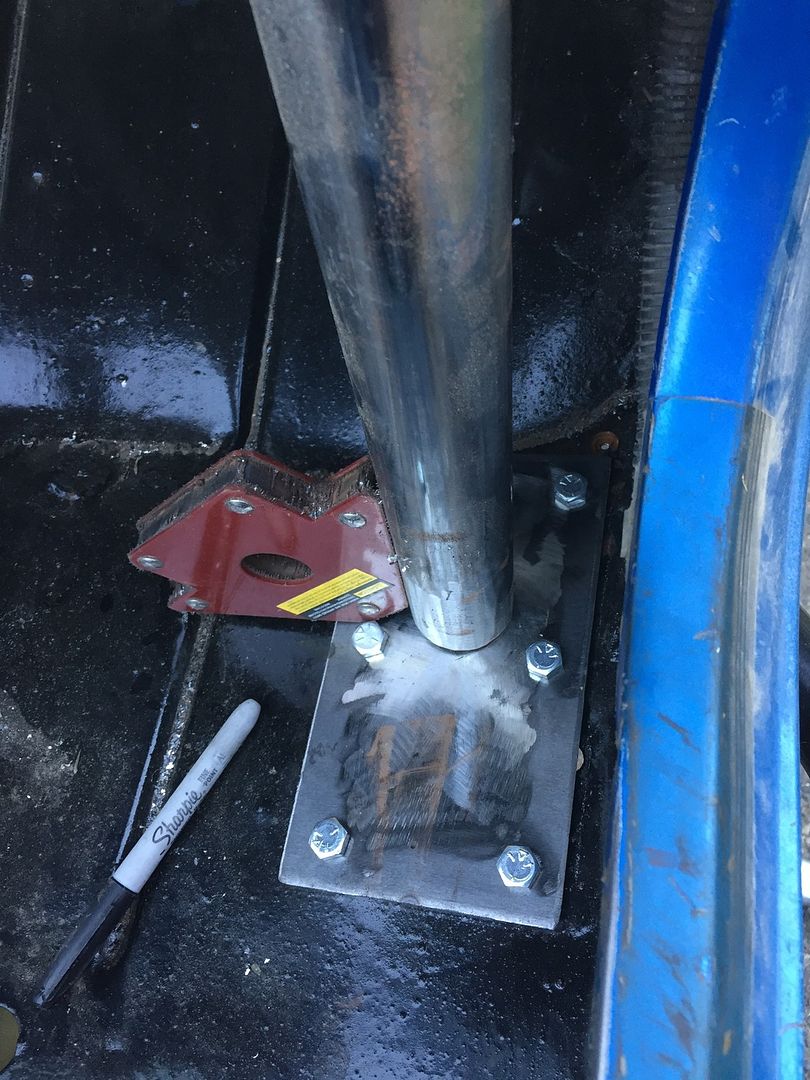
And one bar
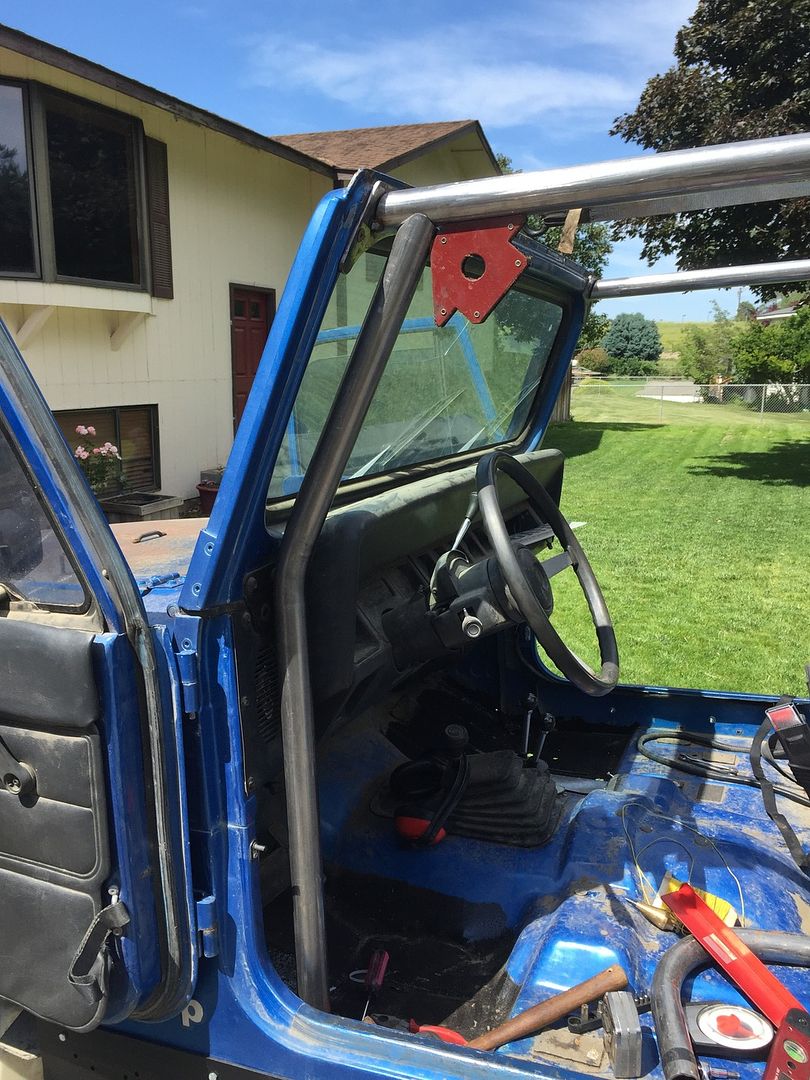
Wish The bars were farther out but the harddoors just don't allow it.
Posted: Sat Jun 06, 2015 8:50 pm
by bobracing
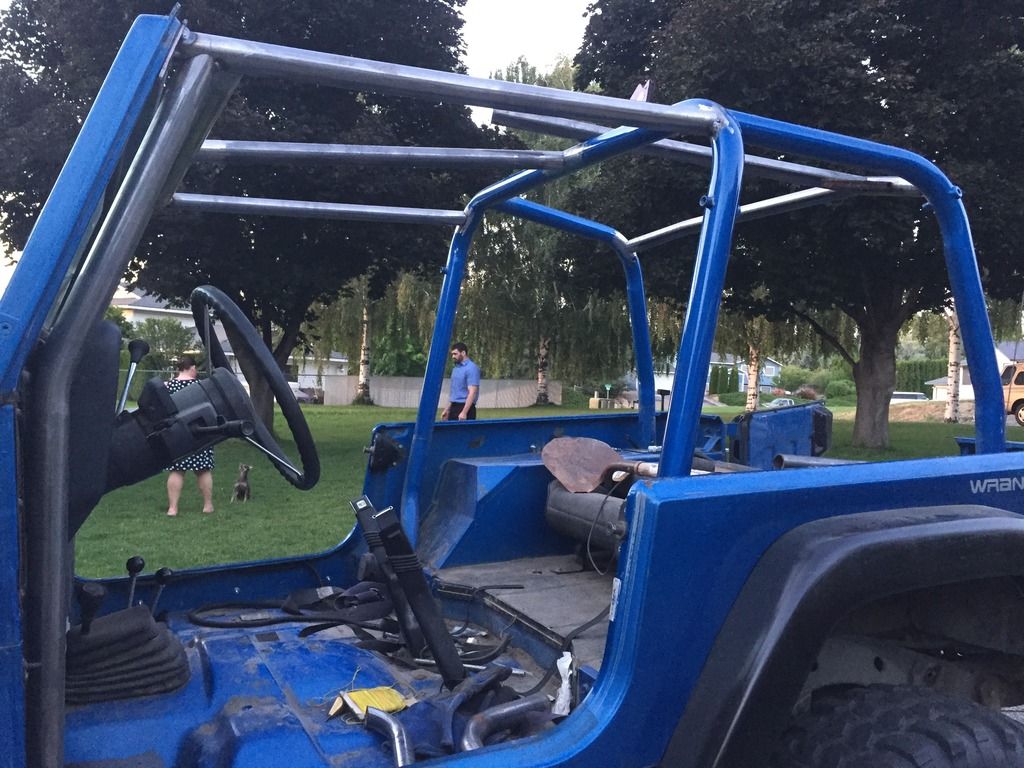
Just a few extra bars.
Posted: Sat Jun 06, 2015 9:32 pm
by 79chevy39.5's
Heard your looking for someone to regear se axles........let me know if your still looking
Posted: Mon Jun 15, 2015 7:20 am
by bobracing
Sometimes, bolt on parts sound very very appealing.
Posted: Mon Jun 15, 2015 8:05 pm
by tobyw
I know the feeling, brother... Keep after it. You'll be really happy when it's all over and you can just enjoy the fruits of your labor

Posted: Sat Jun 20, 2015 6:45 pm
by bobracing
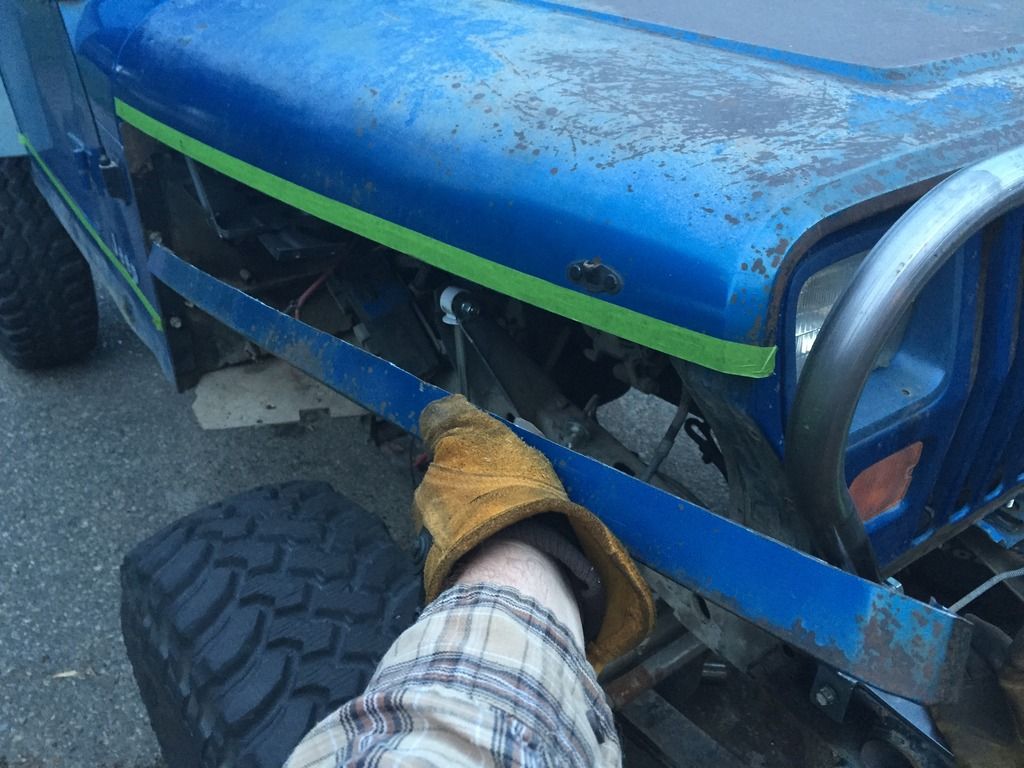
Added a couple of extra bolts.
And an extra plate for a little later.
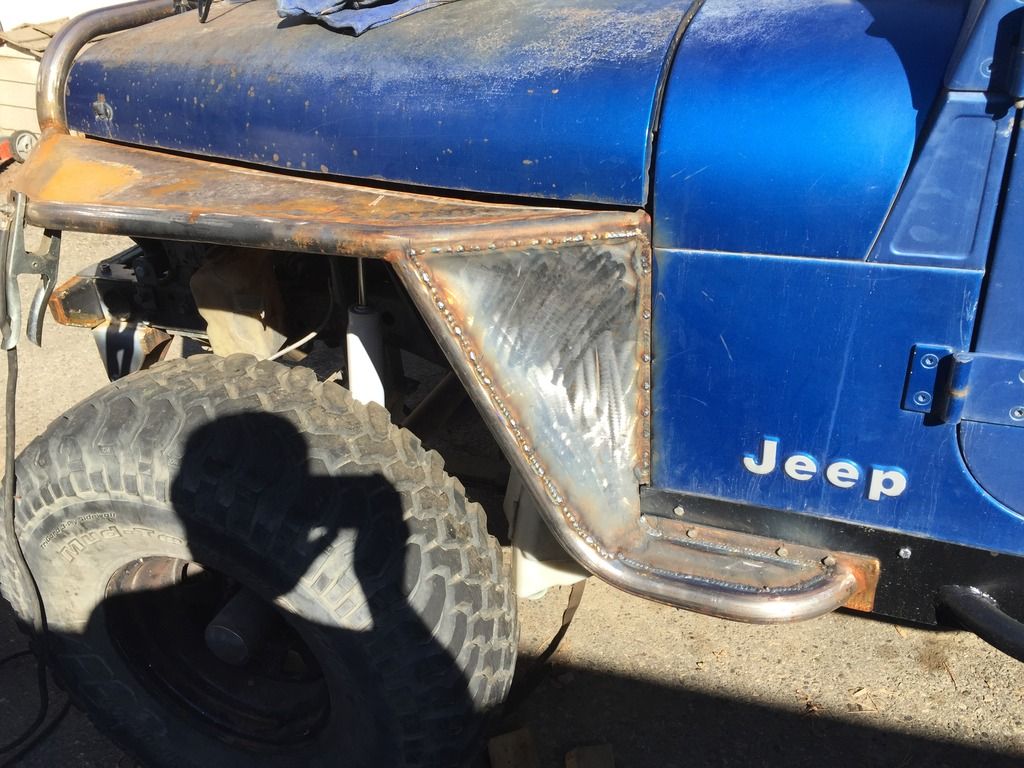
Some sheet metal on top.

And this part I might have bit off a little much with compound curves but it's only metal and I have a grinder and squirt gun.
Posted: Sun Oct 11, 2015 8:32 am
by bobracing
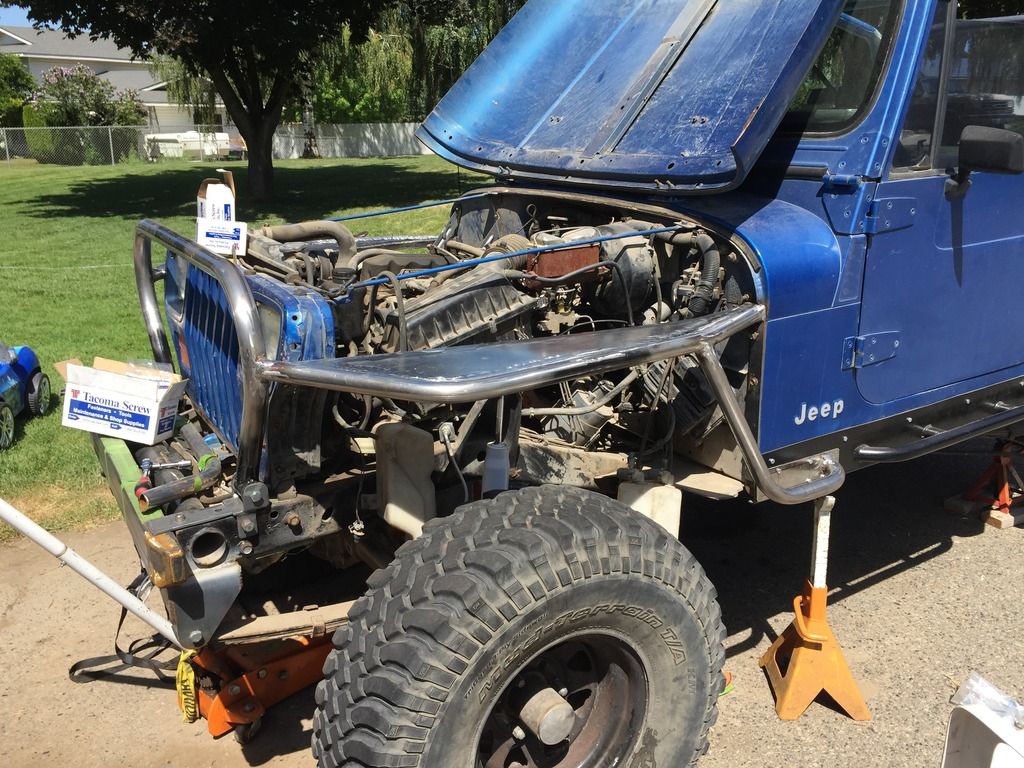
Finally got a little time to work on the Jeep.
Got the second fender's sheet on, fairly happy.
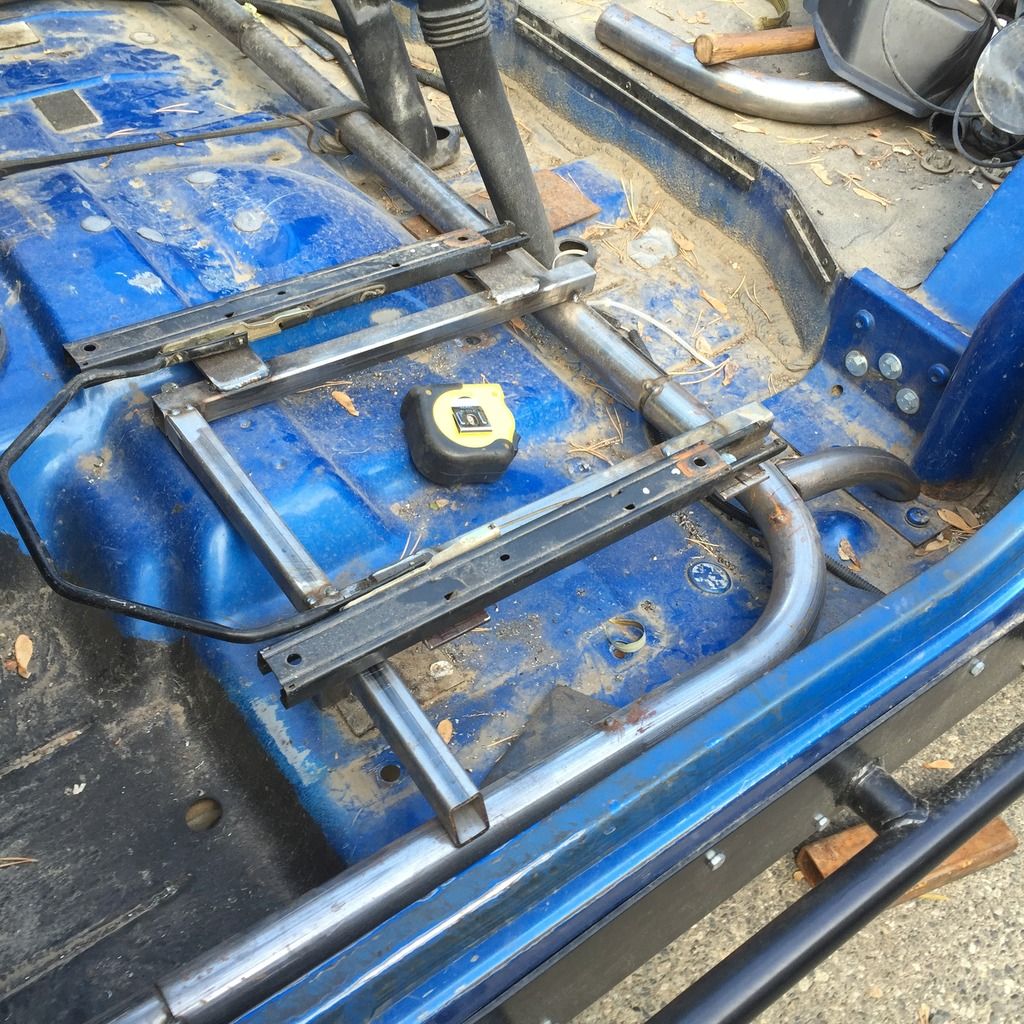
Then went and tried to figure out the seats. Got it close but some final tweeting is going to be needed.
1: Changing over to PRP seats which has tabs that face down.
2: wanted to keep the seat sliders.
3: mounted to the cage
The first two combine to make a very tall mount which makes getting the seat low enough.

And just a poser shot.

Posted: Sat Oct 17, 2015 5:01 pm
by bobracing
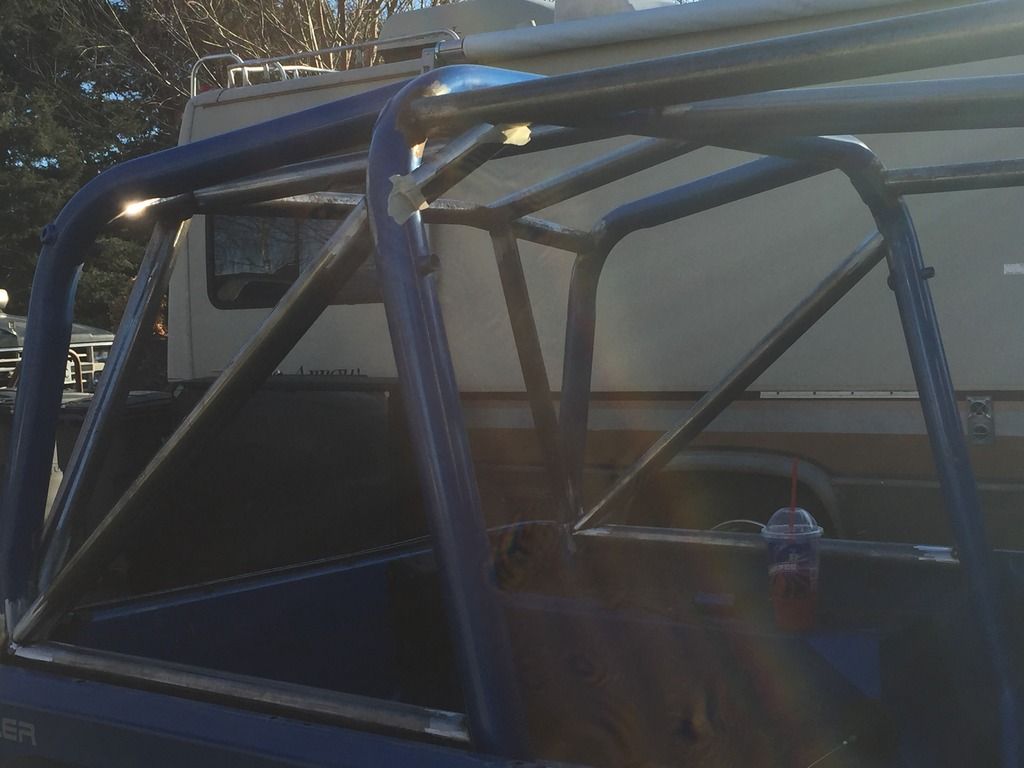
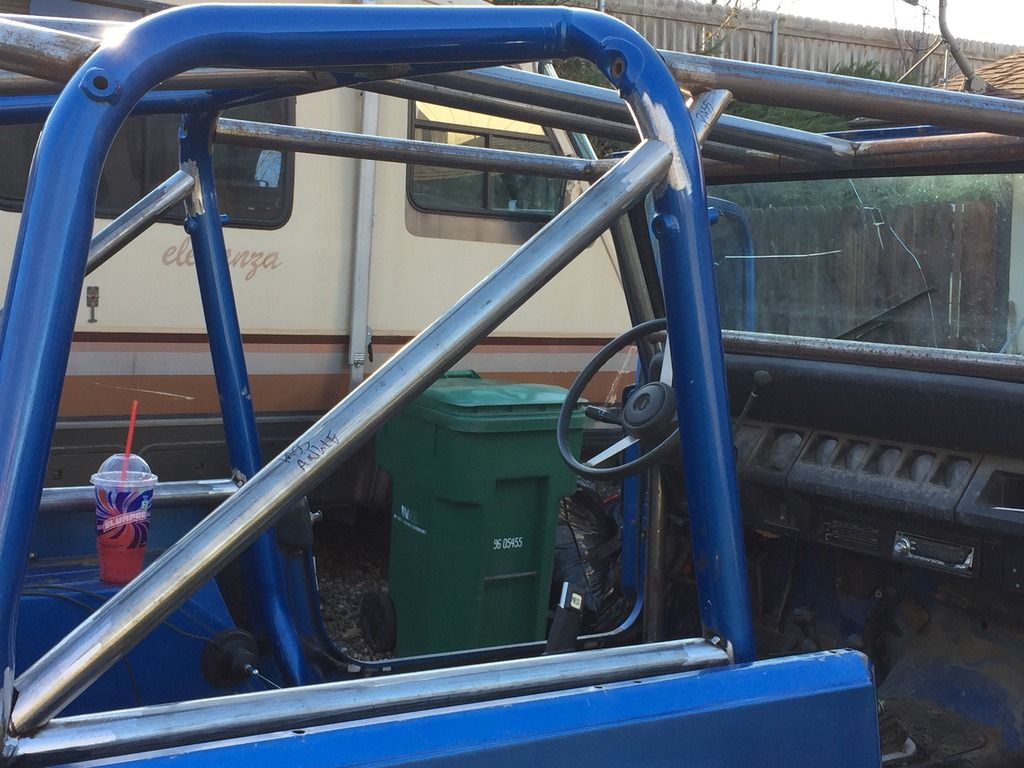
Added a few extra bars. Had just one center bar and just couldn't bring myself to like it, now there are two.
I am trying to decide if a bar between the B & C pillar is needed? Or just put tabs and run bolt-on rub rails when the top is off?
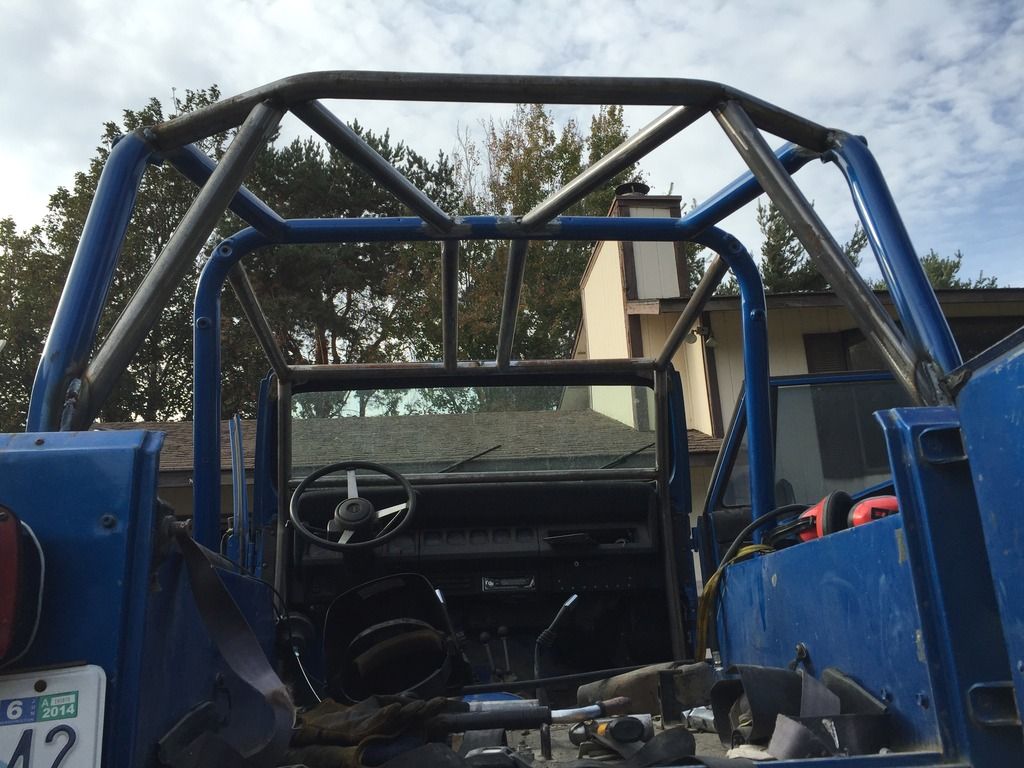
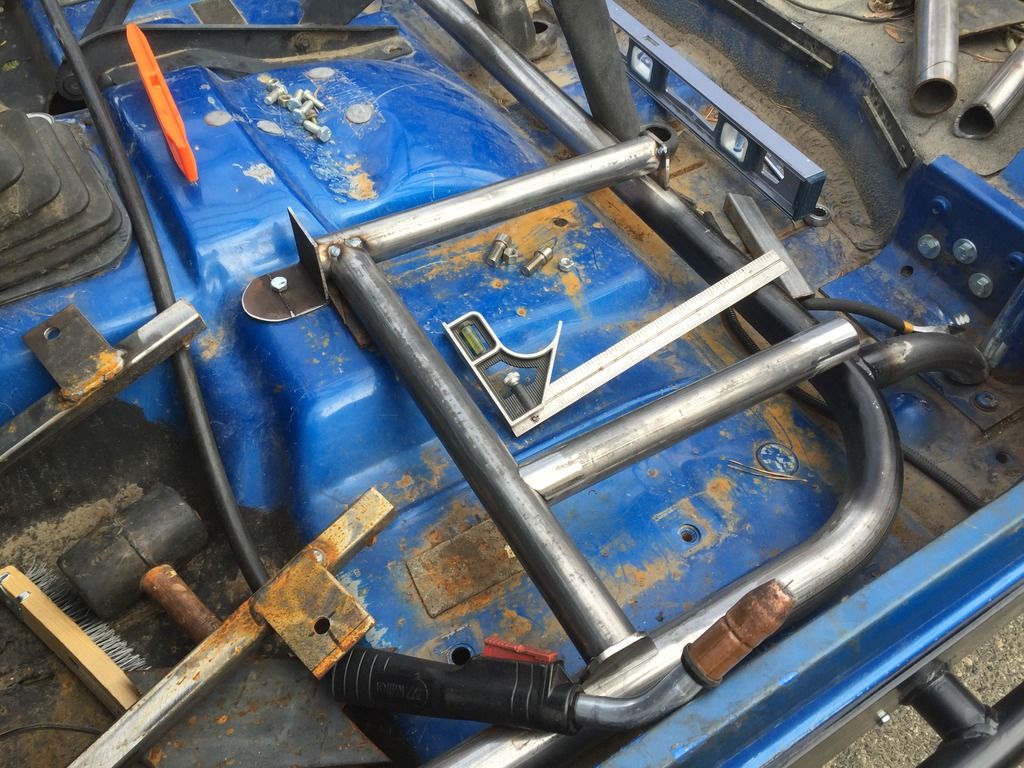
And some work on the seat mounts. NO, this isn't final, but does get it close to the right ride height. It will probably be 1 1/2 box and fully plated under the sliders.
The frame is a little funny because I want to keep the stock seat belts which won't allow a straight shot between the A & B pillar.
Posted: Sat Nov 14, 2015 5:00 pm
by bobracing
Seems the only time I get to work on the Jeep is if I take a day off but for some reason, I was home alone on a Saturday. And again, i can see the advantages of credit card wheeling.
Decided to use 1.5" tube over the 1" box. I really didn't think it would change the seat position much.
That 1/2" did make a difference and so removing a 1/2" was needed, and pass bracket was made too. Make sure you measure, jeeps pass side is different by about an inch.
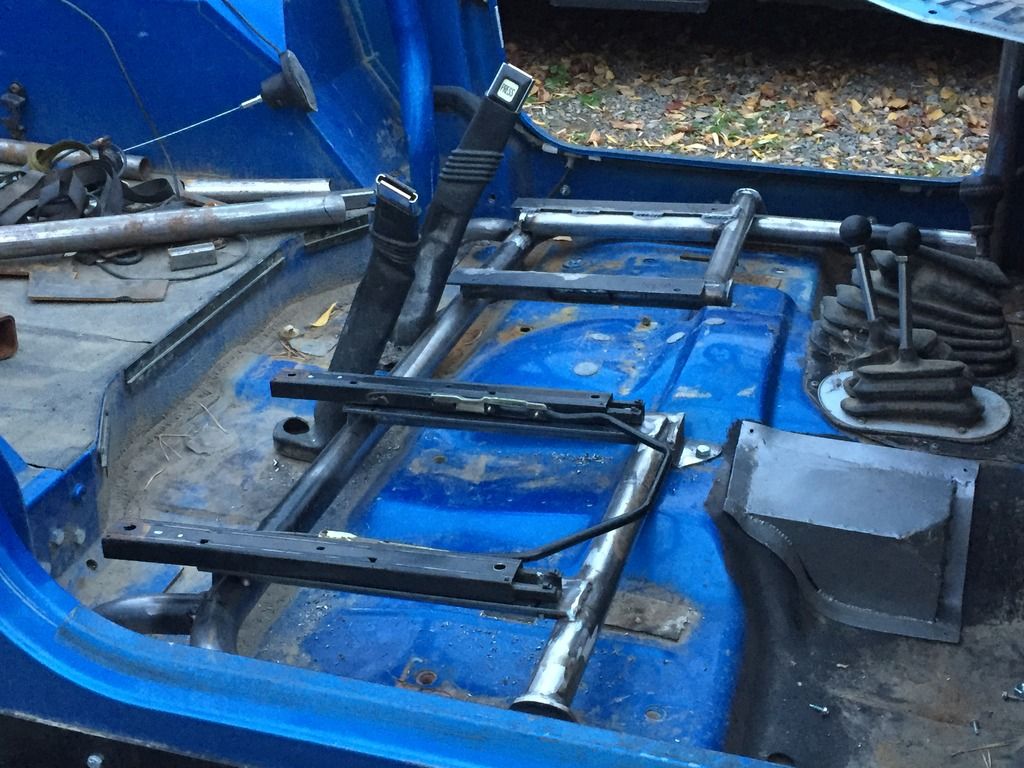
Poser shot
Posted: Sun Jan 31, 2016 8:16 pm
by bobracing
Think I need to time this with moon cycles but finally got a nice day and some free time.
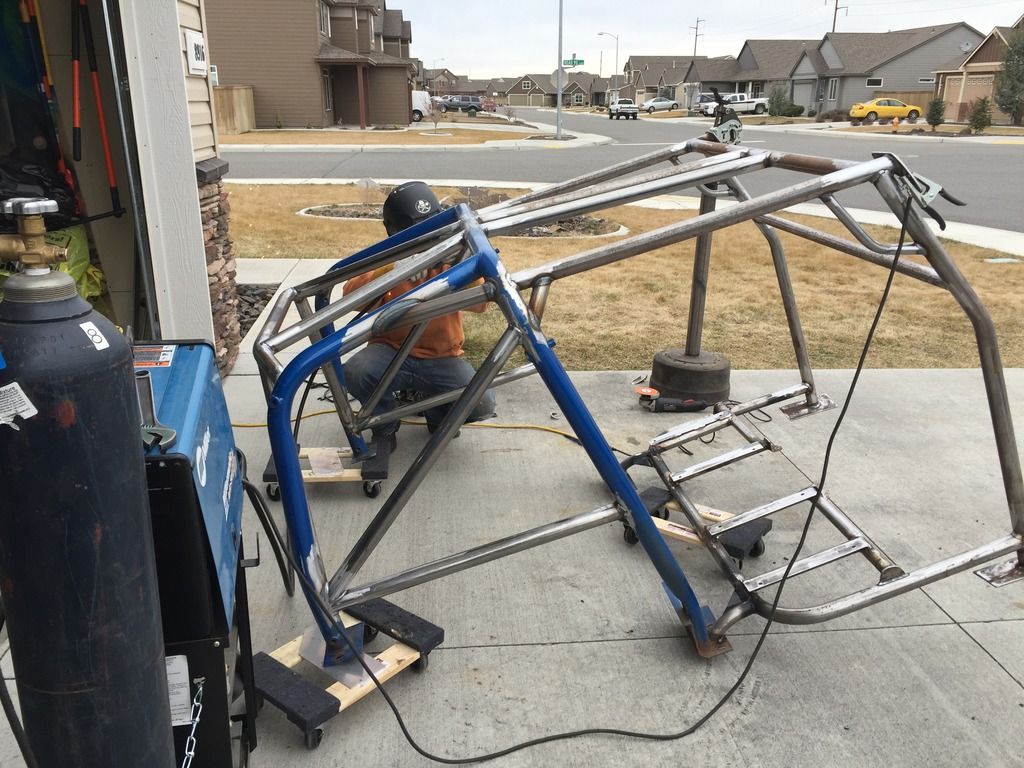
Added some extra bars to the cage, lower spreader, angle, and a gussets. Still trying to decide if I like the design or not. I've seen the idea on another Jeep with a sport bar but the only purposely built this way is on SuperJeep. Figure it gives more weld, a gusset, and runs down to a connection point, not perfect but puts some tri-angles in to the design.
About time to pull it out for final weld.
Posted: Sun Jan 31, 2016 8:18 pm
by bobracing
I can make things stick with a hot glue gun but for piece of mind, and happen to have a friend, a professional welder was called in.
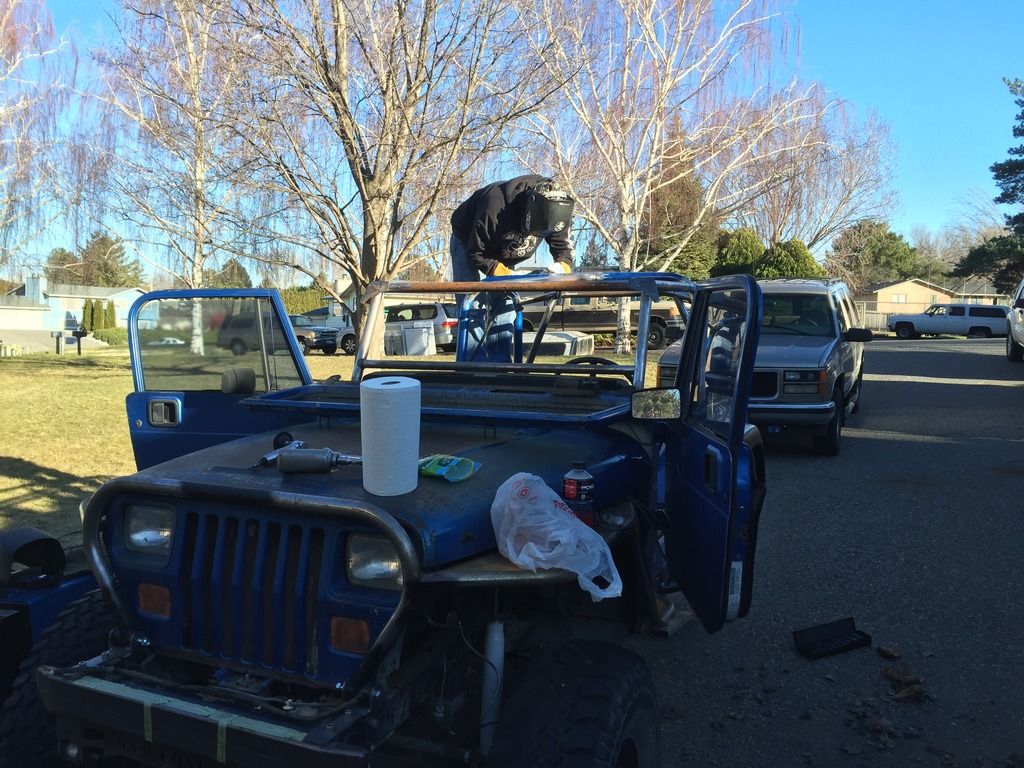
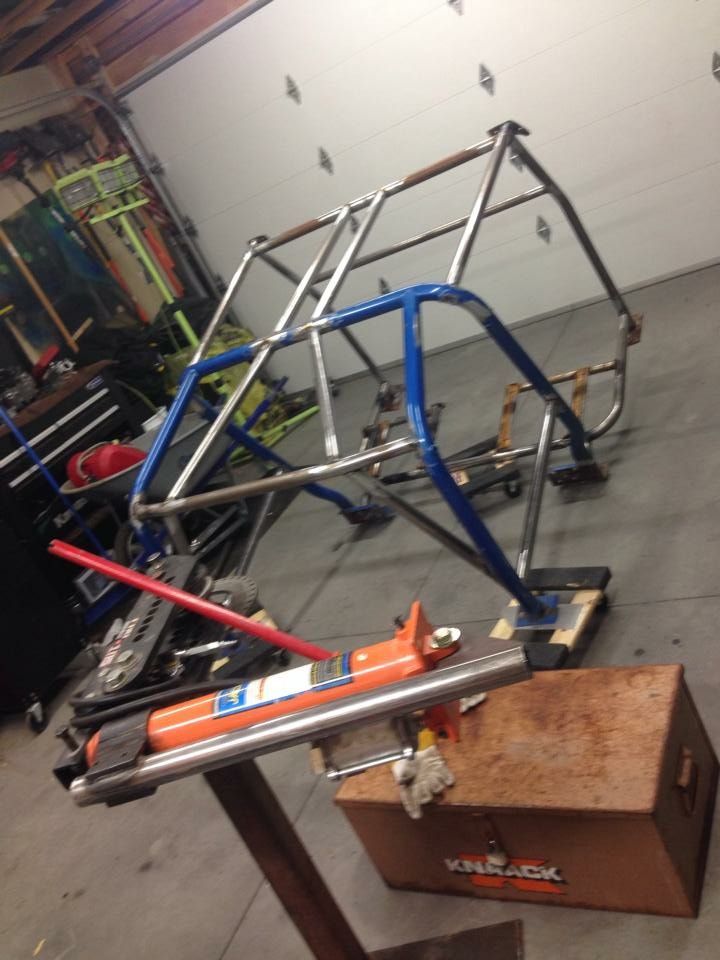
Once the cage was welded as much as possible in the Jeep, it was removed and loaded into the truck.
Took it to the welder's house so he can finish it up in his free time.
Posted: Sat Feb 06, 2016 3:53 pm
by bobracing
And finish welded thanks to Josh.
Posted: Sun Feb 07, 2016 6:29 pm
by bobracing
Back in the Jeep, at least temp. Was hoping everything would bolt back in but no luck. Not sure how but it moved just enough one set of bolts wouldn't fit but a little die grinder work made it all better.
Still trying to decide if more "tri-angles" are needed but a harness bar is.
Not sure if I'm cheap or just to lazy to order parts but time to make more tabs.
Then some frame mounts.
Posted: Sun Feb 14, 2016 7:11 pm
by bobracing
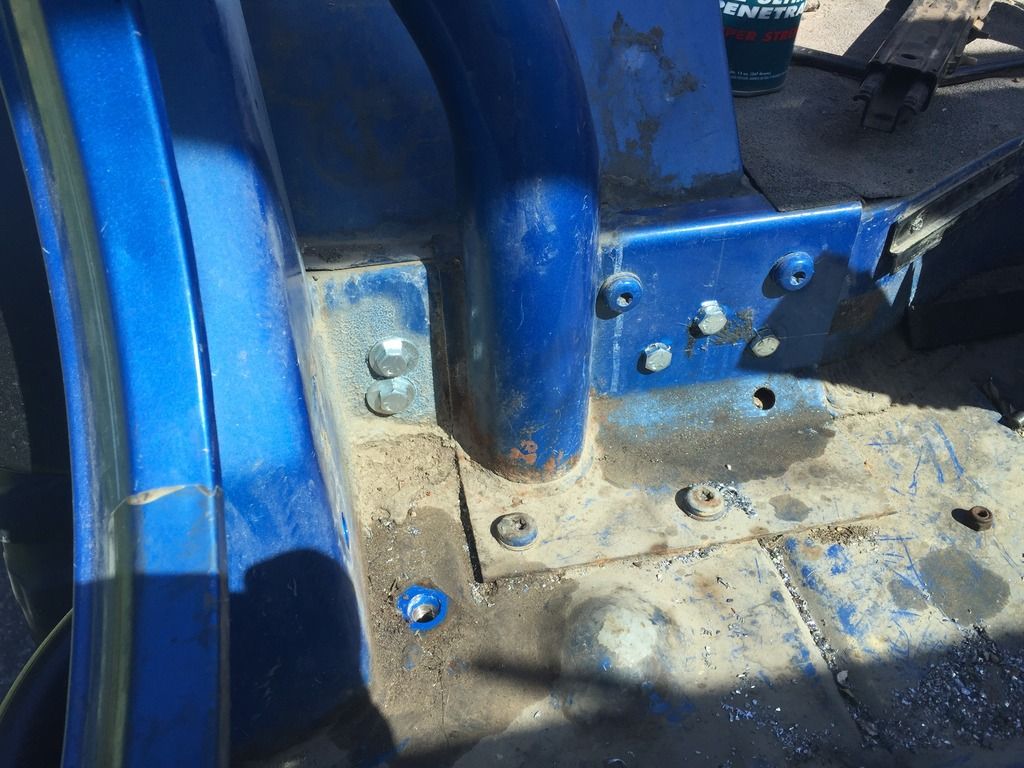
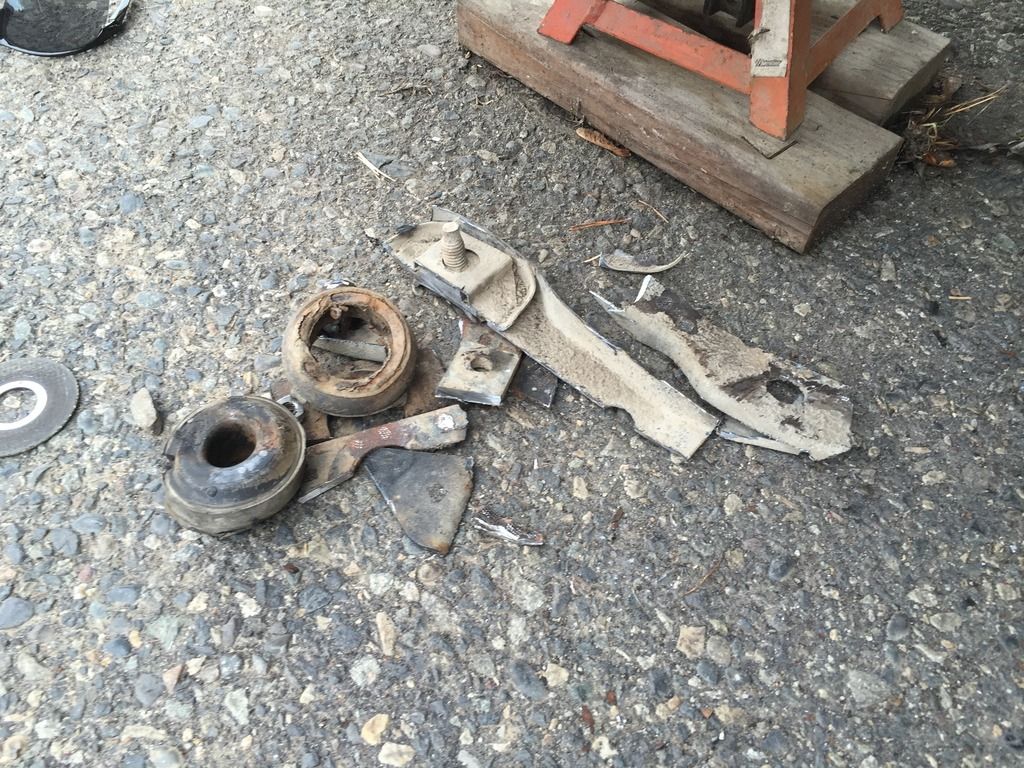
Now I know why many people skip the b-loop frame tie-ins, there is a body mount under the b-loop. This sheetmetal hat channel just didn't give me warm fuzzier so something different had to happen, I also ended up breaking the body bolt too.
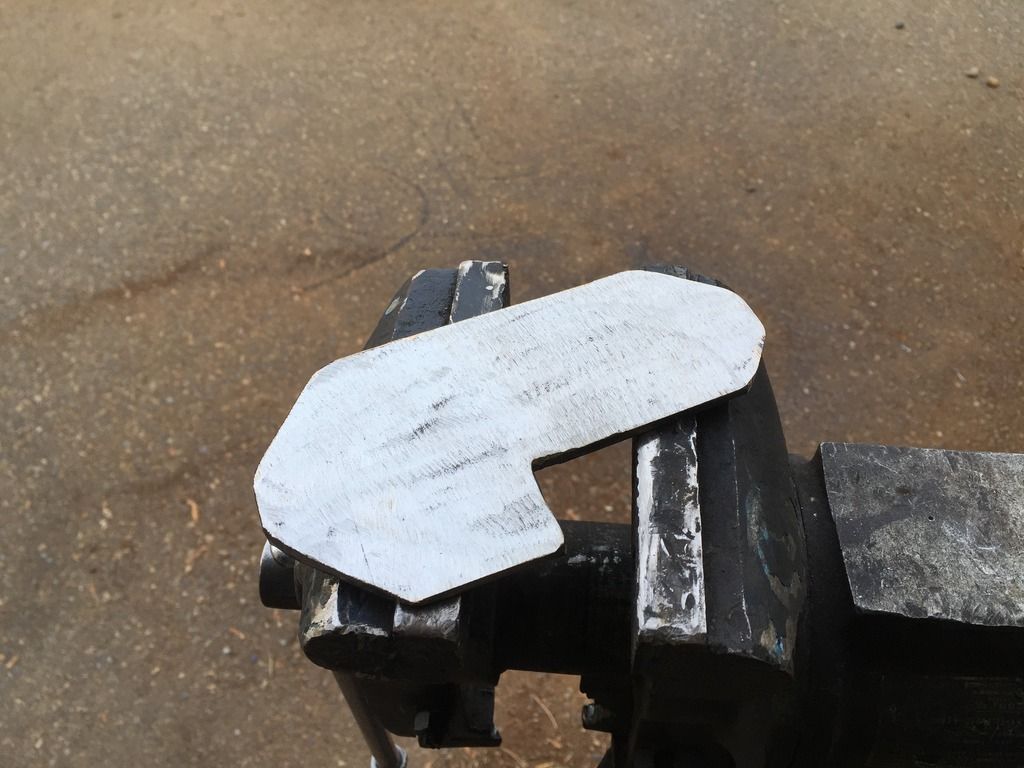
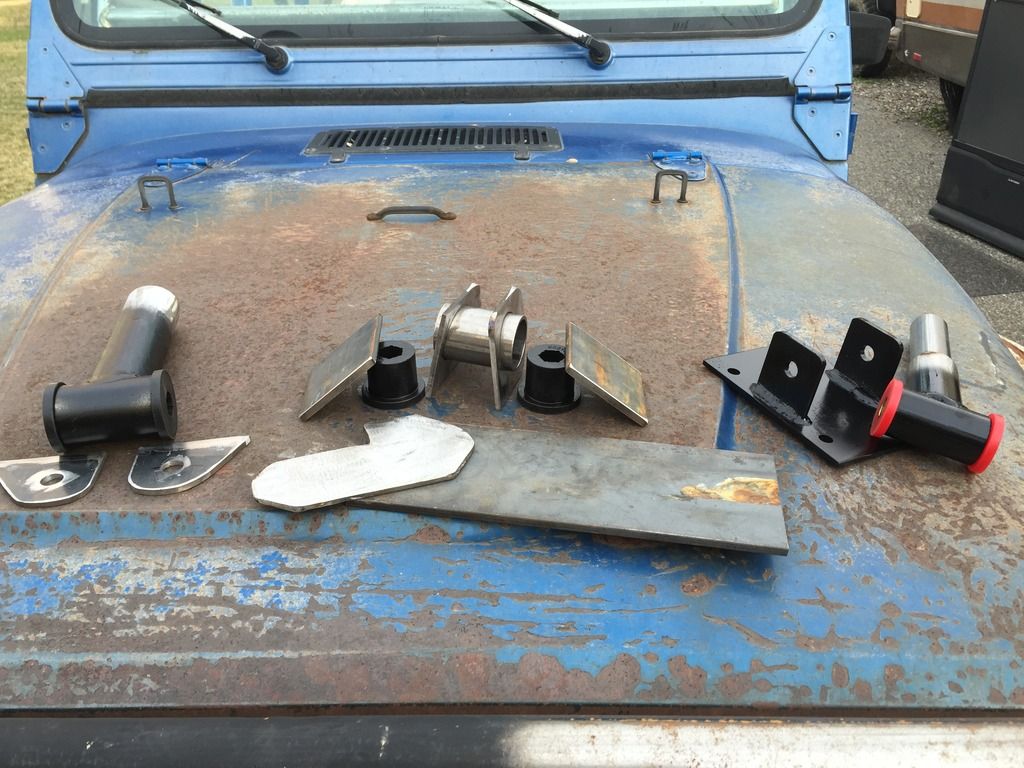
So I started with something like this:
Ended up with a pile of hat channel, rubber body bushing, and the broken body mount.
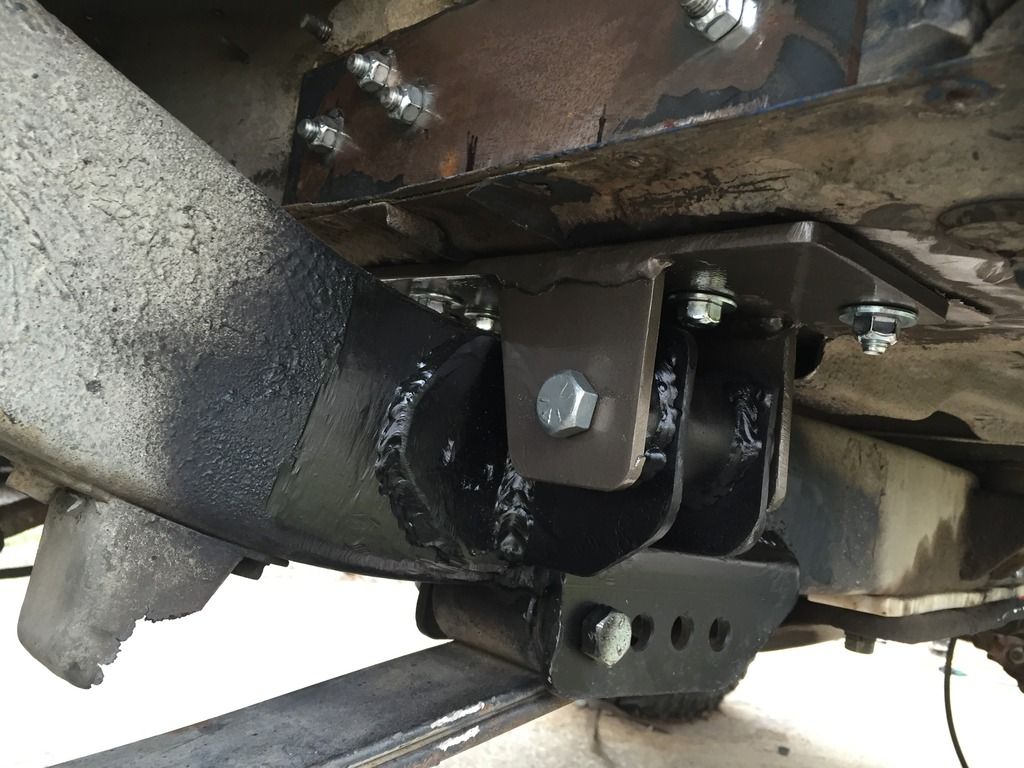
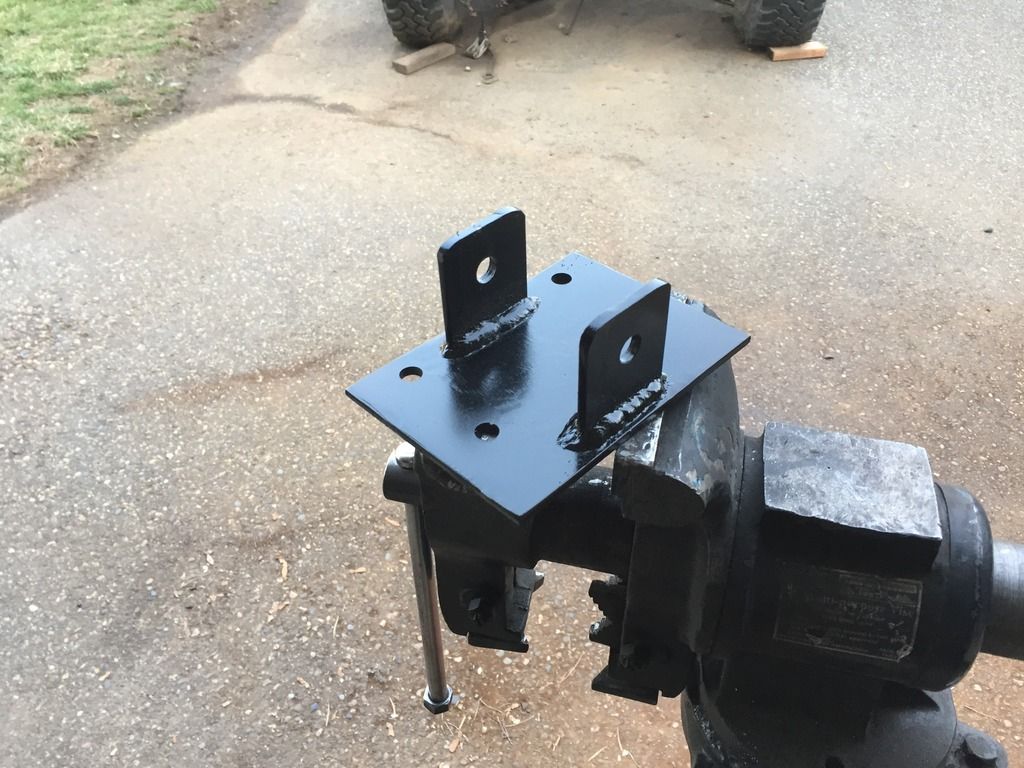
New 4x11x.25 plate, this covers the entire b-loop floor plate. This includes 6 bolts from the b-loop base plate and a much heavier seatbelt mount.
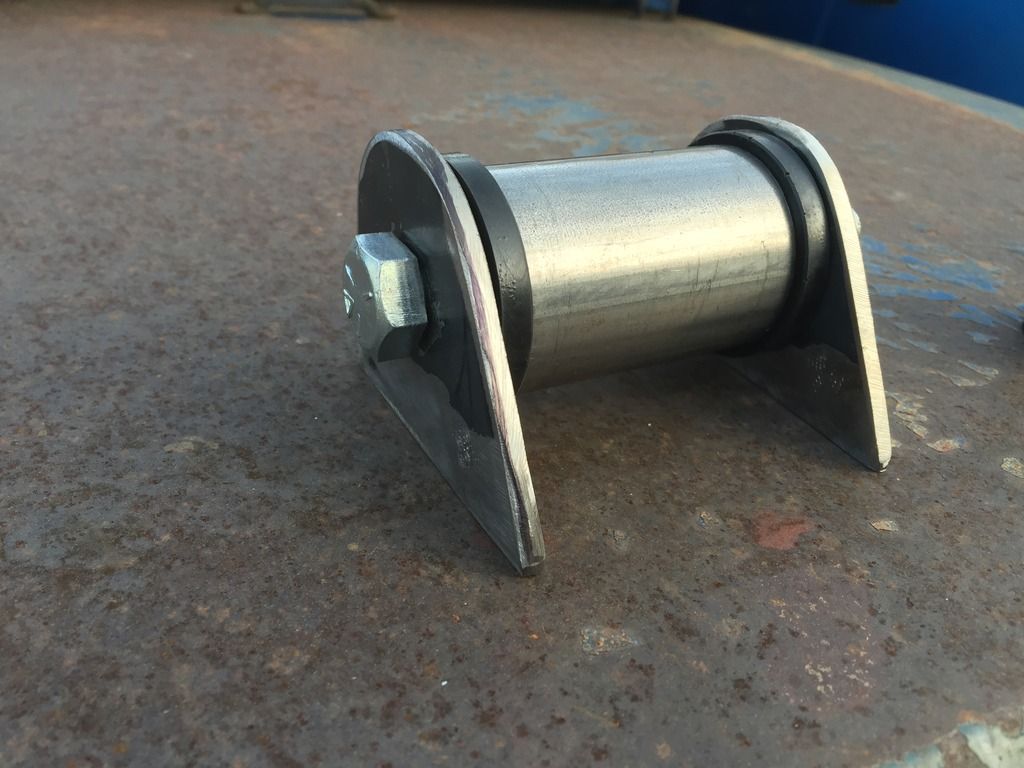
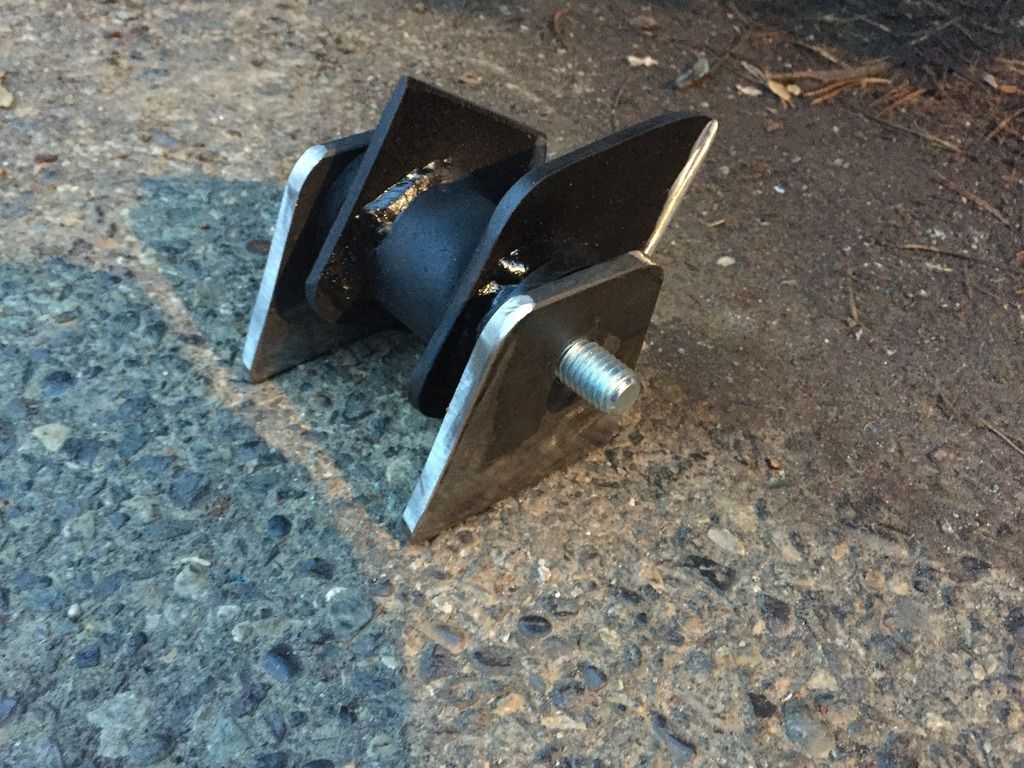
New mount, with bushing and tabs.
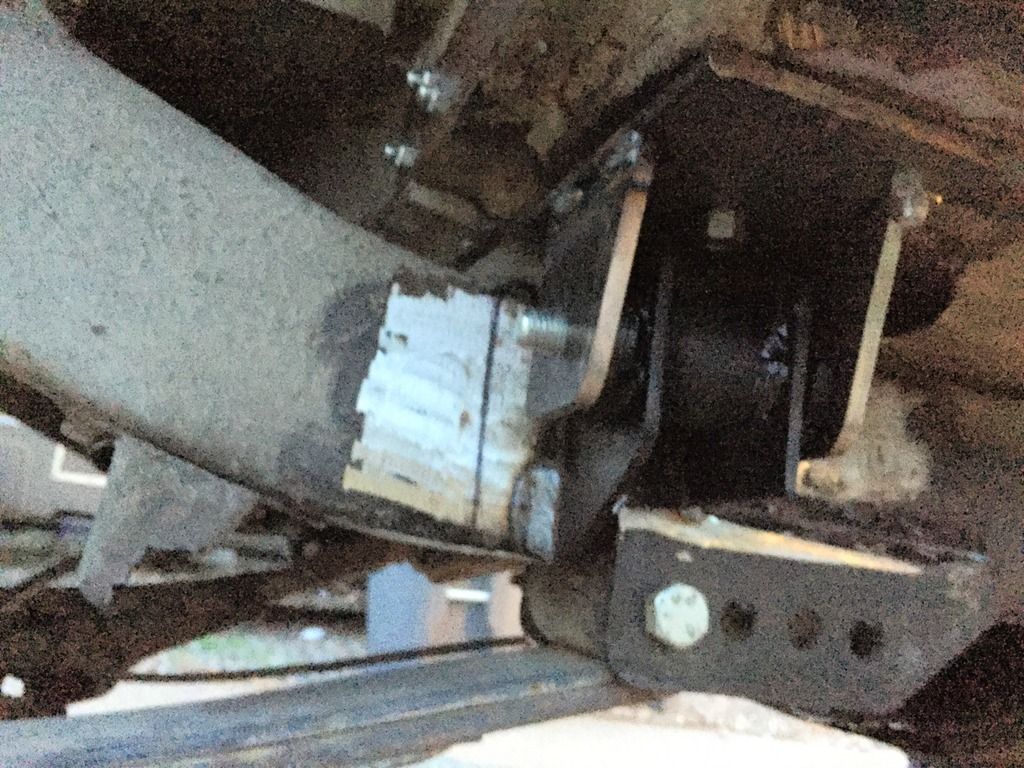
And ran out of daylight, but tacked in place.
Re: YJ mods, an on going thread.
Posted: Sun Feb 21, 2016 5:56 pm
by bobracing
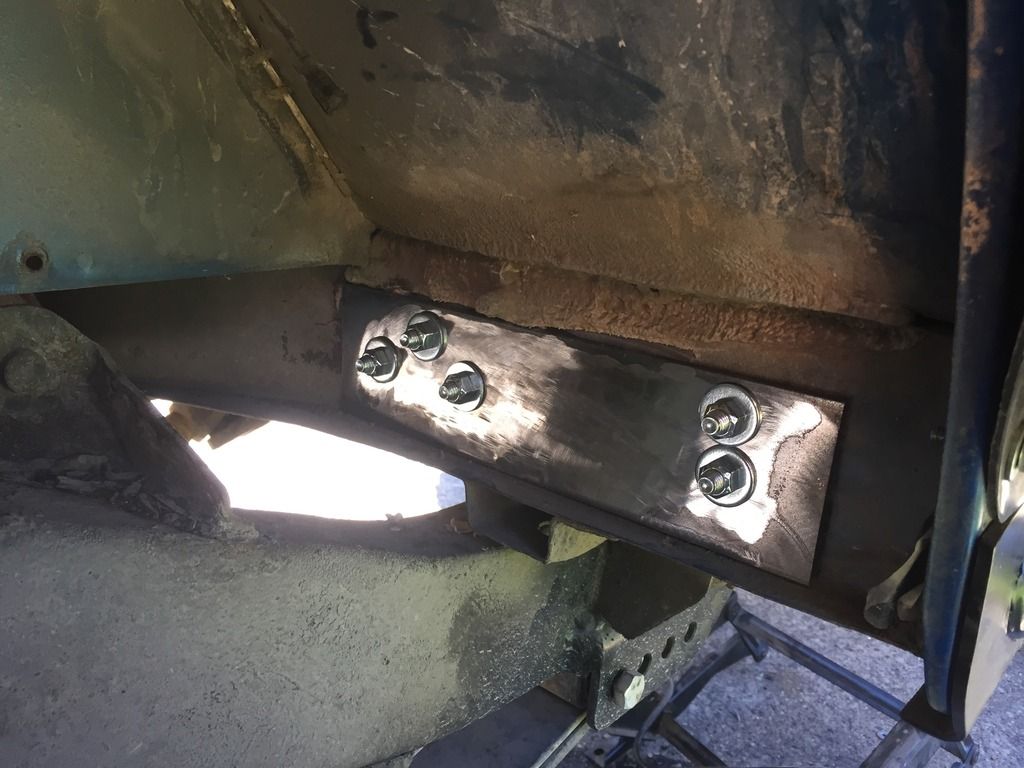
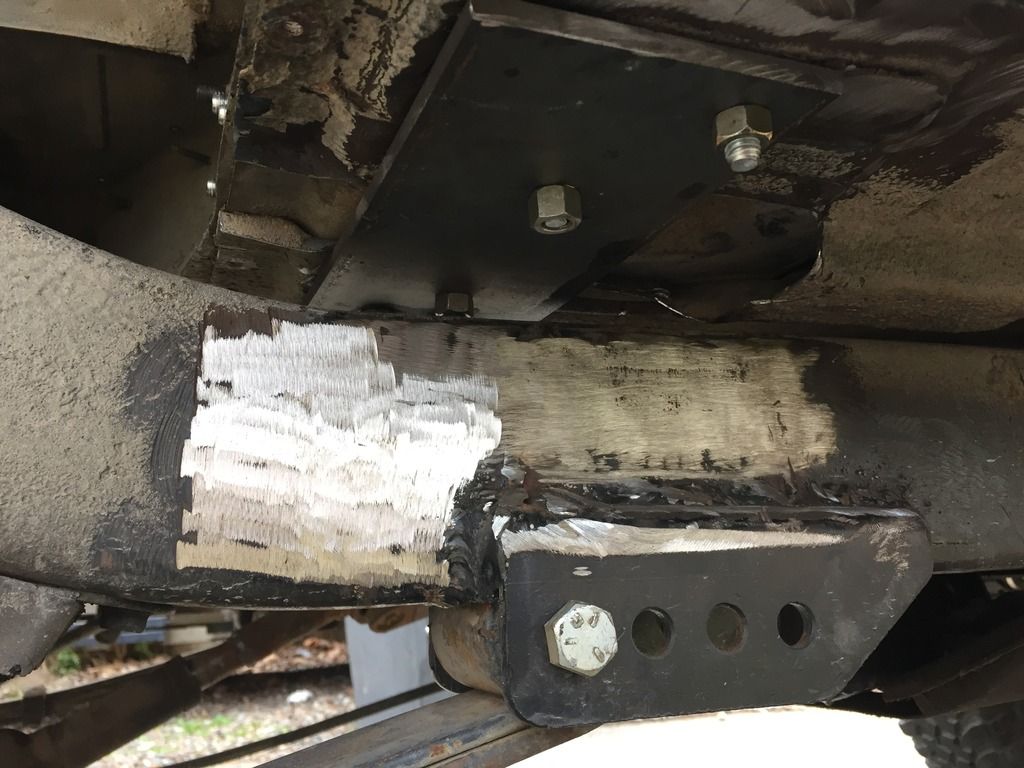
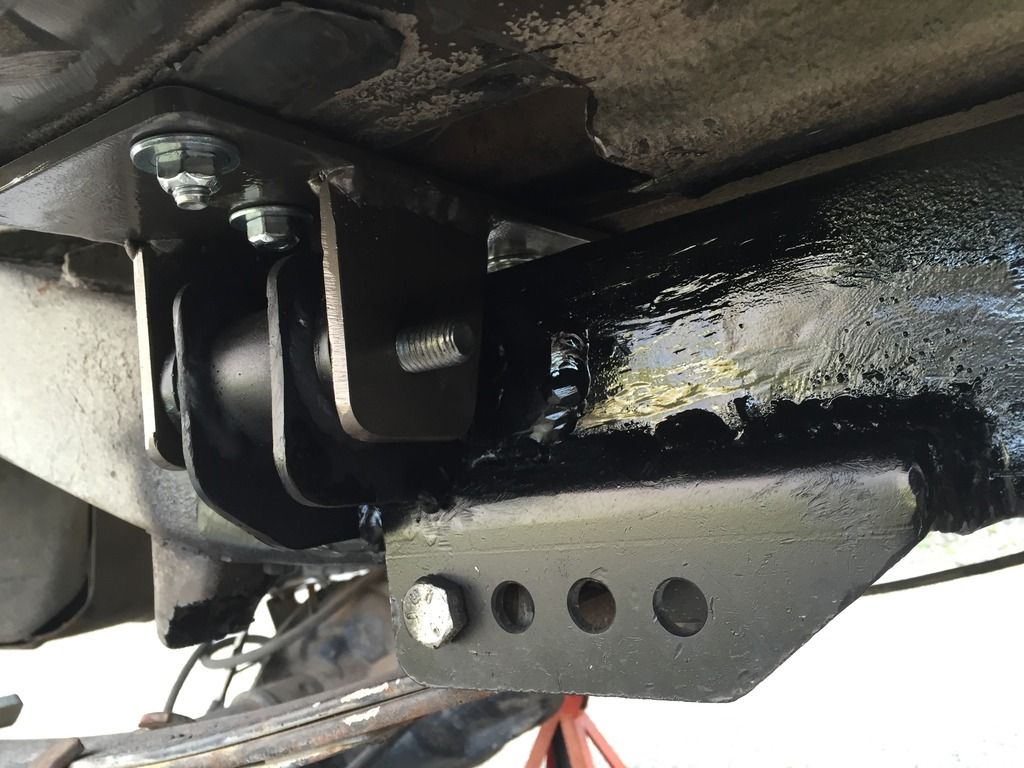
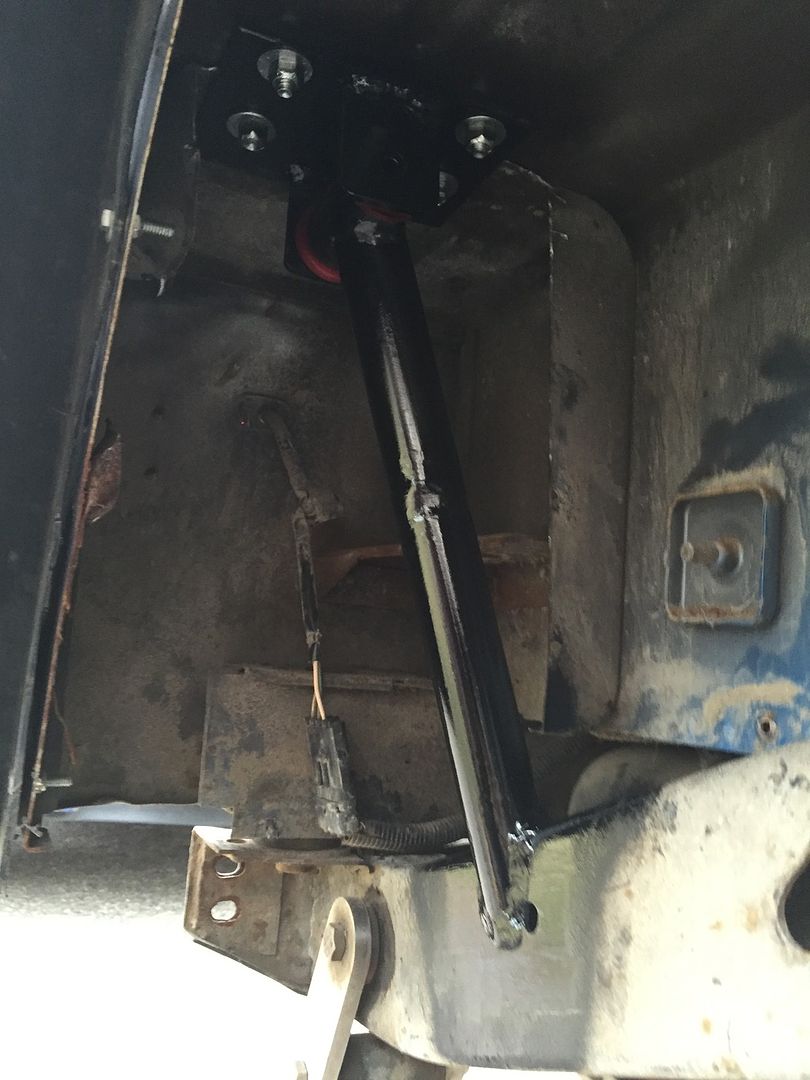
Sooooo, after last weekend, I felt that I had gotten ahead of myself with the b-pillar mounts. The mount design was OK but wasn't wild about welding it straight to the frame, so a new plate was made. Thicker with more weld to the frame.
The b-pillar body mount was removed and painted.

The b-pillar frame mount was welded in and body mount was re-installed.
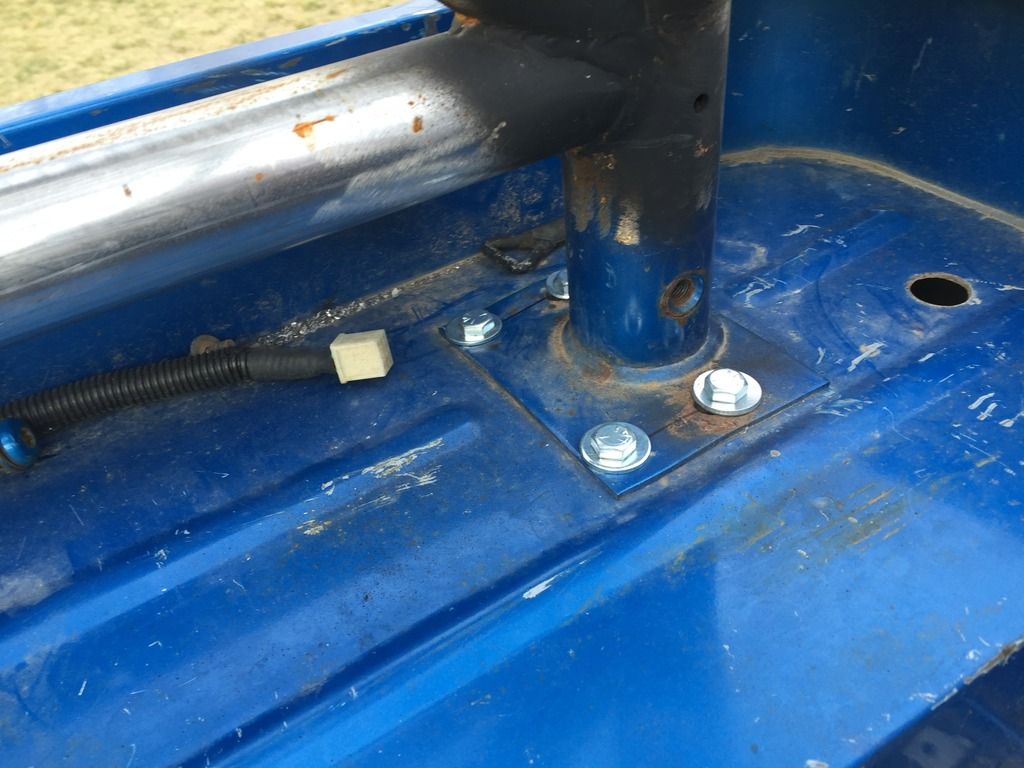
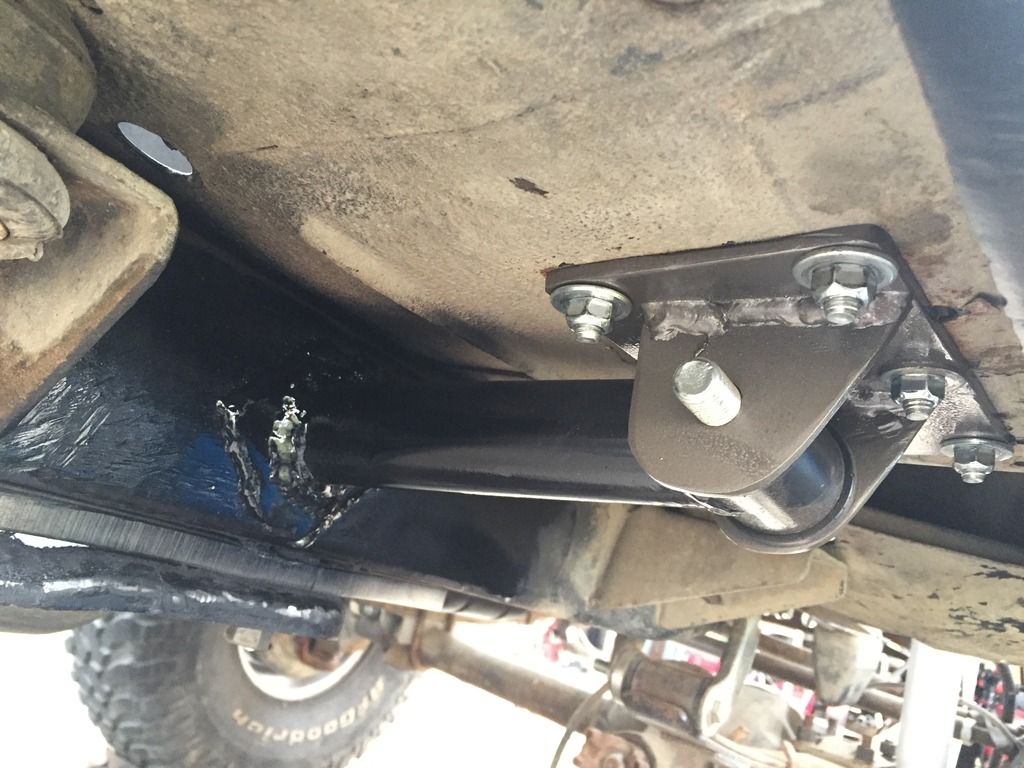
Then attention was moved to the c-pillar.
A couple extra holes in the stock plate
Couple plates tacked together and drilled, drilling 4 holes is better than 8.
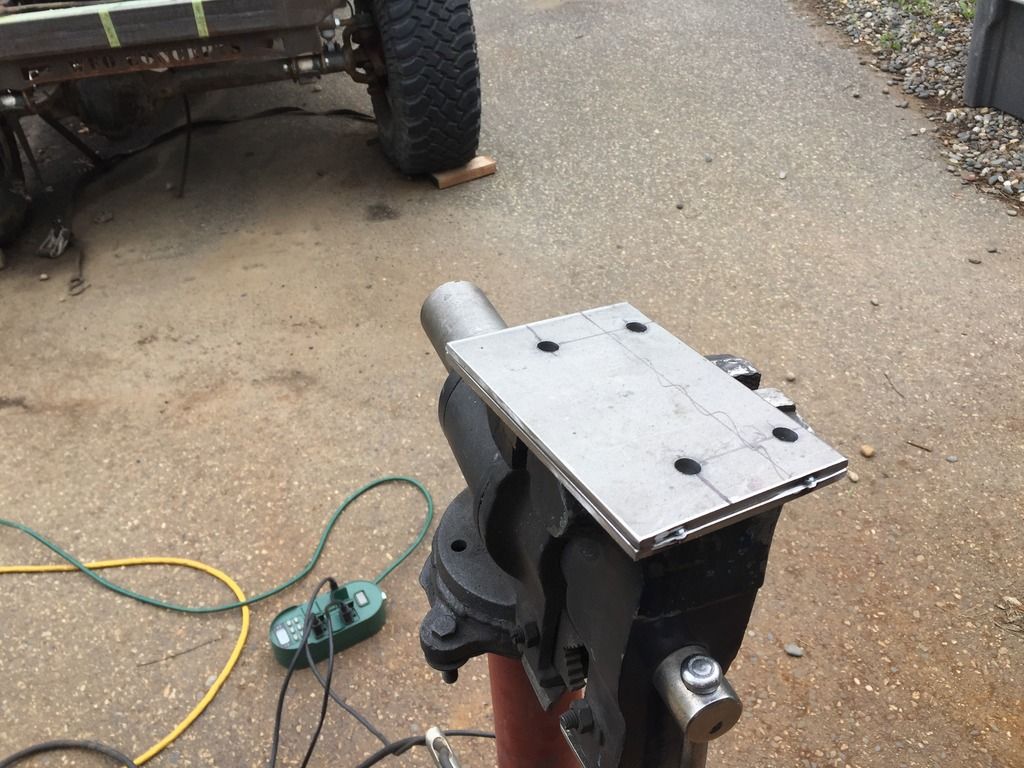
Test fit to make sure the holes are right and placement for the bushing tabs.
Originally wanted to put the bushing on the frame but decided there was to much "pivot" affect there and putting them up high was better. Am I right??? But is the way I did it.
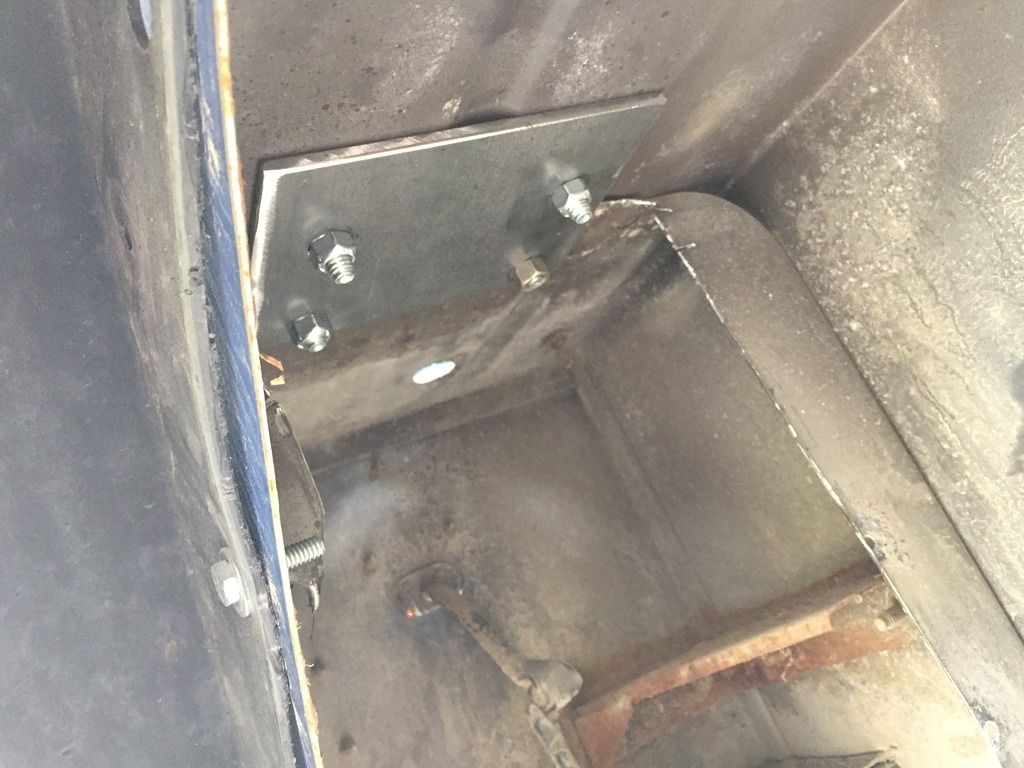
Tabs welded and painted. Got to love how fast paint dries on freshly welded parts.
Welded frame support in.
Front mount was finish welded
And now just have to do it all again on the driver's side, fortunately most of the pieces were copied while building the pass side.
Re: YJ mods, an on going thread.
Posted: Sun Feb 21, 2016 7:30 pm
by 79chevy39.5's
I wouldn't be too worried about the pivot.looks more sound than most anyways. You can always roll it to find out

Re: YJ mods, an on going thread.
Posted: Sun Aug 28, 2016 2:42 pm
by bobracing
After playing lawn boy, general contractor, lawyer, banker, and overall handyman for my dad's estate this summer, it's time to get back to the Jeep.
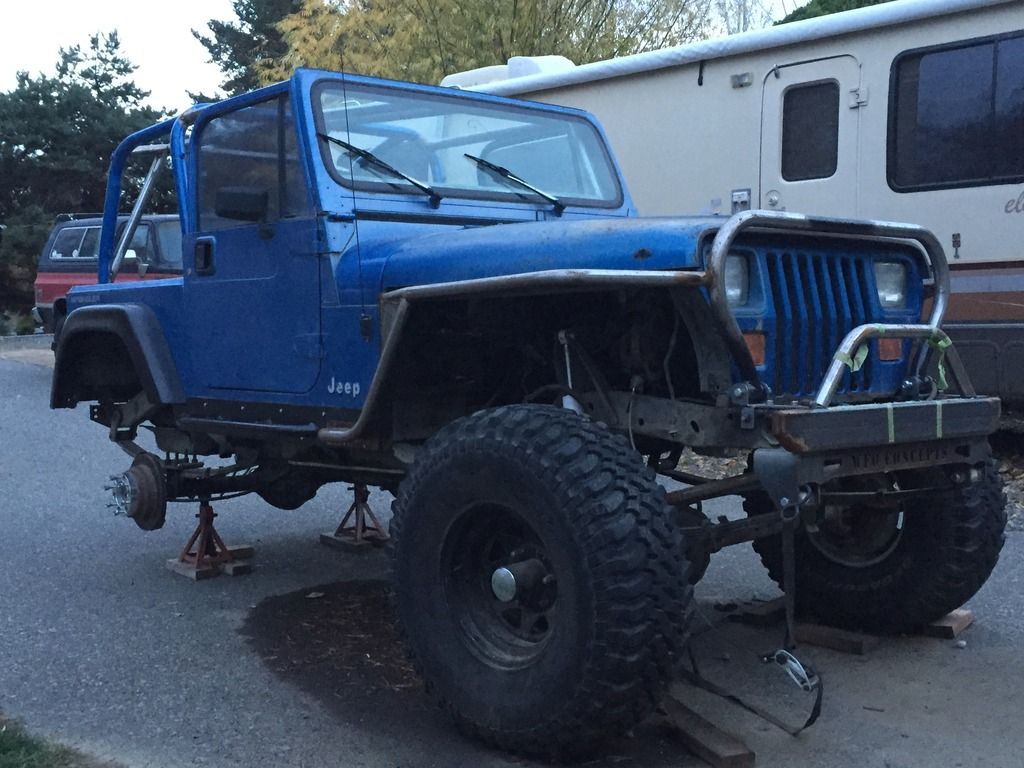
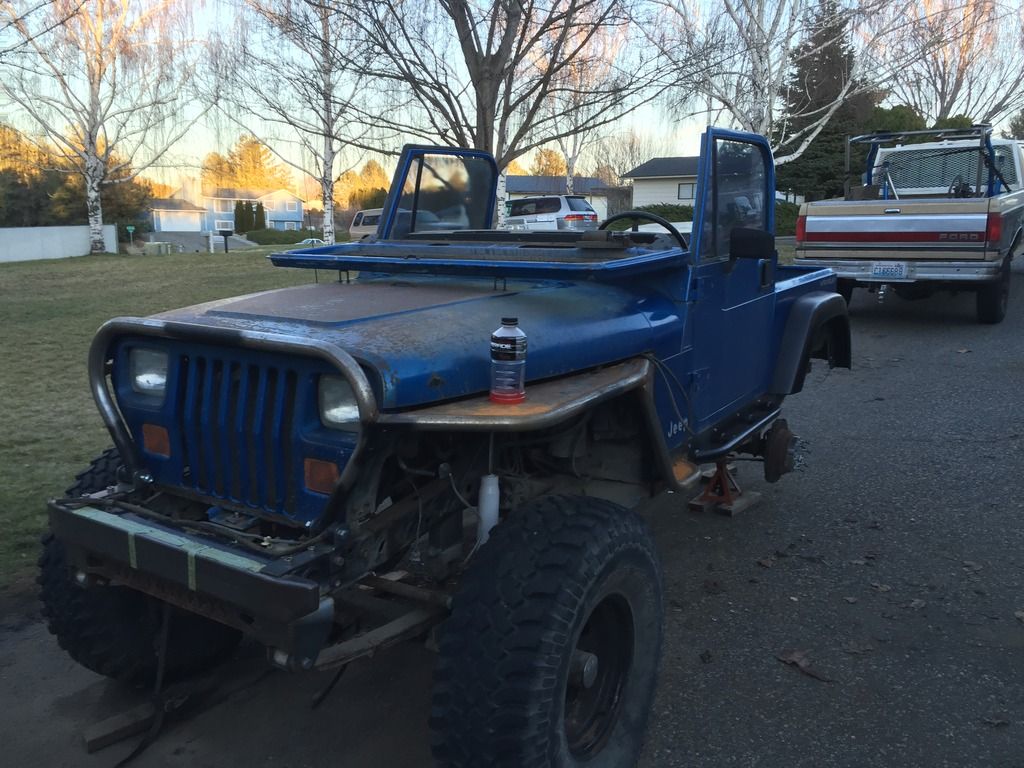
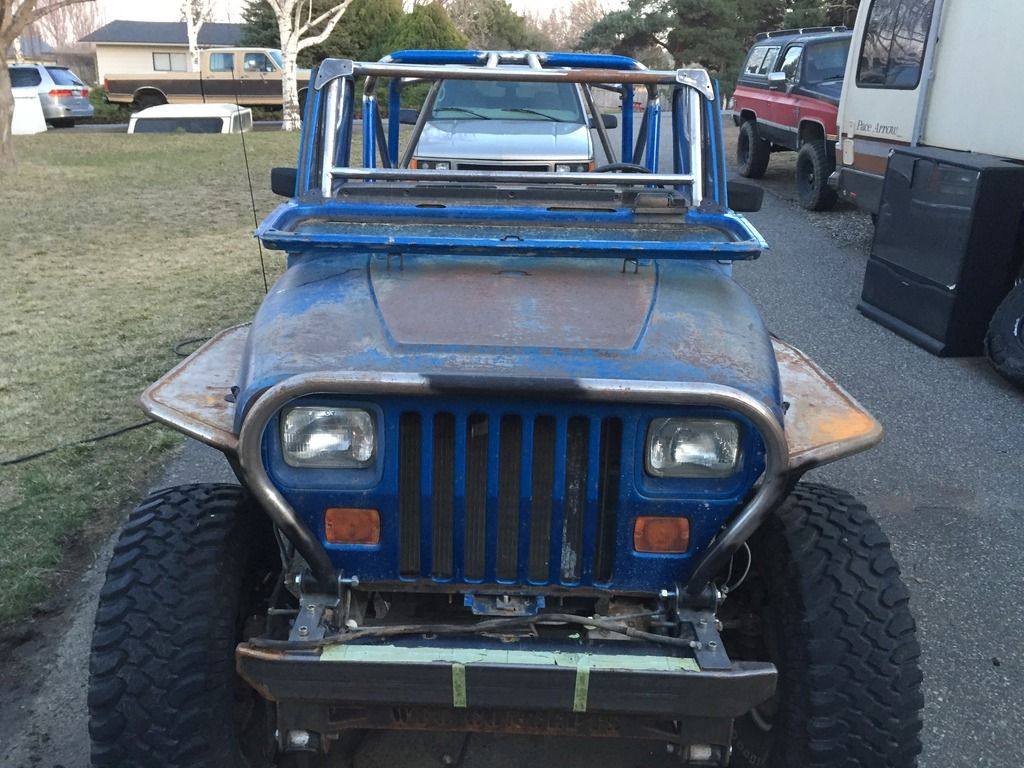
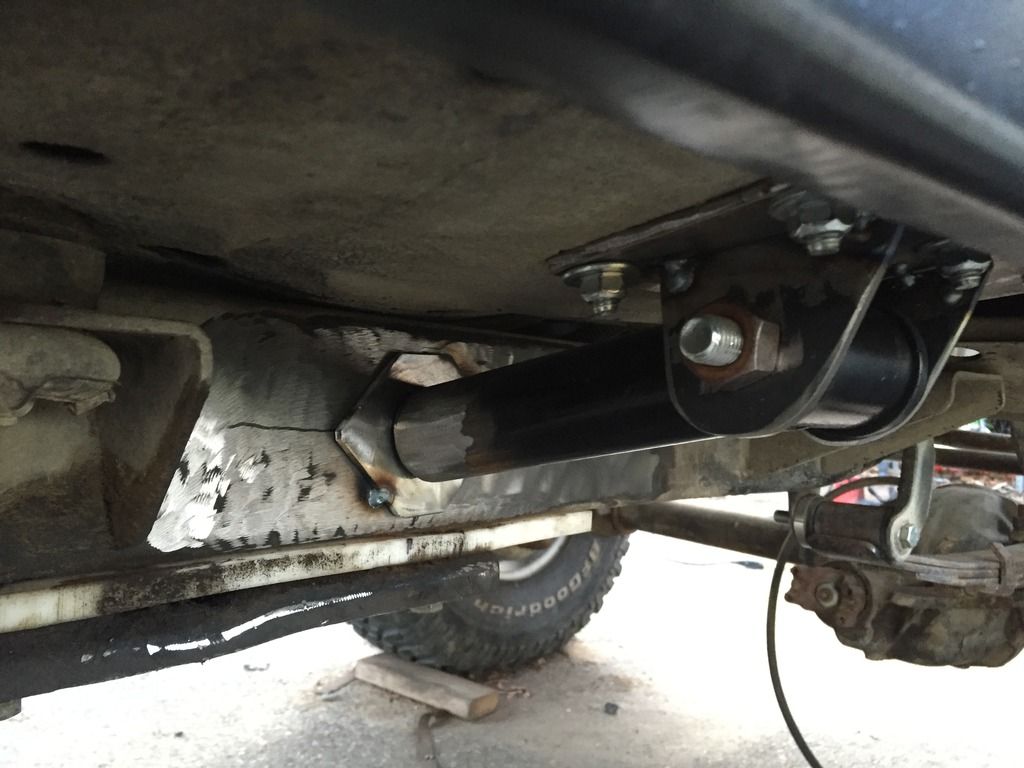
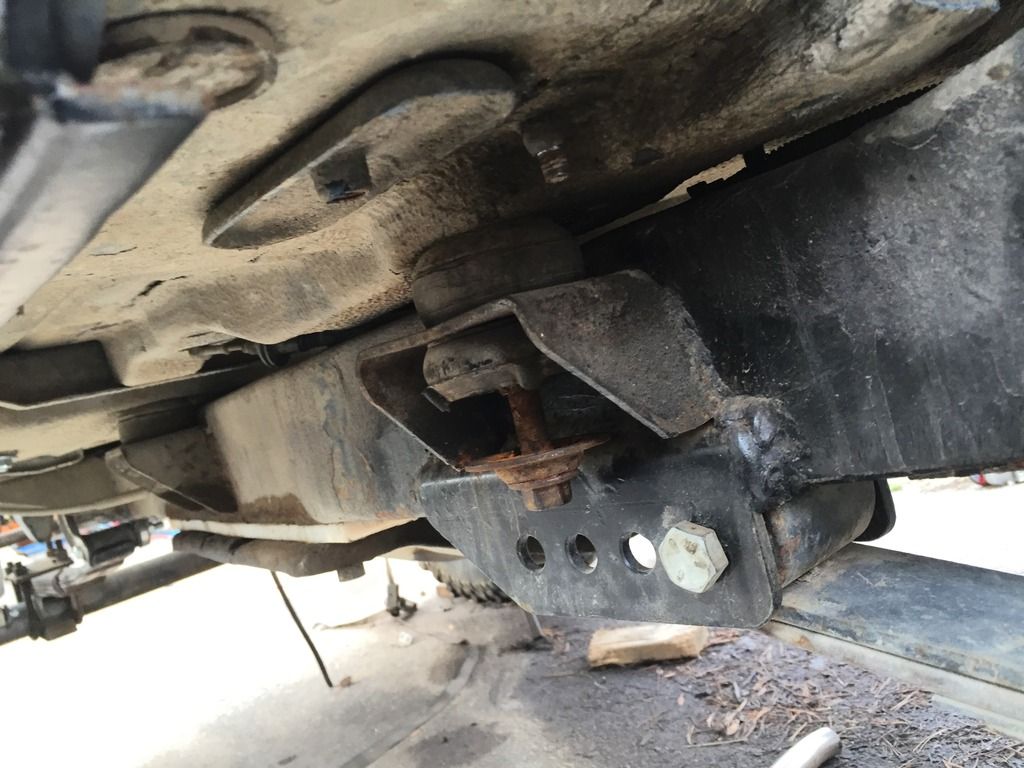
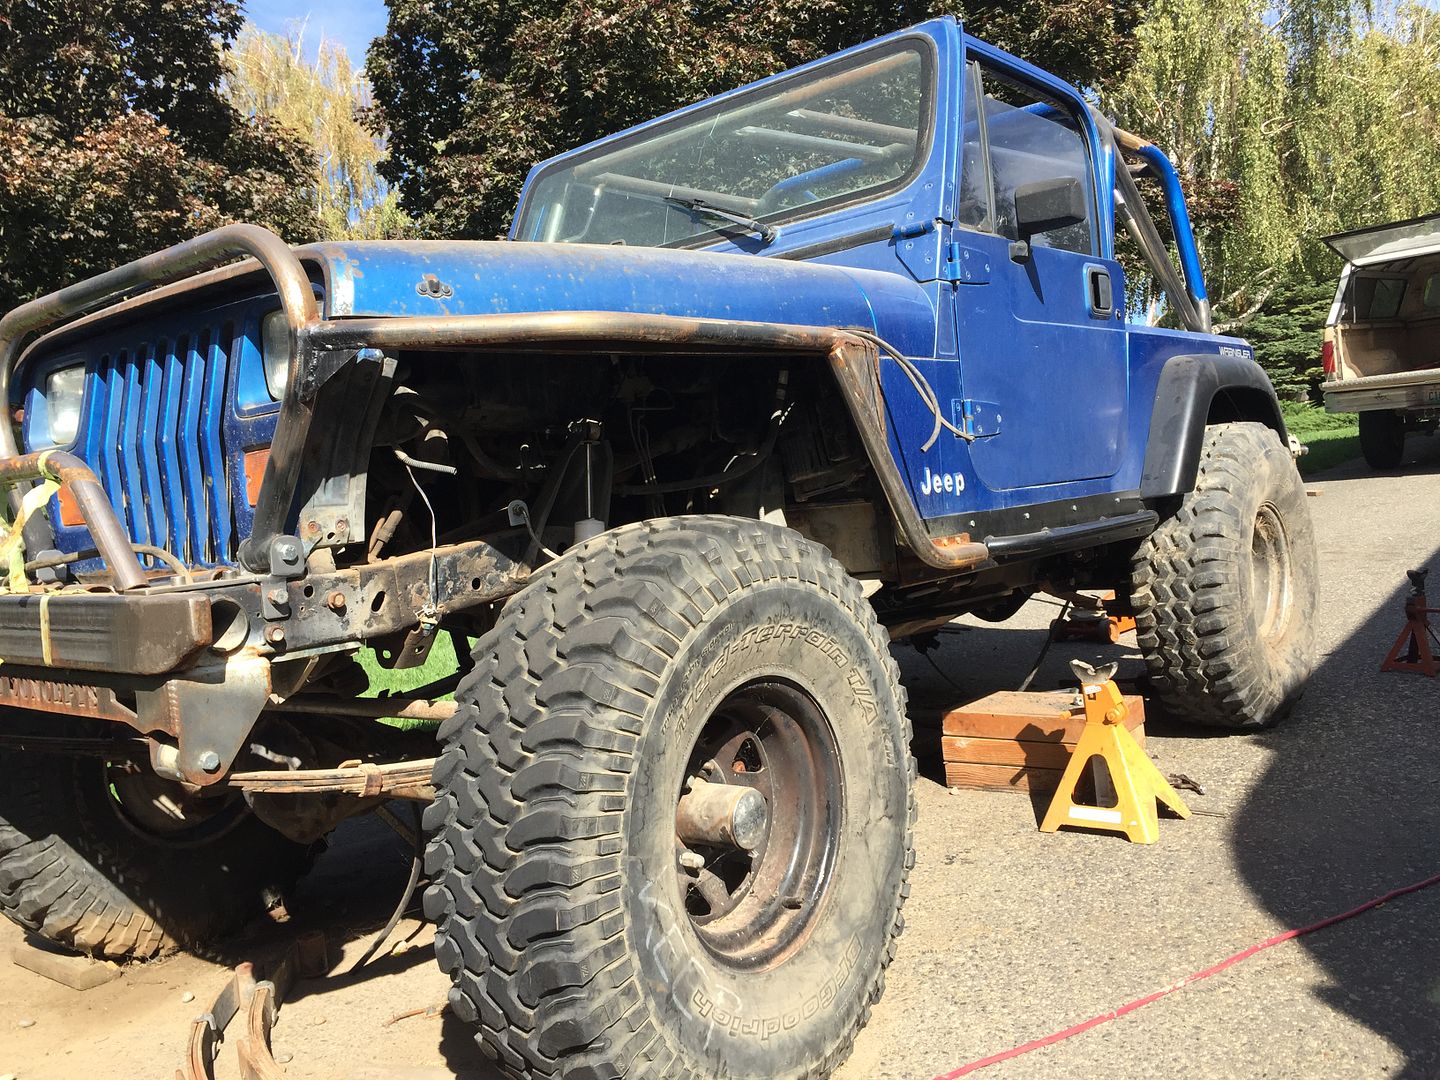
After wayyyyyy too much thinking, I decided to go back to SUA. Few reasons but the top two were driveshaft angle and just plain sat too high. So with some worn out 3.5 lift spring to test, back together it went. It came out a bit lower than I had hoped so might have to move to a new 3.5" springs and a little more shackle instead of the 2.5" I was hoping for.
Only the back is SUA at time of picture.
Re: YJ mods, an on going thread.
Posted: Sun Aug 28, 2016 3:14 pm
by Roman
Back when I had 37" Pitbull Rockers I had just a hair more clearance in the back than ya got now.
Lower the bump stops and let that big squishy tire suck it up!


