Page 2 of 8
Posted: Mon Sep 16, 2013 8:34 am
by Roman
bobracing wrote:-Low range isn't as low as a 231
I'll have the 231 low range 
Doubler?
Posted: Mon Sep 16, 2013 8:52 am
by bobracing
Roman wrote:bobracing wrote:-Low range isn't as low as a 231
I'll have the 231 low range
Doubler?
Yep, the only thing I really want and don't have is an AW4.
Posted: Mon Sep 16, 2013 3:31 pm
by benw
Are you moving the rear axle back? I'm not sure an AW4/231/d300 would fit.
Posted: Mon Sep 16, 2013 5:31 pm
by bobracing
benw wrote:Are you moving the rear axle back? I'm not sure an AW4/231/d300 would fit.
Some, just going to move it 1" using the spring pads.
From what I can find, the AW4 is about 1 3/8" longer than ax15.
The doubler combo is about the same length, haven't found a good number yet but the combo should be less than 3" in over all length than a 5sp. Yep it will be tight.
Posted: Mon Sep 16, 2013 7:08 pm
by benw
It will certainly be tight. Here is my rear driveline with an Ax15, 231, d300. My 300 is the 1980 short shaft model. 1310CV driveline, there is about 2" of tube in it. Rear axle is pushed back 1". SOA.
http://imageshack.us/a/img585/8656/idzq.jpg
Posted: Mon Sep 16, 2013 9:09 pm
by bobracing
Thanks for the picture Ben. As of right now, I'll be running the stock 3sp, may just stay with it.
Posted: Tue Sep 17, 2013 7:57 pm
by bobracing
Last night was kind disappointing. Welded in the shackle bushing tubes (thru the frame), popped the bushing in, and went to install the bolts, wrong size. Oh well, have a new set of shackles on the way.
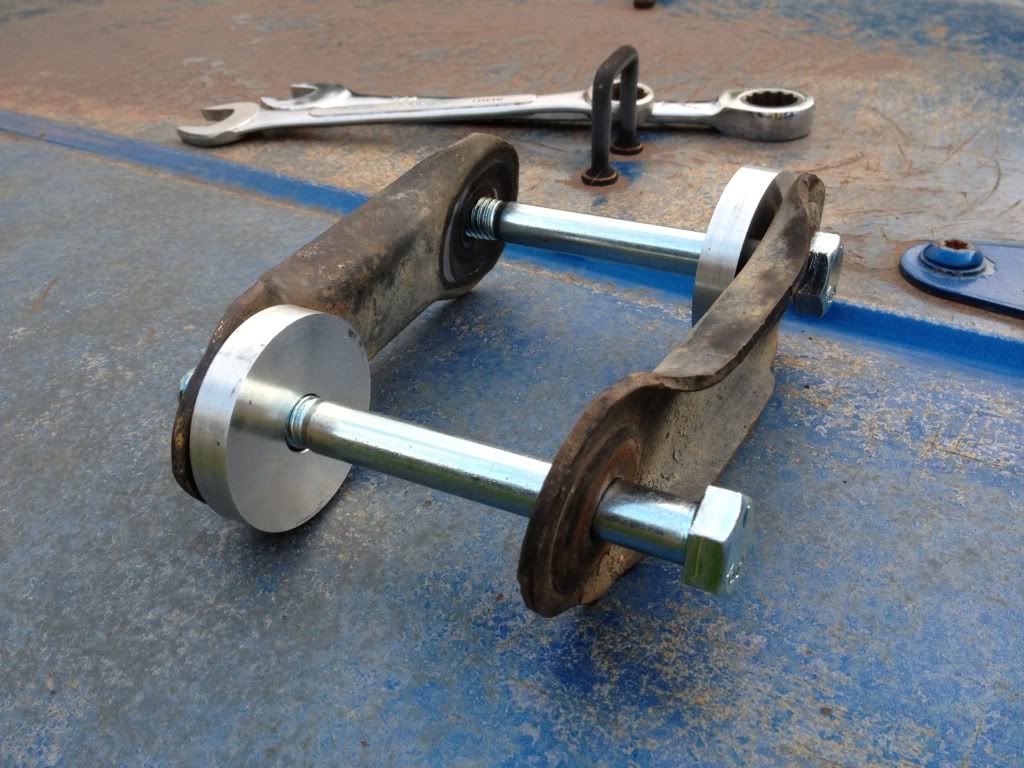
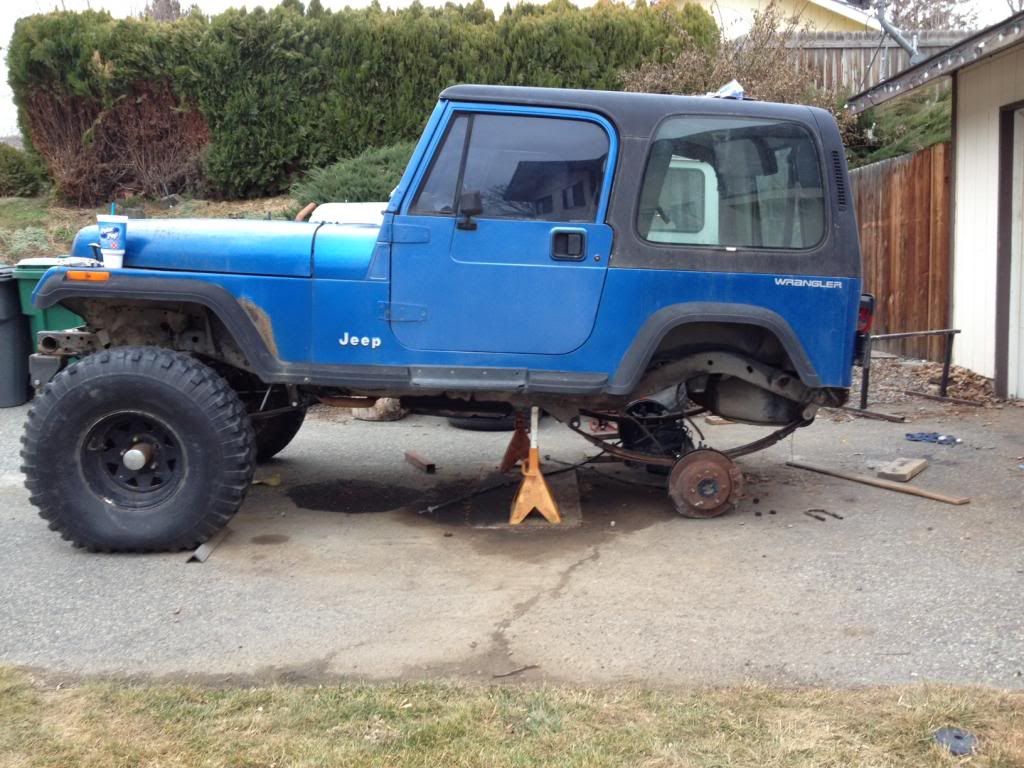
As some of you know, a YJ spring spacing is 30.75" center to center. A full width axle including Waggy's is 31.5". This spacing difference leaves 3/4" to suck up someplace. Some just let the bushing take it but I decided to go a little different route, mainly because I really don't like how the springs spread apart looks.
This is a temp. setup using AL spacers and the stock shackles, but same length as the new shackles and spacers.
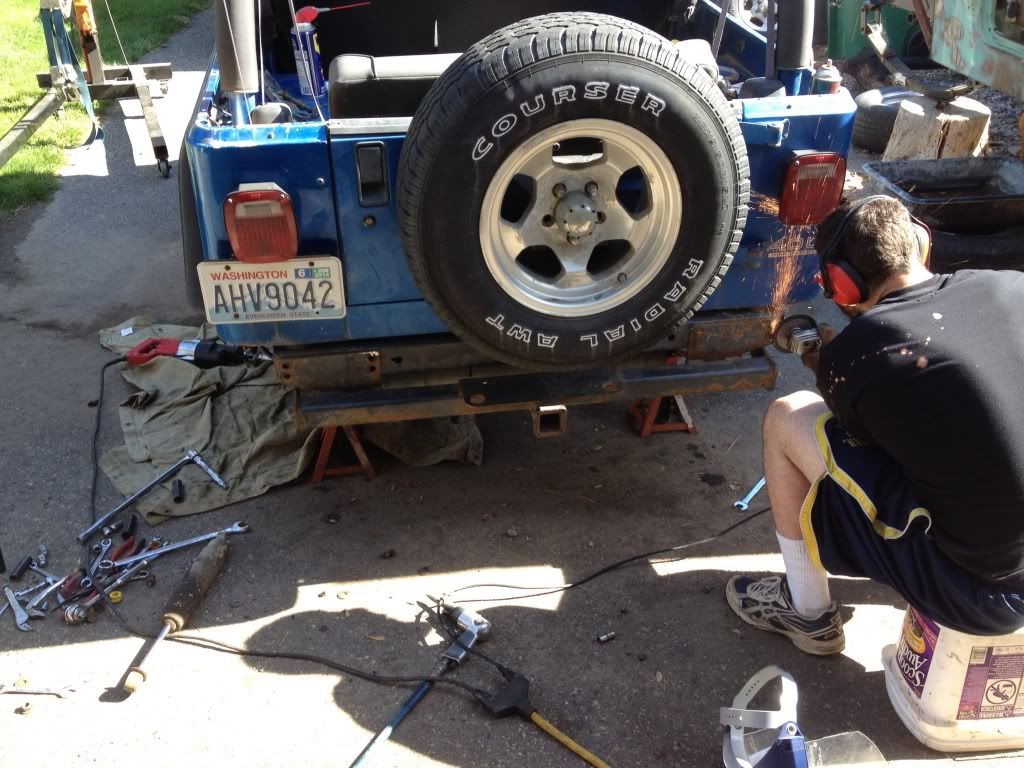
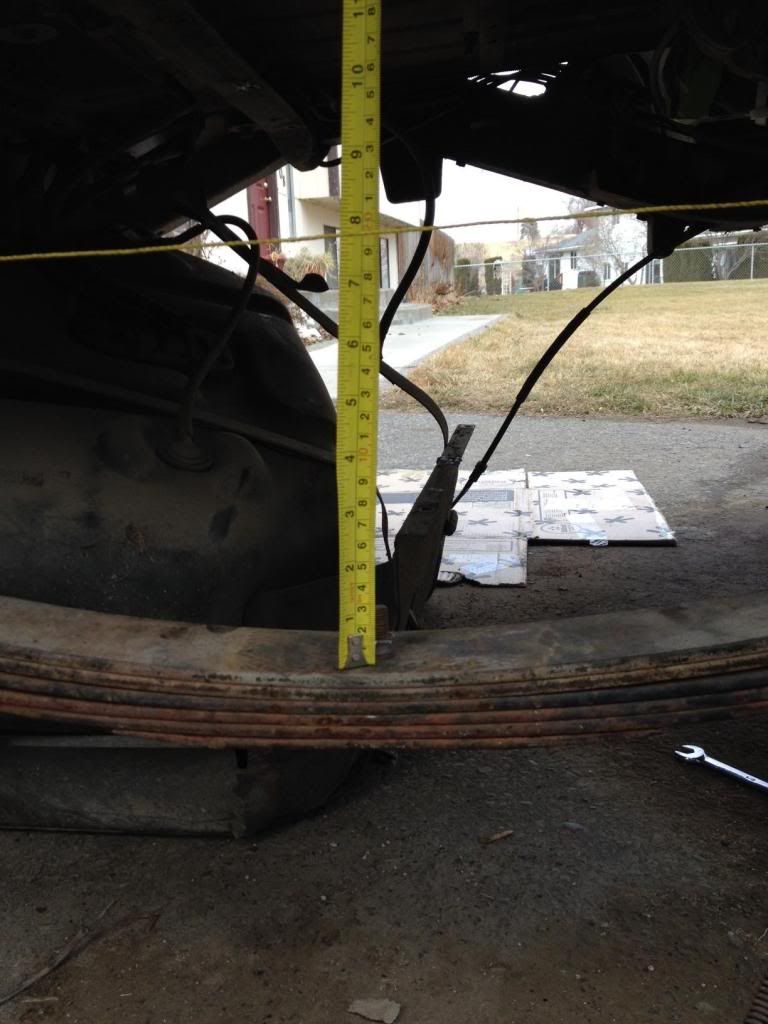
On the rig:
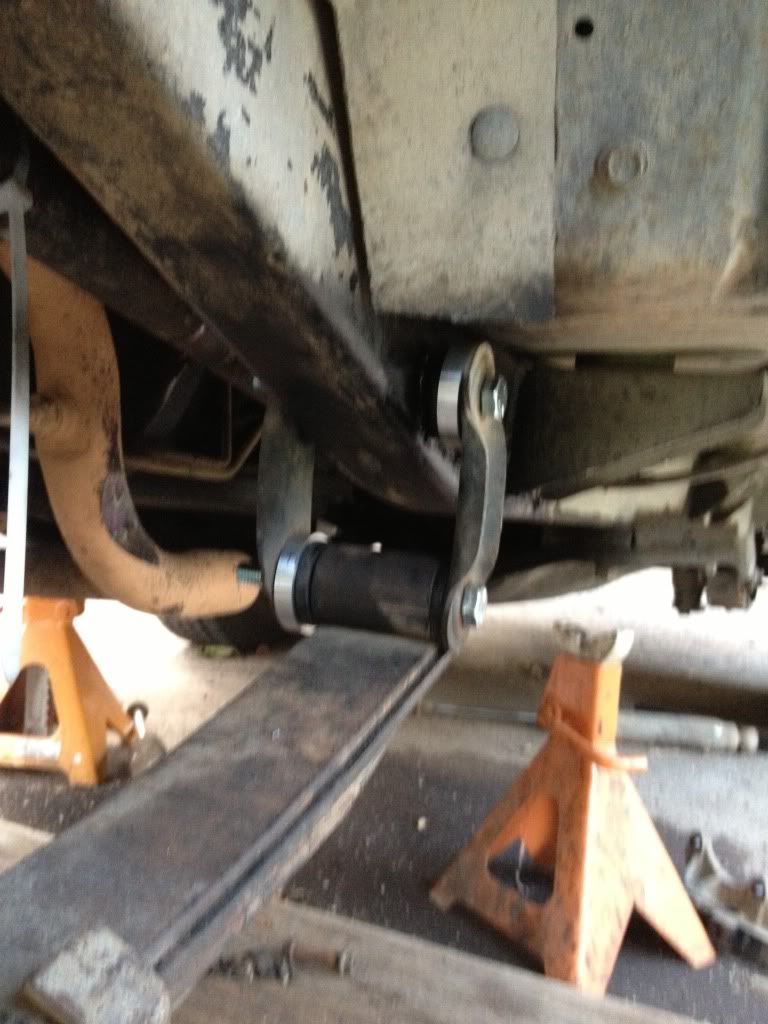
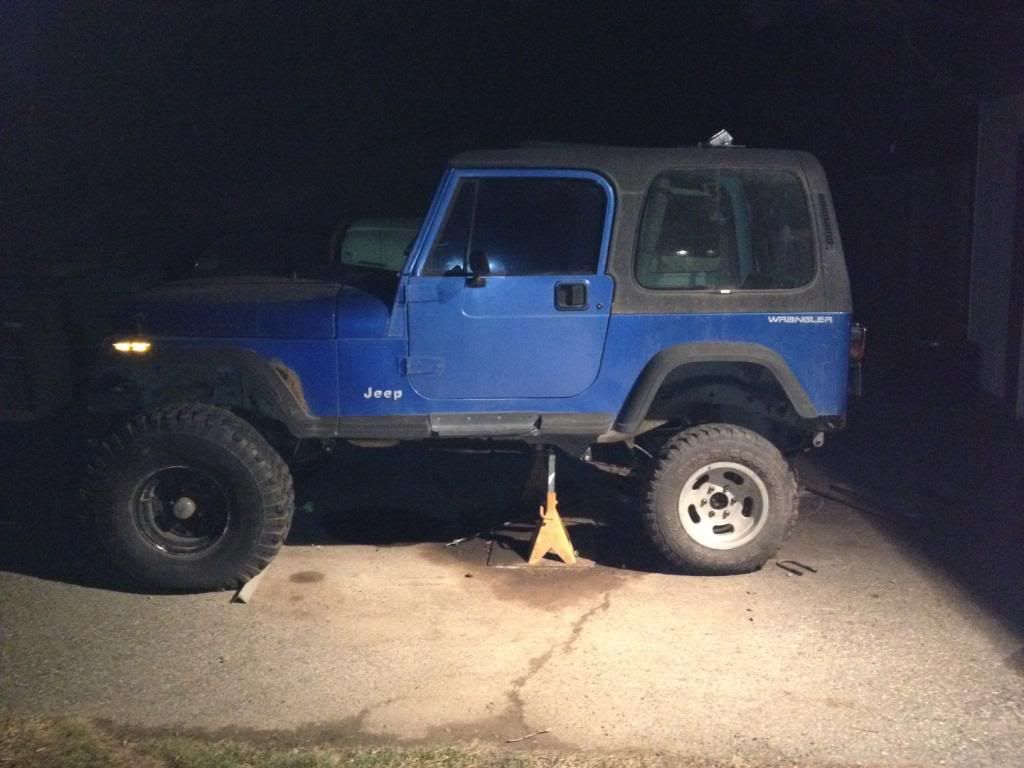
One of my worries with doing a SR was, how low will the shackle hang, especially compared to the front spring mount. On the uneven driveway, and the rear still stock, it look to be about 4" difference between the front and back. Not to bad, we'll see how it works.
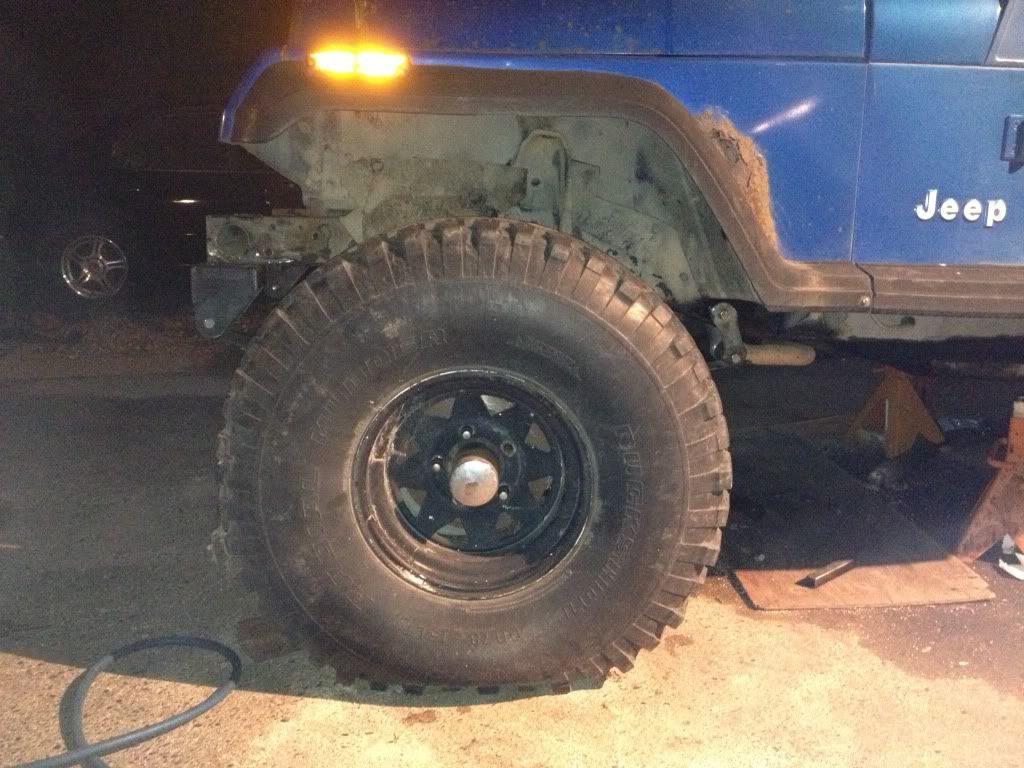
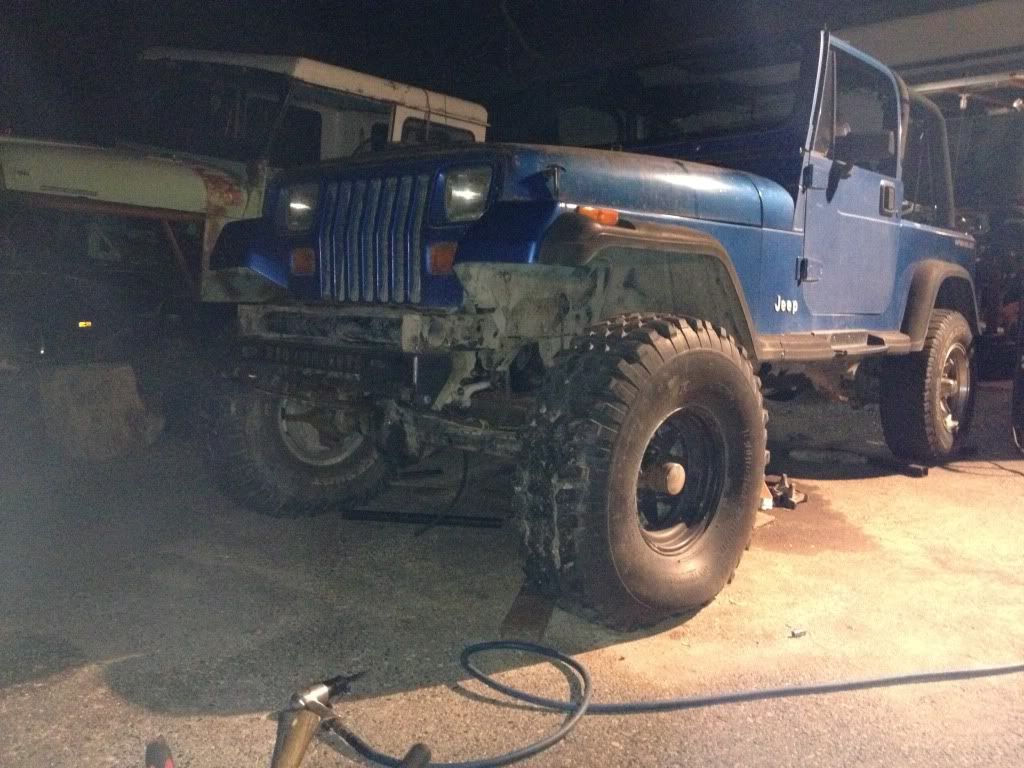
And a driveway crawler shot:
Posted: Tue Sep 17, 2013 8:04 pm
by White trash
Looks like that kit keeps the ends of the leafs pretty close to level which will REALLY help to keep the front axle from wanting to walk out from under the rig on climbs.
One thing I'd do differently is to raise the tubes up higher into the frame and use a longer shackle. A longer shackle would make the suspension move smoother and ride better on the road.
Somewhere I have the measurement of my aw4/231/300 tip to tip. I'll have to go digging.
Posted: Tue Sep 17, 2013 8:18 pm
by benw
That is one of the better looking RS kits I have seen. I agree with WT about the long shackle. Keep up the good work I like where you are going with the build.
Posted: Tue Sep 17, 2013 8:38 pm
by White trash
Just found where I posted the length. 44 1/2" bellhousing face to end of the Toyota driveline flange. Figure an inch or so longer for a standard spicer yoke.
Posted: Tue Sep 17, 2013 9:22 pm
by benw
Mine is 42" bellhousing to 1310cv yoke.
Posted: Sat Sep 21, 2013 11:19 pm
by rednecktified
what motor are you running? on scale 1-10 how hard was the conversion for the springs to be over the axle?
Posted: Sun Sep 22, 2013 7:58 am
by bobracing
rednecktified wrote:what motor are you running?
4.0L and 3sp auto.
rednecktified wrote: on scale 1-10 how hard was the conversion for the springs to be over the axle?
That is kind of a loaded question. Slapping the axle under the springs is easy, it's everything that come with it. I've been doing this by myself, so wrestling around the axle is always fun and did I mention everything seems to happen slow too.
As for my conversion, the hardest parts seem to be getting the spring hangers off for the Shackle reversal. The front shackle mounts came off easy but the rear had some fight in them.
The axle is also a Waggy axle that originally was SUA, lots of grinding to the pass side mount to make it work.
There really isn't anything hard, just time consuming and all the "other" stuff that needs to be done.
Small list:
Getting to the rear (Boss has different ideas this weekend)
figuring out what to do with the rear spring pack. It's only 3 springs with a military wrap.
Master brake cylinder, disk all the way around and larger calipers.
Longer brake lines.
shock mounts
driveshafts
Anti-wrap bar
So to answer the question, probably 5 for the work.
with all the extras that go with it closer to 7-8 to get things right. It's definitely not a bolt-on.
Posted: Sun Sep 22, 2013 8:56 am
by rednecktified
if i use the original d35's you think i can get away with longer break lines and using the same shock mounts as before?
Posted: Sun Sep 22, 2013 9:15 am
by bobracing
rednecktified wrote:if i use the original d35's you think i can get away with longer break lines and using the same shock mounts as before?
Yes, but still looking at steering modification, SYE, and new driveshaft(s). Plus I'm not sure you really want to run anything over a 33, and that might be pushing it depending on driving style, on that D35 rear.
Hate to say it, but you need to do a search for SOA conversions. There is a ton of information out on the web, it's been around for a long time and will most likely give you better answers than I can. I can tell you what I like, what I'm doing and why. Some will like it, some won't and have different ideas on how things should go together. You'll see lots of rigs with different fender cuts, spring heights, and tire sizes to judge what you think will work.
Posted: Sun Sep 22, 2013 10:14 am
by White trash
4 wheel discs you say? I just so happen to have the master cylinder that all the Jeepdorks use. I'll add that to the pile of parts headed your way one of these days.
Posted: Sun Sep 22, 2013 10:39 am
by bobracing
White trash wrote:4 wheel discs you say? I just so happen to have the master cylinder that all the Jeepdorks use. I'll add that to the pile of parts headed your way one of these days.
Which one do you speak of? I was thinking of the 99 Dodge but whatcha you got?
Posted: Sun Sep 22, 2013 5:15 pm
by White trash
'01ish expedition with factory discs. It worked well on the old yota.
Posted: Sun Sep 22, 2013 8:52 pm
by Roman
Used a Lincoln master... Worked great. Still using the stock YJ proportioning valve.
Posted: Mon Sep 23, 2013 3:27 pm
by Roman
Used a Lincoln master... Worked great. Still using the stock YJ proportioning valve.
Posted: Mon Sep 23, 2013 4:08 pm
by OldGreen
What did you use Jose?
Posted: Mon Sep 23, 2013 8:23 pm
by Roman
OldGreen wrote:What did you use Jose?
Huh?
Posted: Sat Oct 05, 2013 4:45 pm
by bobracing
After a few weeks of hunny do(s), kid do(s), and company, finally got a chance to work on the Heep again.
It actually started out nicely with the brake line, e-brake cables, and U-bolts coming off nicely, actually, a little shockingly easy. Then we moved to the hitch. It's probably the only thing holding the rear together but it's low and won't fit a custom bumper nicely so it has to go. Luckily one of the kids was home and wanted to help.
And to continue on, every bolt had to be cut for the springs to drop out, I'm so surprised.
I've always had a "clicking" noise that I could never find. Always sounded like it came from the rear but never saw anything. Well upon removal of the rear driveshaft, the u-joint had about a 1/16" side to side movement. This many not have been the noise but a good candidate. Not sure if the yoke was worn or the wrong joint???
Posted: Sat Feb 01, 2014 7:36 pm
by bobracing
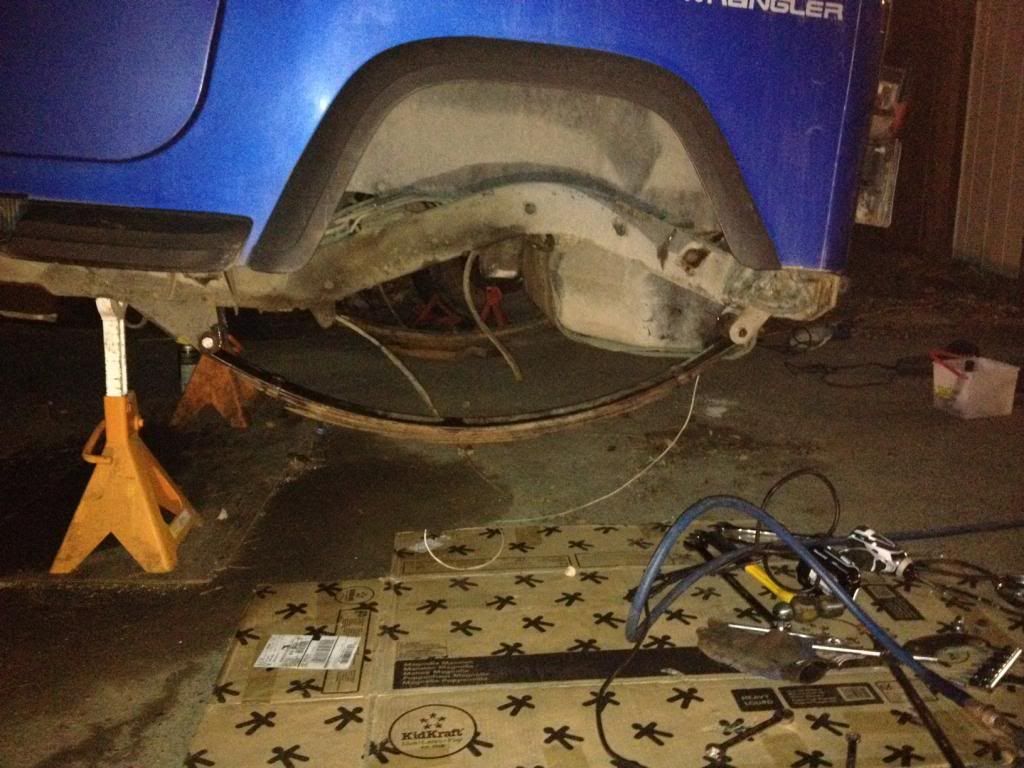
Been a while but a halfway nice day and no family commitments.
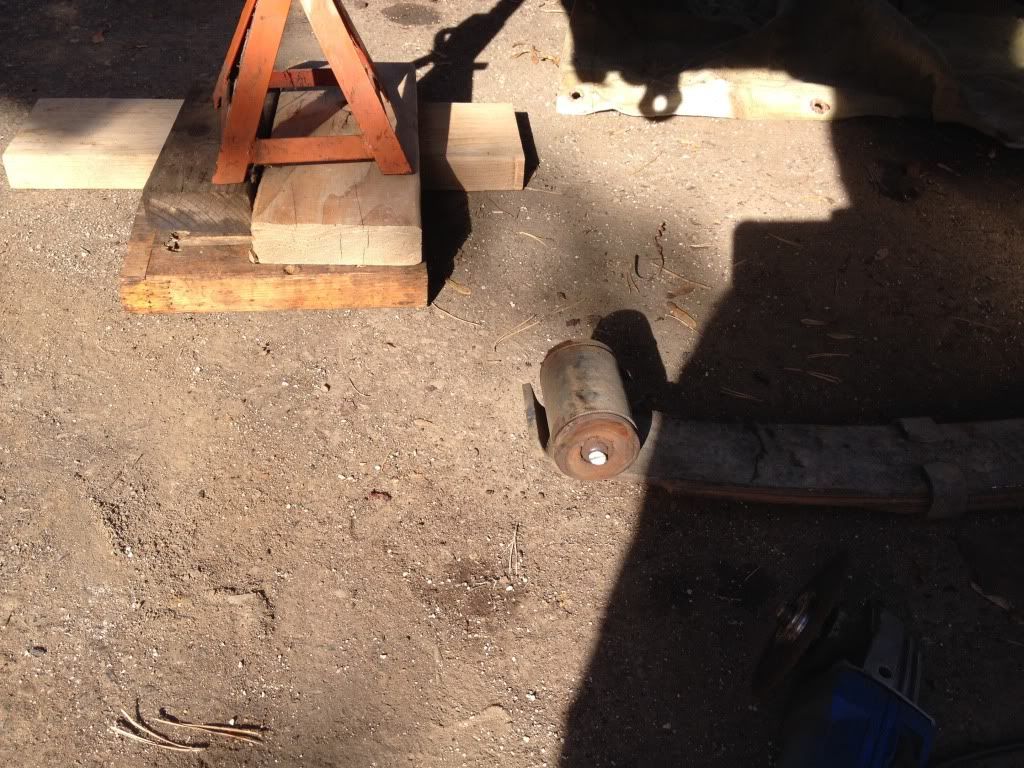
The rear spring bolts were inserted from the inside out. This orientation requires the fuel tank to be dropped to remove the shackle bolts.

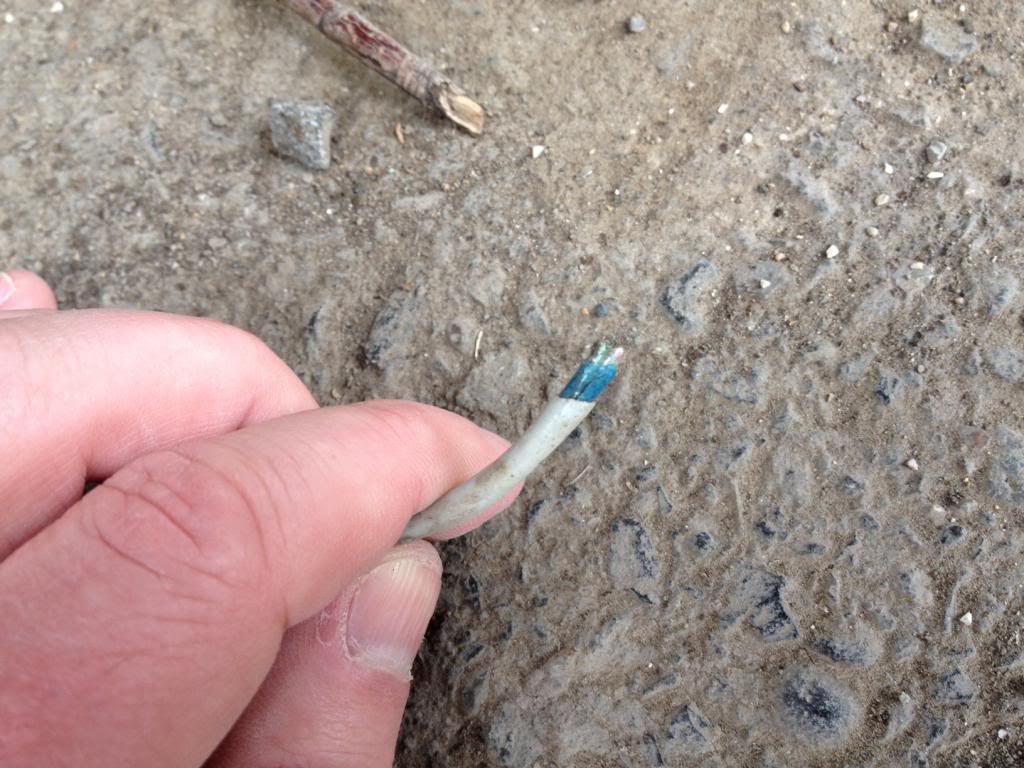
and of course there are always surprises when pulling apart older rigs.
phone cable? not sure what it does? did? whatever?
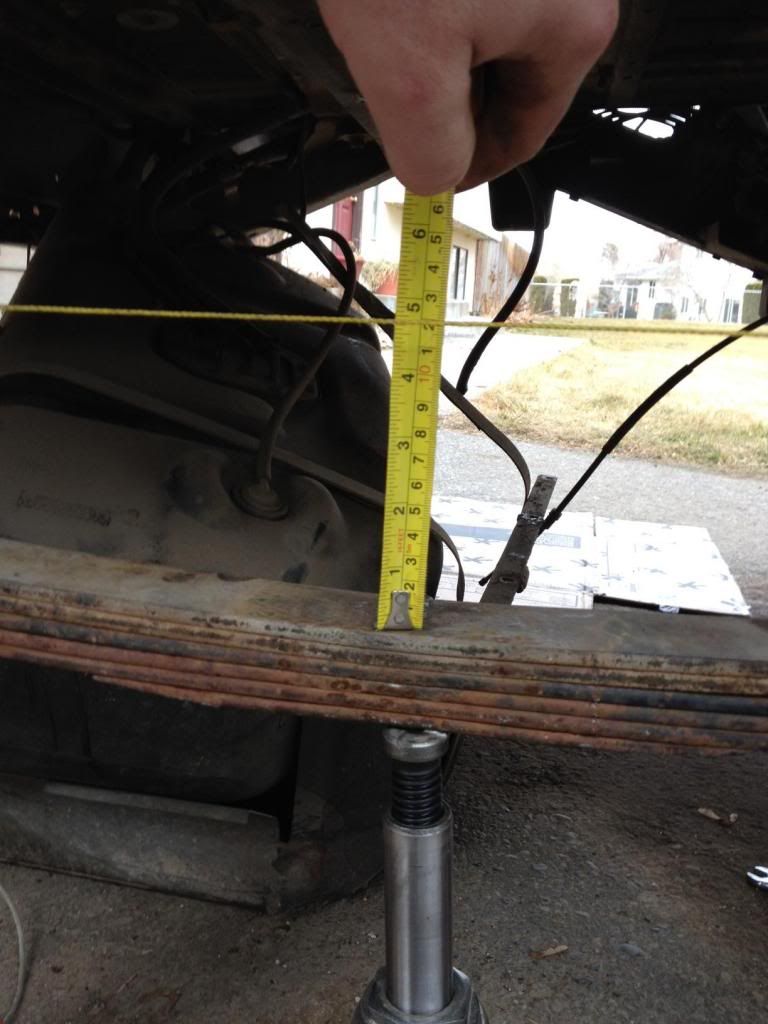
The springs are a YJ main leaf and second of a 3 pack. The second leaf was already longer than the main, so I left it. The other 4 springs are out of a stock CJ7 rear pack. Again, we'll see how it works. The movement is just a jack under the spring and jacked until it lifted off the jack, about 3".
Posted: Sun Feb 02, 2014 6:26 pm
by bobracing
The cheap plasma cutter made quick work of the spring pads.
After some measuring, it looks like the Rodeo 44 is a closer fit to a bolt in SUA than a waggy front 44.
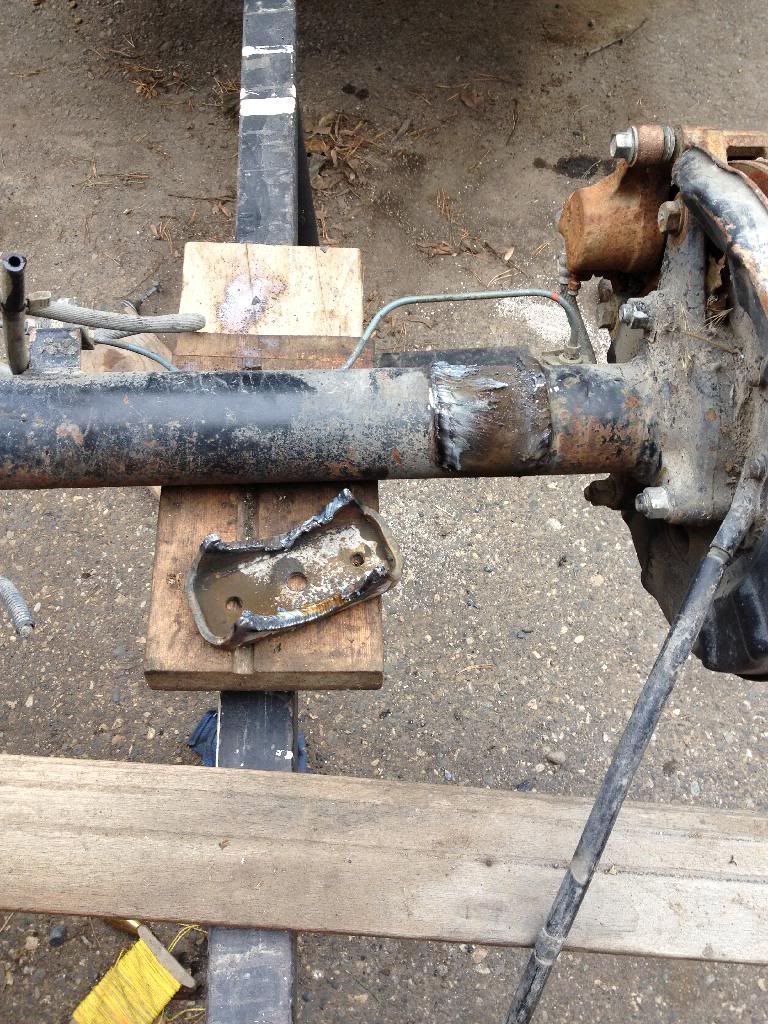
A little grinding and some back paint.
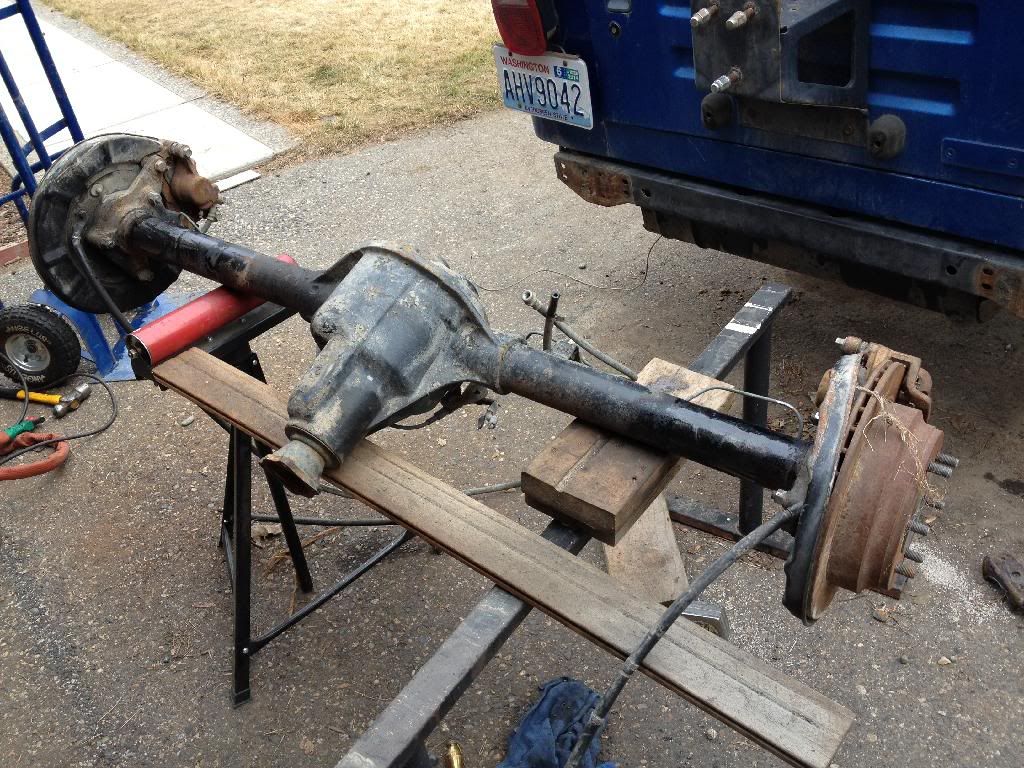
Axle installed. The axle is moved back 1" with the spring pads and plates.
I was hoping the back would be a little lower. Might have to rework the rear springs again. At least it's not sitting on jack stands.
Thanks to WT for the lug nuts.