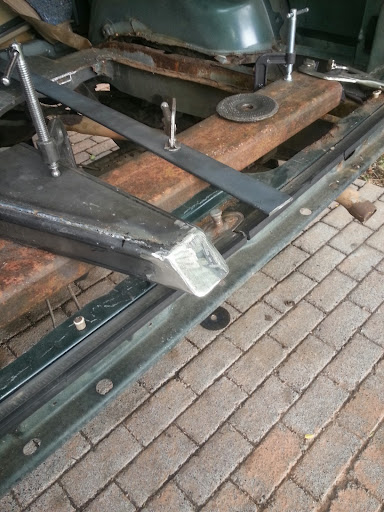
OK, so I thought I'd document how to build a "wing" for this. I've build little stuff like this before, but never anything this big and with sort of compound angles.
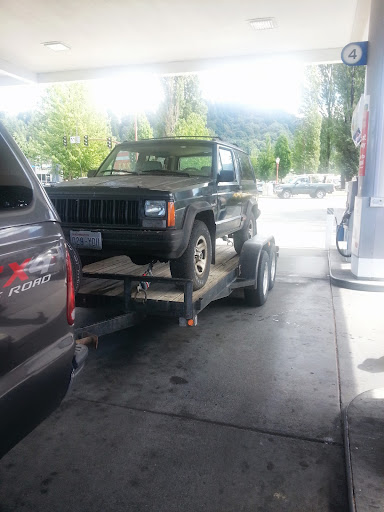
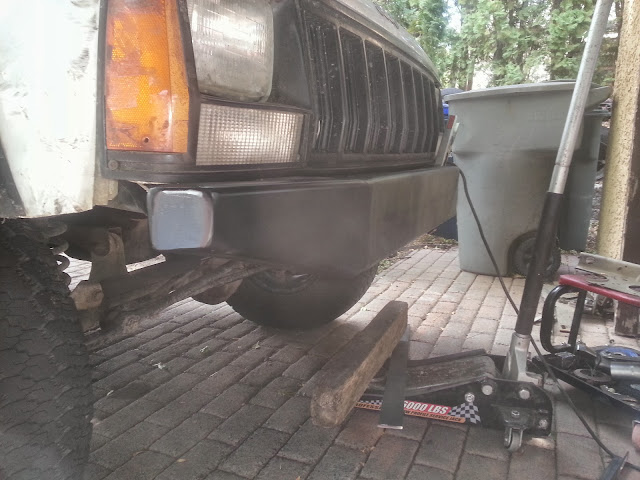
Here is the starting point:

This is the result of 2 cuts. First, the angled cut to kick the bumper in at the ends. We did this by measuring the distance at the middle of the bumper to the grill and matching that at the end of the bumper. That way, even with only two bends, it still appears to match the arc of the front of the Jeep a little bit. This was just skinny wheel. . .Then, we took a pie shaped chunk out of the tube so we could bend it up at the right angle. We did it this way instead of just chopping the angle in so we could keep the radius the same the whole length of the tube. The bent in section was tacked up. . .
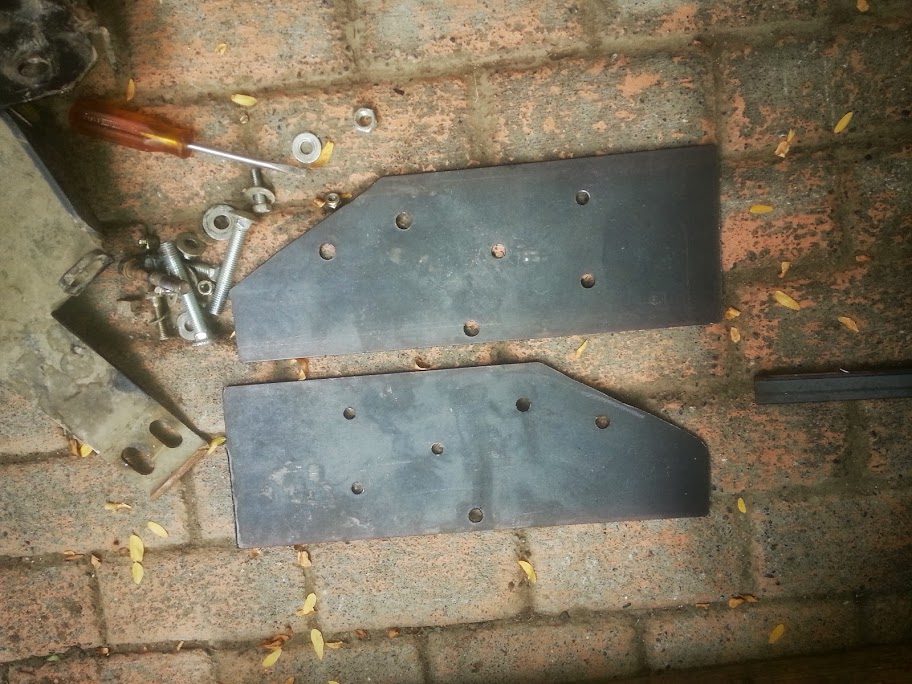
Then, when I got home, I roughed it all together with a little chunk of 3/16" flat bar and filled the gaps with the squirt gun.
Then, before I finished grinding, I matched it up with the other side to make sure that it was all the same and made a little jig to get it all straight. Maybe there is a better way to do this part, but this worked well for me. . .

Then I tacked it up and removed the fixture. . .haha:

Eyeballed for continuity (no, it isn't perfect. . .but I love it)


Satisfied, I prepped it all up, turned the juice on BoyScout's glue gun to max and burned it in. . .followed by a round of grinder/flapper love and a couple of coats of Krylon.


Again, the next step is to drill a new hole in the receiver tube a little farther back from the one that came in it and mount it dead center. Exactly when I will be doing that part is a little up in the air. It would be FAR easier to do it with it off of the Jeep, but because of the frame issues with O, that is going to take a skinny wheel to make happen, so it won't be coming off until it is getting ready to go on the Green Xj in a couple of months.