The Bronco build

Post pics and info of your current projects.
User avatar
SPR
Peak Putters Member
Peak Putters Member
Posts: 2344
Joined: Thu Mar 15, 2007 6:31 am
Location: Tri-Cities

Postby SPR » Fri Mar 28, 2014 8:42 pm

Crap, now I'll have to paint the Toylet gray to be cool.
I don't Text (at least not very well), I eat Blackberrys, and I only Twitter after sex...

User avatar
Lurch
Peak Putters Member
Peak Putters Member
Posts: 2363
Joined: Thu Nov 08, 2007 7:10 am
Location: Pasco

Postby Lurch » Sat Mar 29, 2014 7:25 pm

Got the new lights all wired up. What a difference. Way brighter then before. Just in case some one needs it here's a link to the wiring diagram I used
http://dsl.torque.net/images/relaycircuit.gif
You can follow me.... but it's gonna hurt ;)

User avatar
tobyw
Posts: 1884
Joined: Wed Mar 14, 2007 10:00 am
Location: Under the hood...

Postby tobyw » Sun Mar 30, 2014 5:36 am

Lurch wrote:Got the new lights all wired up. What a difference. Way brighter then before. Just in case some one needs it here's a link to the wiring diagram I used
http://dsl.torque.net/images/relaycircuit.gif


I did a similar upgrade to my first XJ when I realized the OEM harness was only delivering about 9.8v to the headlight sockets. Literally night and day difference!!

What flares are you going to be running? Some of those Gorilla Warflares, or the wider Silverbacks maybe?
Yep, I've wheeled one of those, too...
Image

User avatar
Lurch
Peak Putters Member
Peak Putters Member
Posts: 2363
Joined: Thu Nov 08, 2007 7:10 am
Location: Pasco

Postby Lurch » Sun Mar 30, 2014 7:25 am

Gorilla warflares. I don't think the silverbacks look right on a bronco. They stick out to far.
You can follow me.... but it's gonna hurt ;)

User avatar
Lurch
Peak Putters Member
Peak Putters Member
Posts: 2363
Joined: Thu Nov 08, 2007 7:10 am
Location: Pasco

Postby Lurch » Mon May 12, 2014 7:03 am

Finally getting back on the bronco after taking a short break. Stripped the cage and interior out of it Sunday.
Image

Image

Image

I plan to pressure wash the entire thing inside and out tonight. Then start working on body armor.
You can follow me.... but it's gonna hurt ;)

User avatar
iaccocca
Peak Putters Member
Peak Putters Member
Posts: 3700
Joined: Thu Jul 05, 2007 8:38 am
Location: Kennewick, WA

Postby iaccocca » Mon May 12, 2014 7:39 am

Looking at the 1st photo I thought you picked up 'barn' found Bronco. :wink:
Okay, we're a little crazy to have a Duramax for a daily driver. But if we go off our meds, we might wind up in a Prius.
If you want to hear God laugh, tell Him your plans.
N7EEL WROD249
8-) Image 8-)

User avatar
Lurch
Peak Putters Member
Peak Putters Member
Posts: 2363
Joined: Thu Nov 08, 2007 7:10 am
Location: Pasco

Postby Lurch » Sun May 18, 2014 8:14 pm

Made some progress with the body armor this weekend.

Image

Image
You can follow me.... but it's gonna hurt ;)

OldGreen
Posts: 4502
Joined: Tue Mar 13, 2007 6:21 am
Location: coming or going?

Postby OldGreen » Sun May 18, 2014 8:28 pm

So cool!! You can do it!!!!

User avatar
Lurch
Peak Putters Member
Peak Putters Member
Posts: 2363
Joined: Thu Nov 08, 2007 7:10 am
Location: Pasco

Postby Lurch » Thu May 22, 2014 8:11 am

I've made some progress this week. Got body armor fitted on both sides and the tail light holes made. For the record drilling 3/16 steel with a hole saw is not fun. I recomend lots of cutting oil.

Image

Image

Image

Image

Image
You can follow me.... but it's gonna hurt ;)

User avatar
mattawajeep
Posts: 1221
Joined: Wed May 19, 2010 6:18 pm
Location: Mattawa, WA

Postby mattawajeep » Thu May 22, 2014 10:53 am

Holesaw on metal that thick gets painful.

You gonna be adding some HP to haul all that extra weight? :lol:

User avatar
Lurch
Peak Putters Member
Peak Putters Member
Posts: 2363
Joined: Thu Nov 08, 2007 7:10 am
Location: Pasco

Postby Lurch » Thu May 22, 2014 10:57 am

Actually that's in the works also but still a ways off. With the amount of metal I cut off it won't add as much weight as you think. If you count not running doors anymore I'm sure it's lighter.
You can follow me.... but it's gonna hurt ;)

User avatar
Lurch
Peak Putters Member
Peak Putters Member
Posts: 2363
Joined: Thu Nov 08, 2007 7:10 am
Location: Pasco

Postby Lurch » Thu May 29, 2014 7:30 pm

Getting everything primed and ready for paint. Still have lots of wet sanding to do.

Image

Image

Image

Floating bronco parts :)

Image
You can follow me.... but it's gonna hurt ;)

User avatar
Lurch
Peak Putters Member
Peak Putters Member
Posts: 2363
Joined: Thu Nov 08, 2007 7:10 am
Location: Pasco

Postby Lurch » Sun Jun 01, 2014 6:50 pm

So got it painted this weekend. A HUGE thanks to wrench for all his help!!

Now the reassembly starts.

Image

Image

Image

Here's the new hood.

Image

Image
You can follow me.... but it's gonna hurt ;)

OldGreen
Posts: 4502
Joined: Tue Mar 13, 2007 6:21 am
Location: coming or going?

Postby OldGreen » Sun Jun 01, 2014 7:01 pm

I can't wait to see it DONE!!

User avatar
Chrispy
Posts: 379
Joined: Wed Apr 14, 2010 11:36 am
Location: in the garage

Postby Chrispy » Sun Jun 01, 2014 8:52 pm

lookin good :thu2: :thu2: :thu2: :thu2: :thu2: :thu2: :thu2:
HE TOOK THE BYPASS?? YEAH ITS A JEEP THING.

User avatar
tobyw
Posts: 1884
Joined: Wed Mar 14, 2007 10:00 am
Location: Under the hood...

Postby tobyw » Mon Jun 02, 2014 8:03 am

That looks AWESOME!
Yep, I've wheeled one of those, too...

Image

User avatar
mattawajeep
Posts: 1221
Joined: Wed May 19, 2010 6:18 pm
Location: Mattawa, WA

Postby mattawajeep » Mon Jun 02, 2014 12:50 pm

Purty. That's really close to the color I've been looking to put on my mustang.

Wrench
Peak Putters Member
Peak Putters Member
Posts: 1237
Joined: Sat May 30, 2009 7:23 am
Location: in a van down by the river

Postby Wrench » Mon Jun 02, 2014 7:55 pm

...my paint buzz if finally wearing off... :P

Tim, grab a couple sheets each of 1000g and 1500g wet/dry for touch-up. I've got the buffers and compound on hand.
Paul
'84 XJ, '19JL

User avatar
Lurch
Peak Putters Member
Peak Putters Member
Posts: 2363
Joined: Thu Nov 08, 2007 7:10 am
Location: Pasco

Postby Lurch » Mon Jun 02, 2014 8:24 pm

Will do.
You can follow me.... but it's gonna hurt ;)

User avatar
Lurch
Peak Putters Member
Peak Putters Member
Posts: 2363
Joined: Thu Nov 08, 2007 7:10 am
Location: Pasco

Postby Lurch » Wed Jun 04, 2014 7:08 am

Started reassembly but didn't take any picks. Also got it all prepped and masked off for the roll in bedliner. With a little luck I hope to have it most the way together by the end of the weekend.

Image
You can follow me.... but it's gonna hurt ;)

OldGreen
Posts: 4502
Joined: Tue Mar 13, 2007 6:21 am
Location: coming or going?

Postby OldGreen » Wed Jun 04, 2014 8:43 am

This is fantastic. . .inspiring me for the next build on the 7. 8)

User avatar
Danny
Peak Putters Associate
Posts: 1331
Joined: Wed Mar 14, 2007 9:41 pm
Location: Richland, WA

Postby Danny » Wed Jun 04, 2014 3:26 pm

Tim, that is awesome...you need to post up a before and after together.
Forget your age and live your life!

User avatar
Lurch
Peak Putters Member
Peak Putters Member
Posts: 2363
Joined: Thu Nov 08, 2007 7:10 am
Location: Pasco

Postby Lurch » Wed Jun 04, 2014 8:03 pm

Roll in bedliner is done. For those that are interested I used monstaliner. It went in really easy and seems to dry in a decent amount of time. Fumes are pretty bad so if you can do it outside and then out it inside to let it dry. Unless you have a very good ventilation system. It took the whole gallon to do the interior of my bronco and tailgate. I was worried I was gonna run out but I had just enough. I waited about 2 hours between coats.

First coat

Image

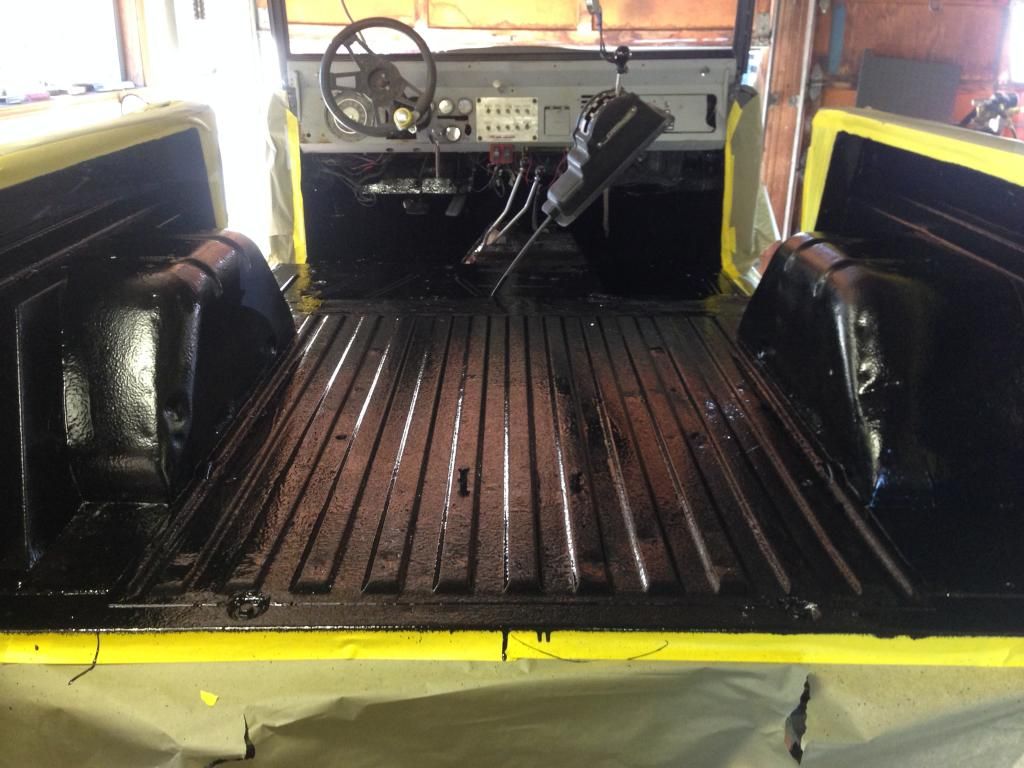
Finished, it dulls up as it dries. Still wet in these pictures that's why they are shiny.
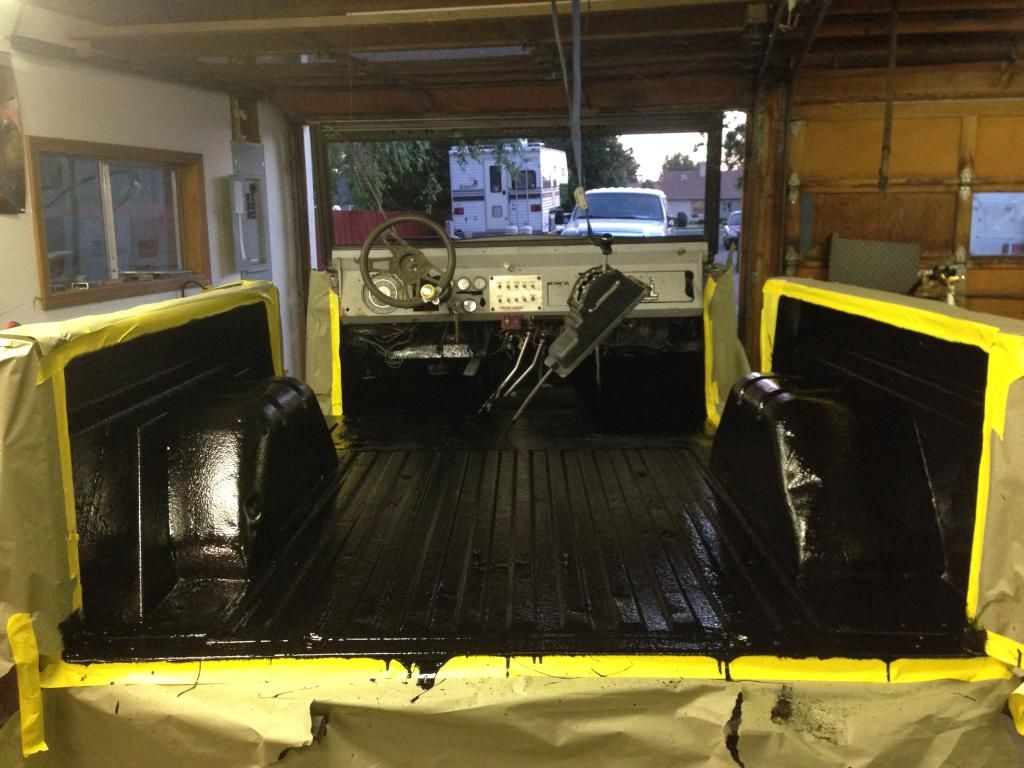
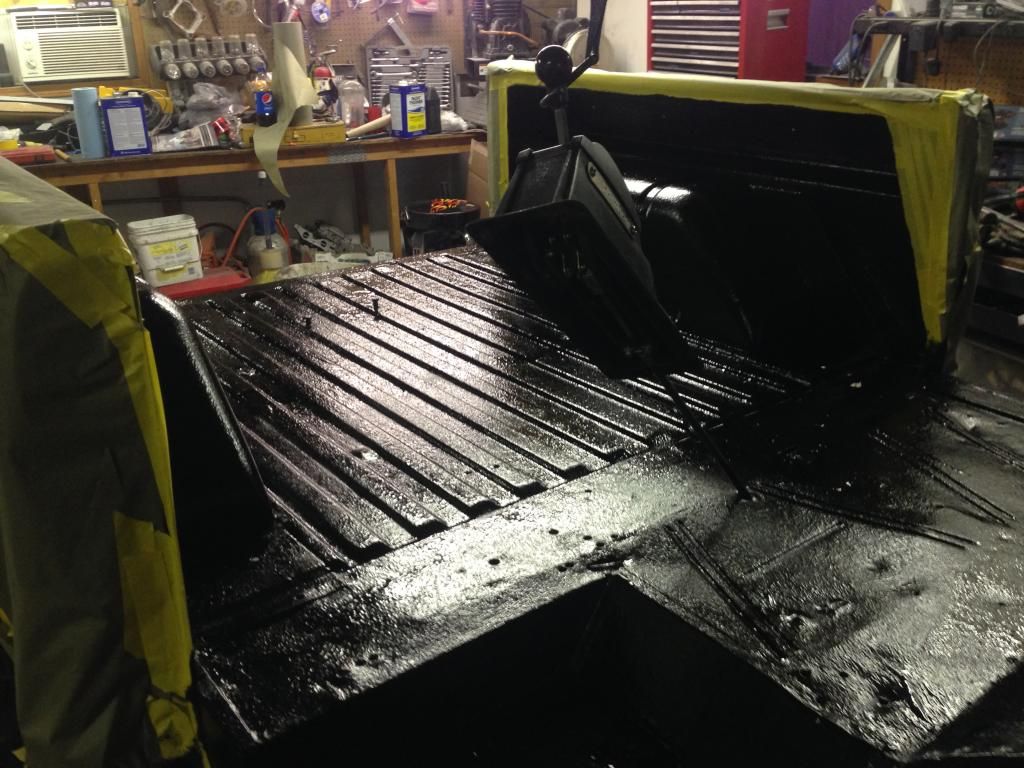
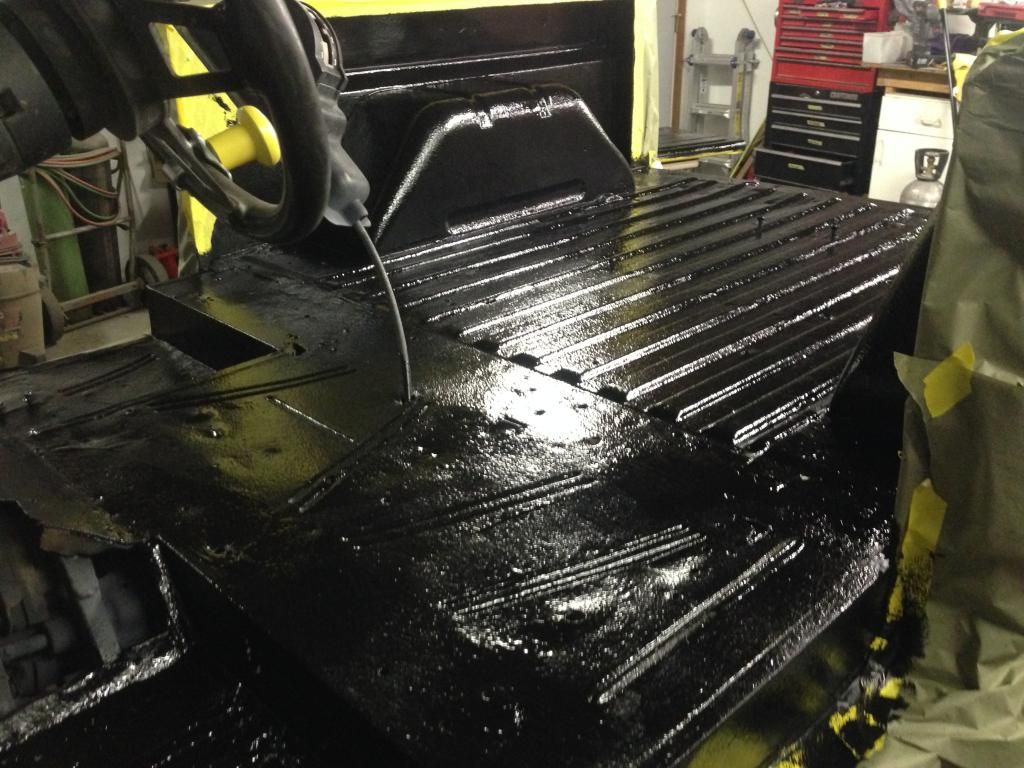
Image

Image

Image

Image
You can follow me.... but it's gonna hurt ;)

User avatar
mattawajeep
Posts: 1221
Joined: Wed May 19, 2010 6:18 pm
Location: Mattawa, WA

Postby mattawajeep » Thu Jun 05, 2014 12:52 am

Cool. Looks like it was still good then? I really need to apply the orange stuff I've got lying around still.

User avatar
tobyw
Posts: 1884
Joined: Wed Mar 14, 2007 10:00 am
Location: Under the hood...

Postby tobyw » Thu Jun 05, 2014 5:56 am

This seems to be coming along nicely!! Can't wait to see it all put back together and on the trail!! And, well, on the road?! :shock: 8)
Yep, I've wheeled one of those, too...

Image


Return to “Projects and Build-Ups”

Who is online

Users browsing this forum: No registered users and 2 guests