El Jai

El Jai
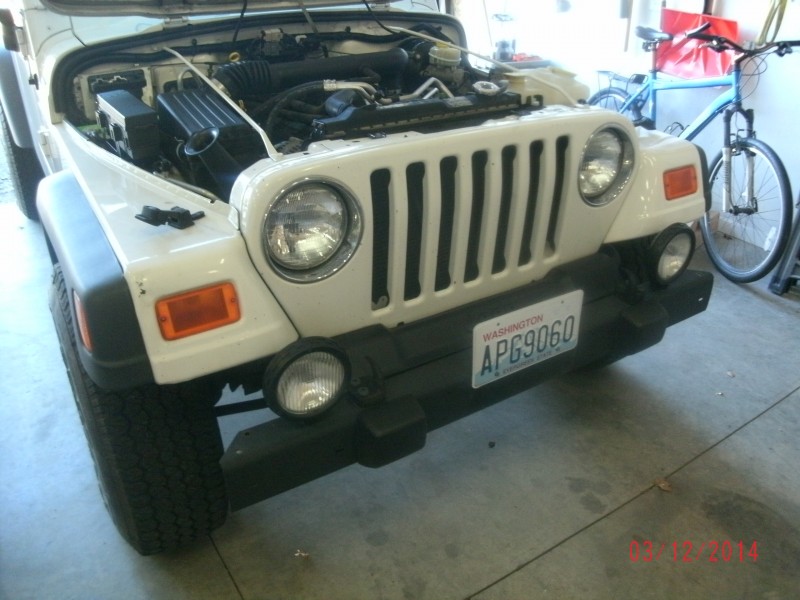
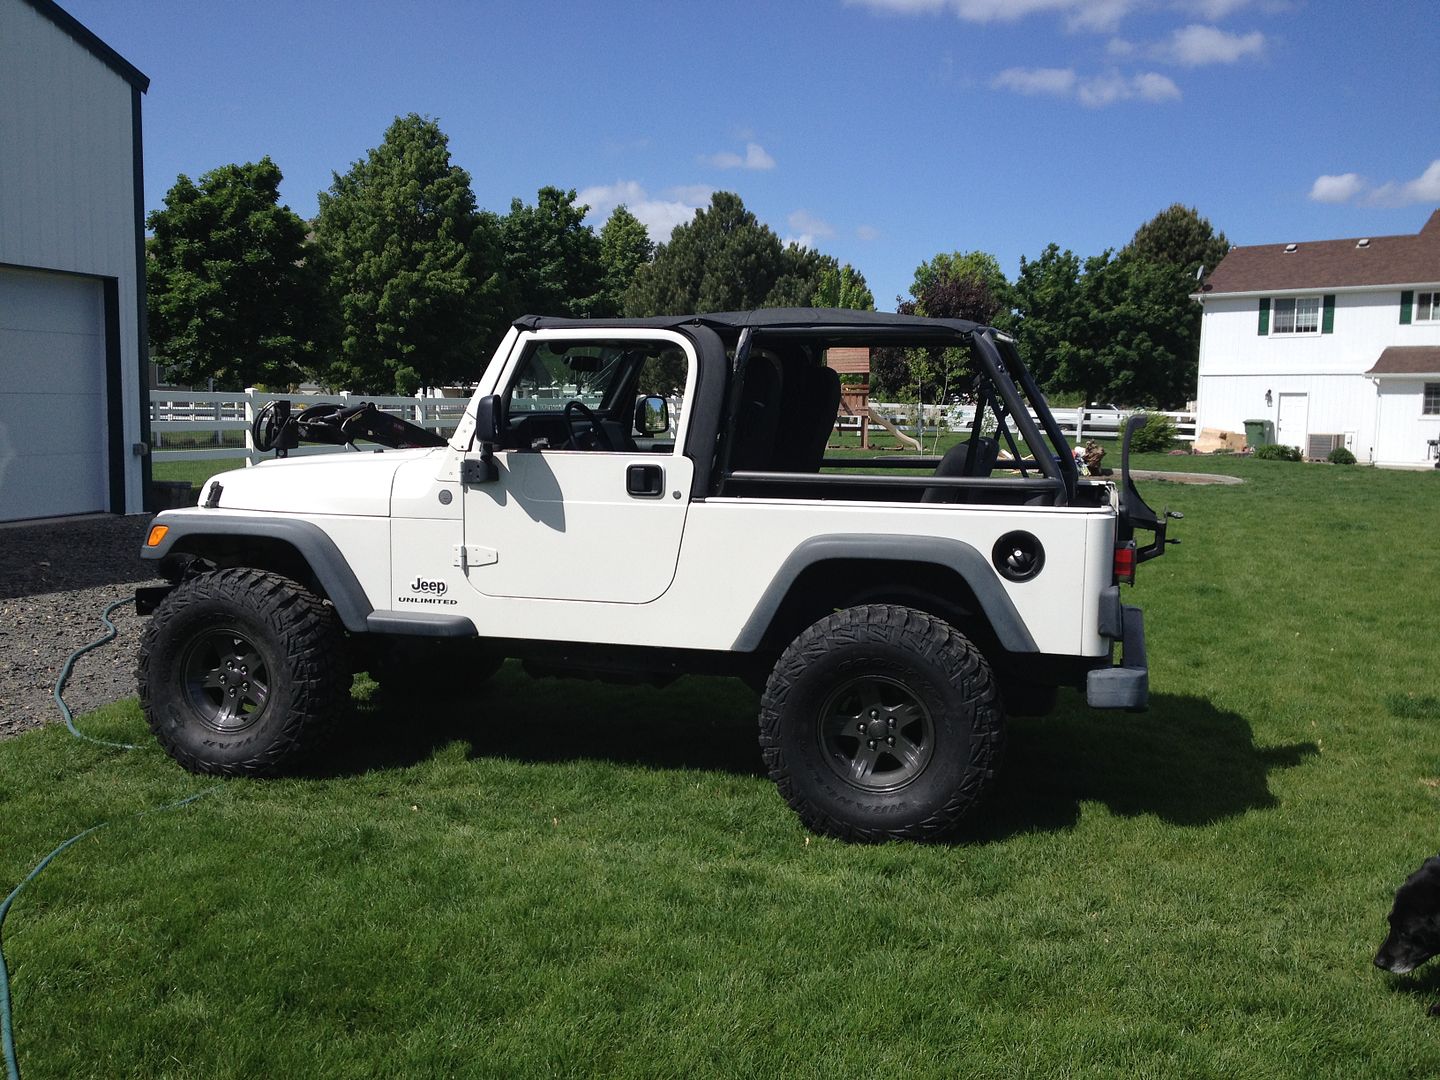
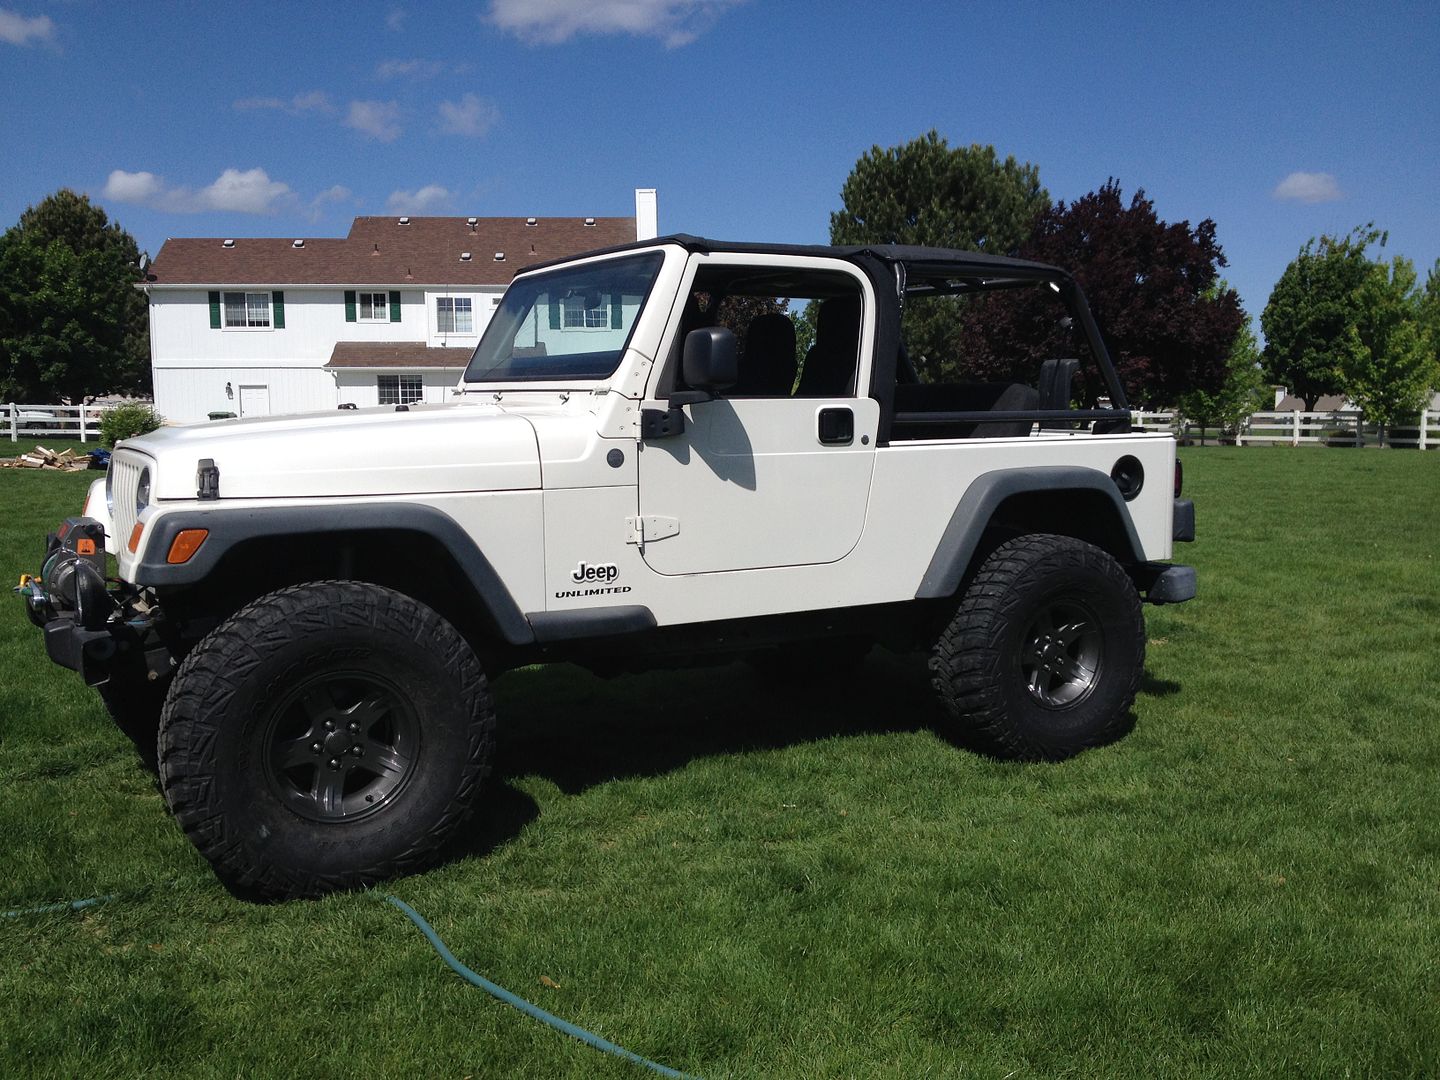
So… yeah… I mean, what can I say? I’ve got a penchant for changing rigs every once in a while, and typically for no good reason other than simply because I want to. So with that, I welcome you to the Wilcox family LJ, which in this case does not stand for “Long Jeepâ€
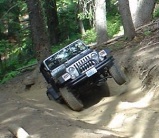
Yep, I've wheeled one of those, too...

With the immediate needs taken care of, and the itch to drive a bobber again scratched, it's time to start the modifications that will take this from your average LJ to true mall crawler status...
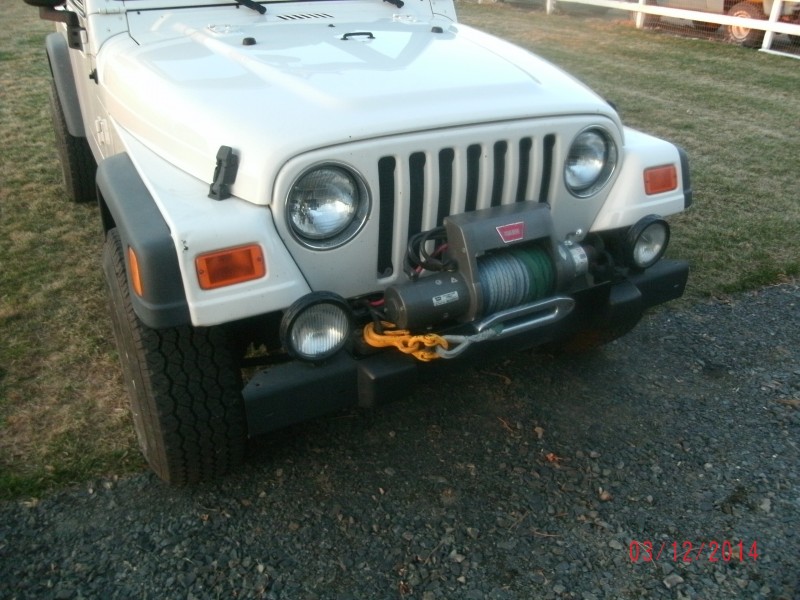
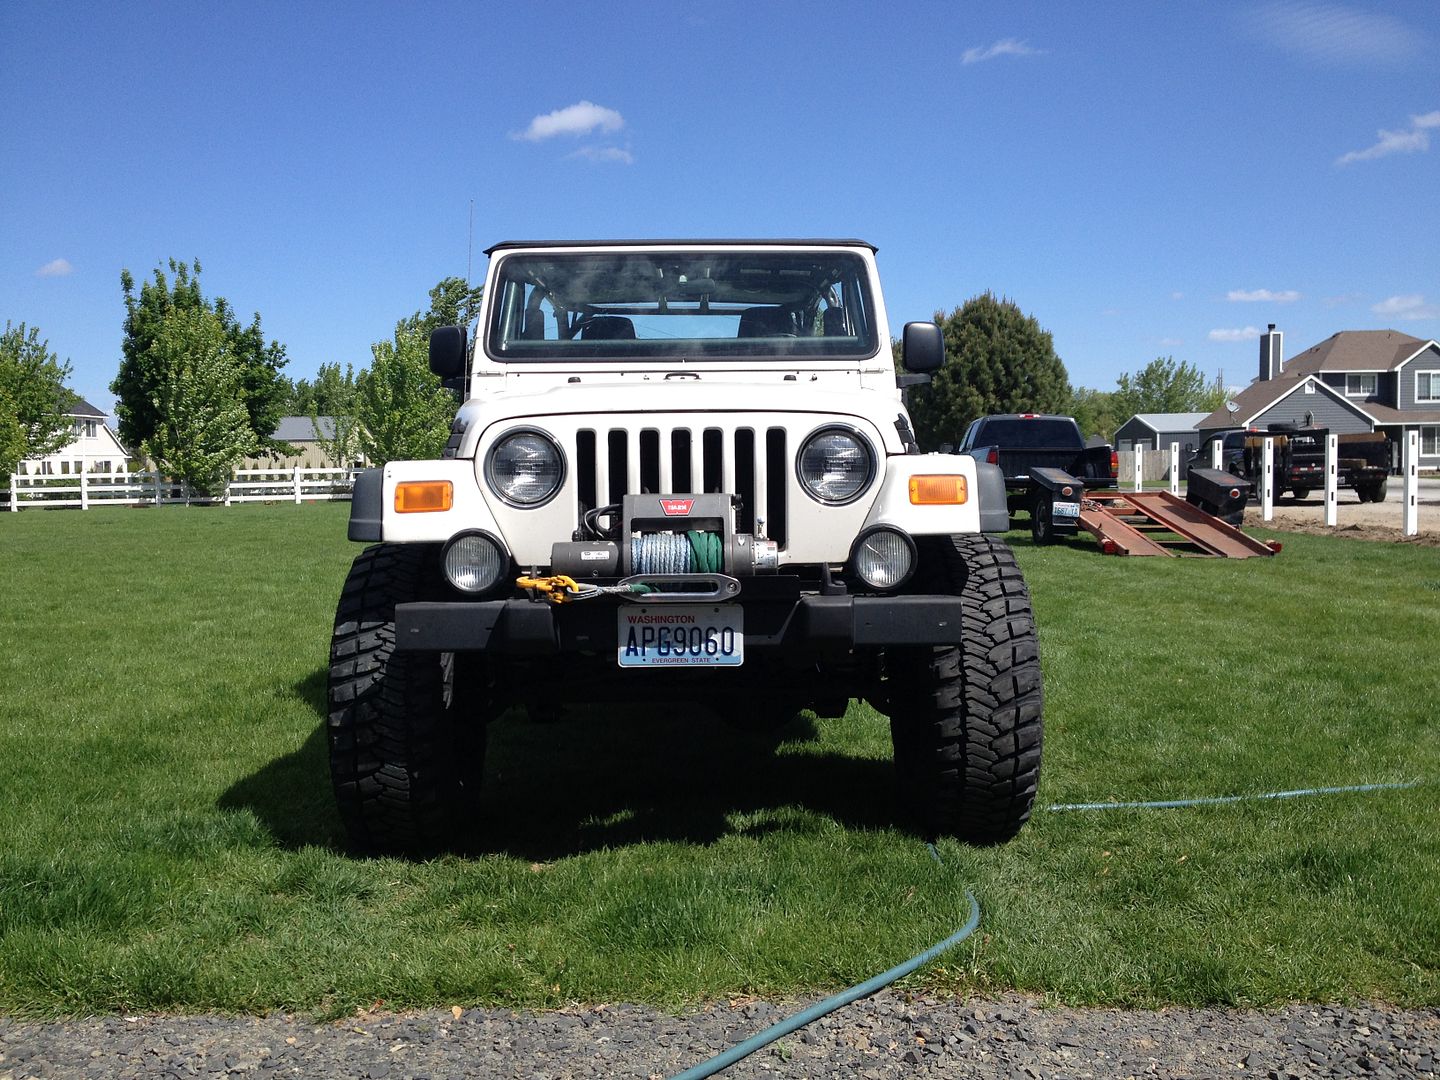
First up, safety and recovery. A first aide kit was slid under the driver seat. Whew, that was tough. The LJ came with front and rear tow hooks, so that czek box was already, well, czeked. Self recovery would come in the form of my trusty Warn xd9000i with 3/8" Amsteel Blue rope, and an aluminum hawse fairlead. Now typically for something as simple as a winch plate, I'd head out to the scrap pile and grab some box tubing, apply some plasma cutter, drill press, and rattle can. However, thanks to the prolific aftermarket support of the TJ platform, it's just as easy to fire up the Amazons and plunk down $48 to have a winch plate delivered 2 days later:
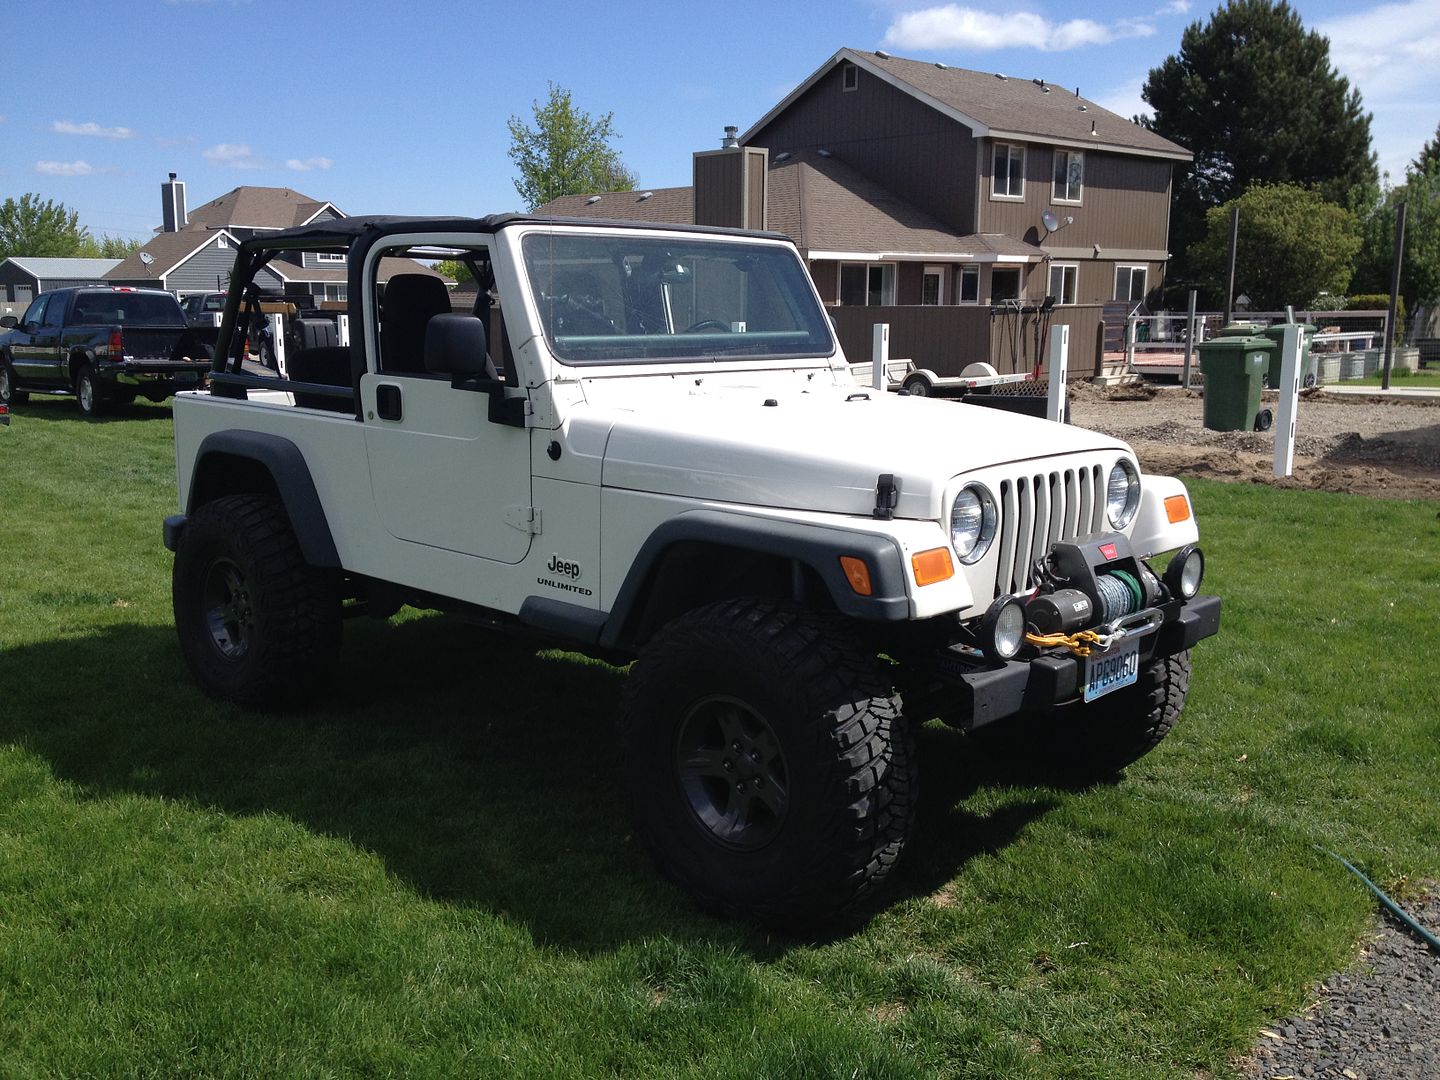
While I was on the Amazons, I also picked up a Bestop full-length bikini top and some replacement door czek straps, as the passenger side one is ripped. I was also lucky enough to find a complete OEM soft top with tinted windows on Craigslist, so I'm now contemplating what to do with the hulking factory hard top
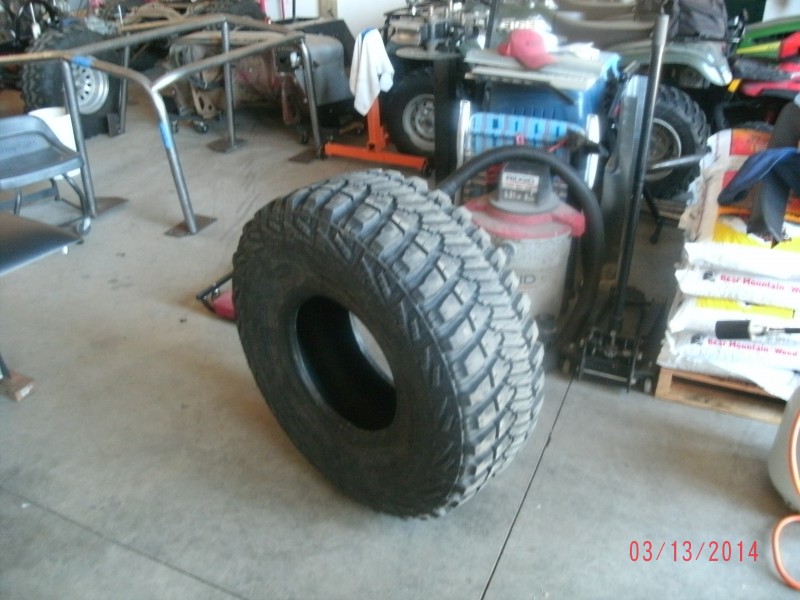
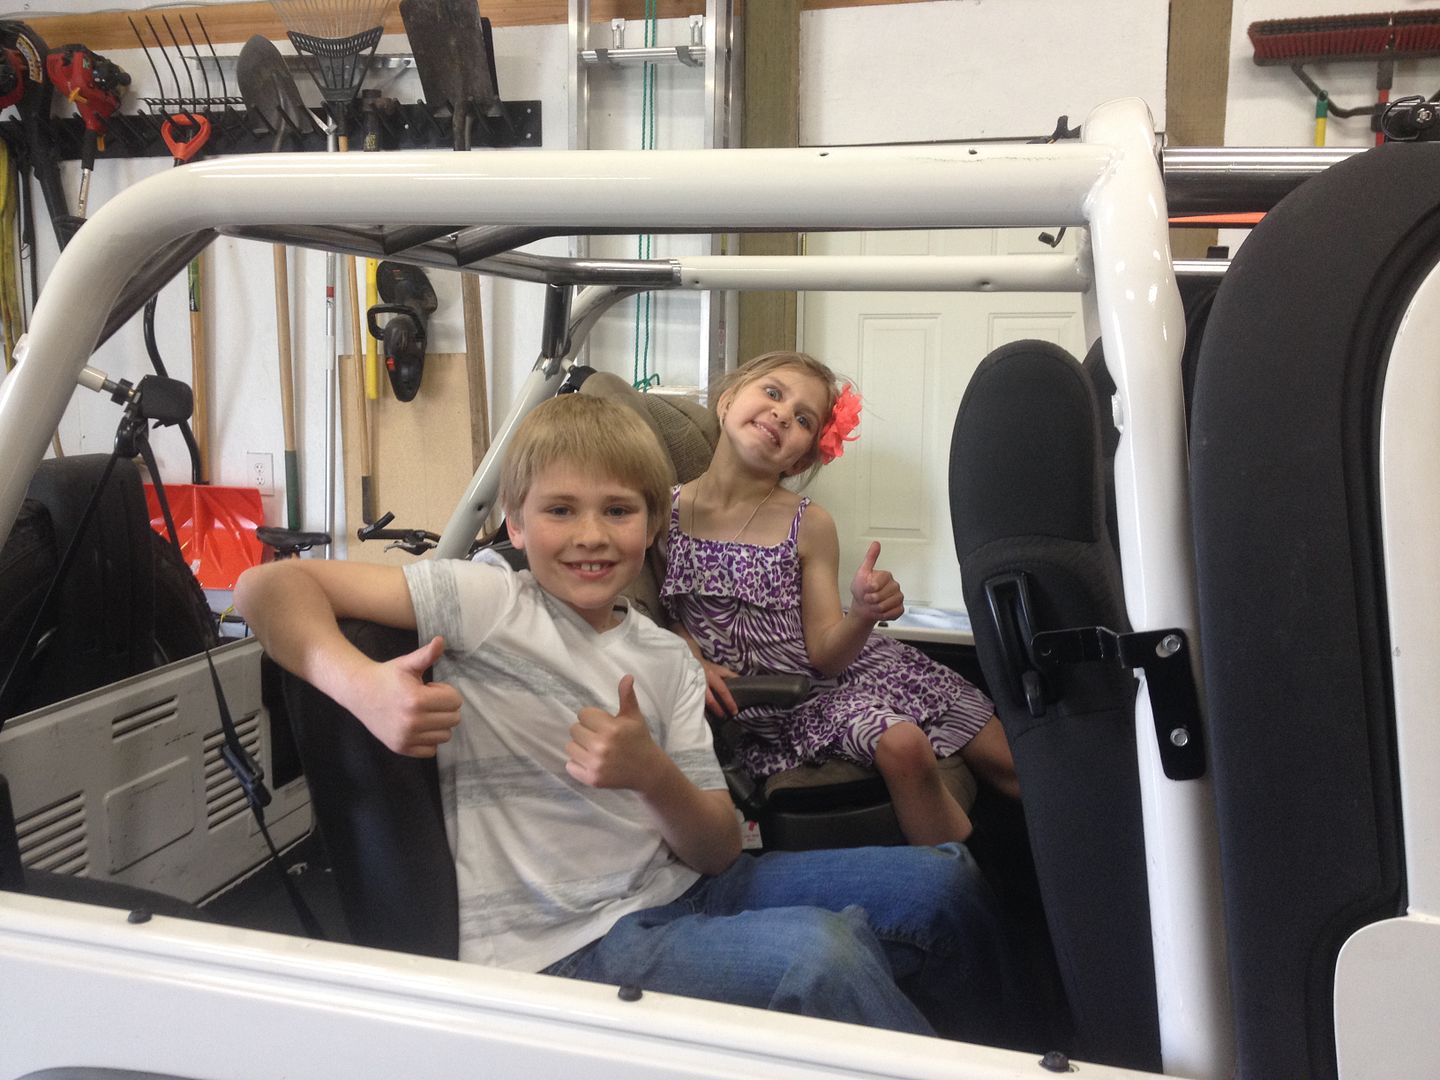
Oh, and the requisite sneak peek:
First up, safety and recovery. A first aide kit was slid under the driver seat. Whew, that was tough.
While I was on the Amazons, I also picked up a Bestop full-length bikini top and some replacement door czek straps, as the passenger side one is ripped. I was also lucky enough to find a complete OEM soft top with tinted windows on Craigslist, so I'm now contemplating what to do with the hulking factory hard top
Oh, and the requisite sneak peek:
Yep, I've wheeled one of those, too...
tobyw wrote:now what to do with the hulking hardtop
You should build a rack that holds two and I'll bring mine over and help you test it.
Okay, we're a little crazy to have a Duramax for a daily driver. But if we go off our meds, we might wind up in a Prius.
If you want to hear God laugh, tell Him your plans.
N7EEL WROD249


If you want to hear God laugh, tell Him your plans.
N7EEL WROD249
-
mattawajeep
- Posts: 1221
- Joined: Wed May 19, 2010 6:18 pm
- Location: Mattawa, WA
The pillar tube is actually quite a bit further outboard than the speaker cone, at least on the stock speaker... not sure exactly how much bigger your speakers are and in what direction(s), but I'd wager that if they fit without interfering with the HVAC duct they won't hit the pillar tube.
Yep, I've wheeled one of those, too...
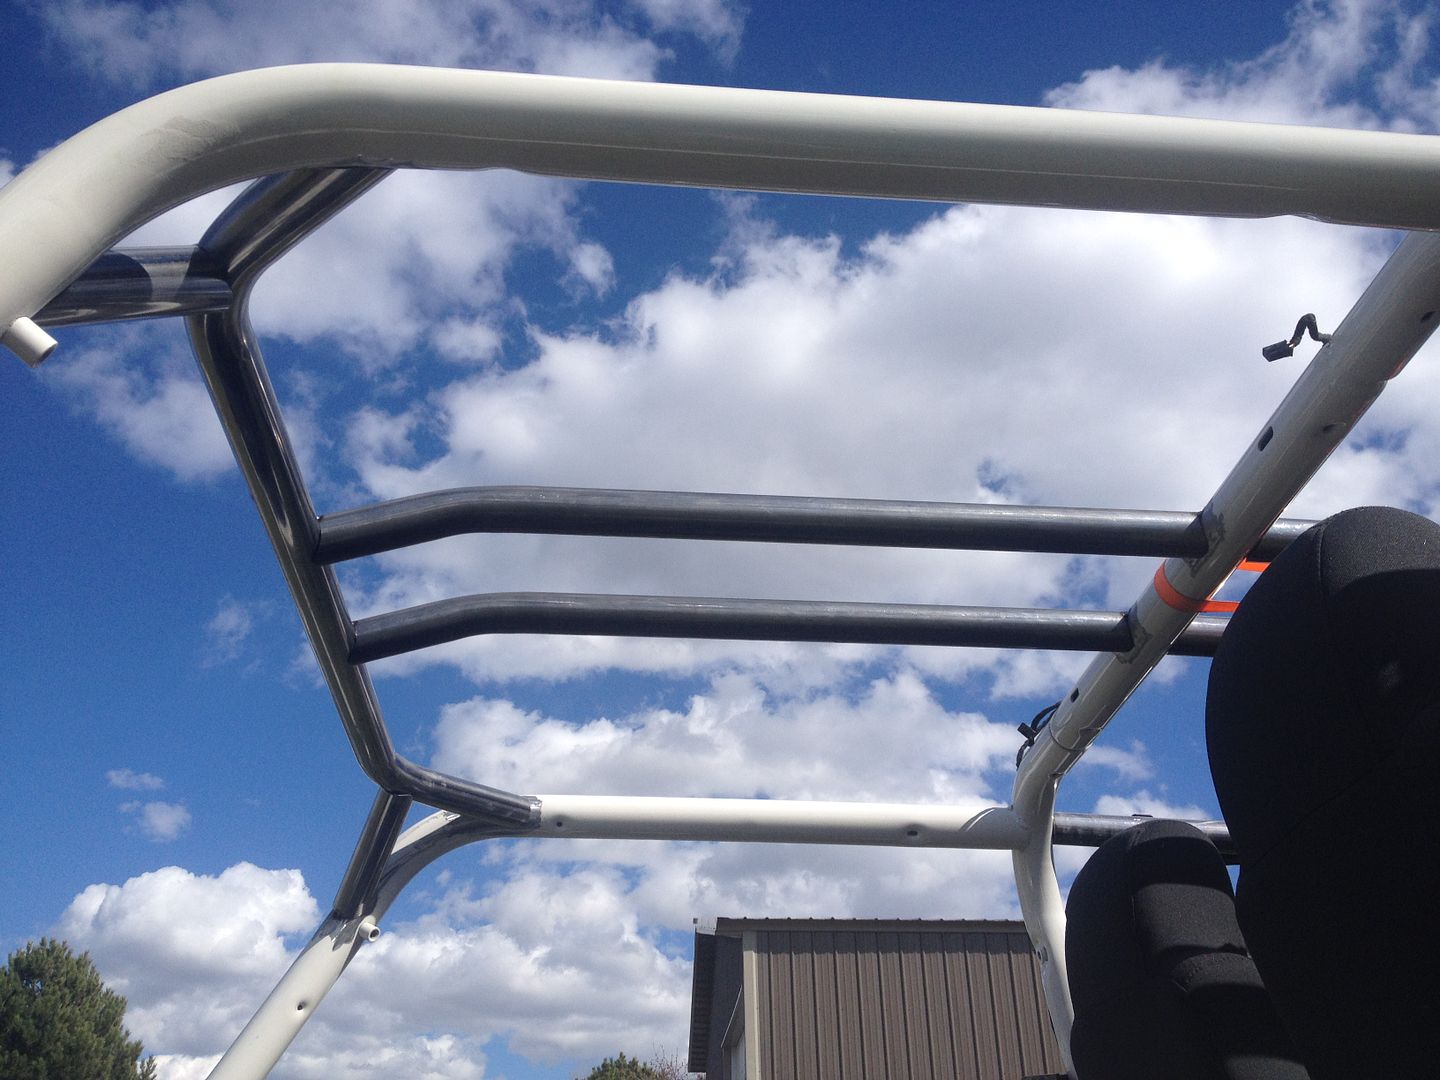
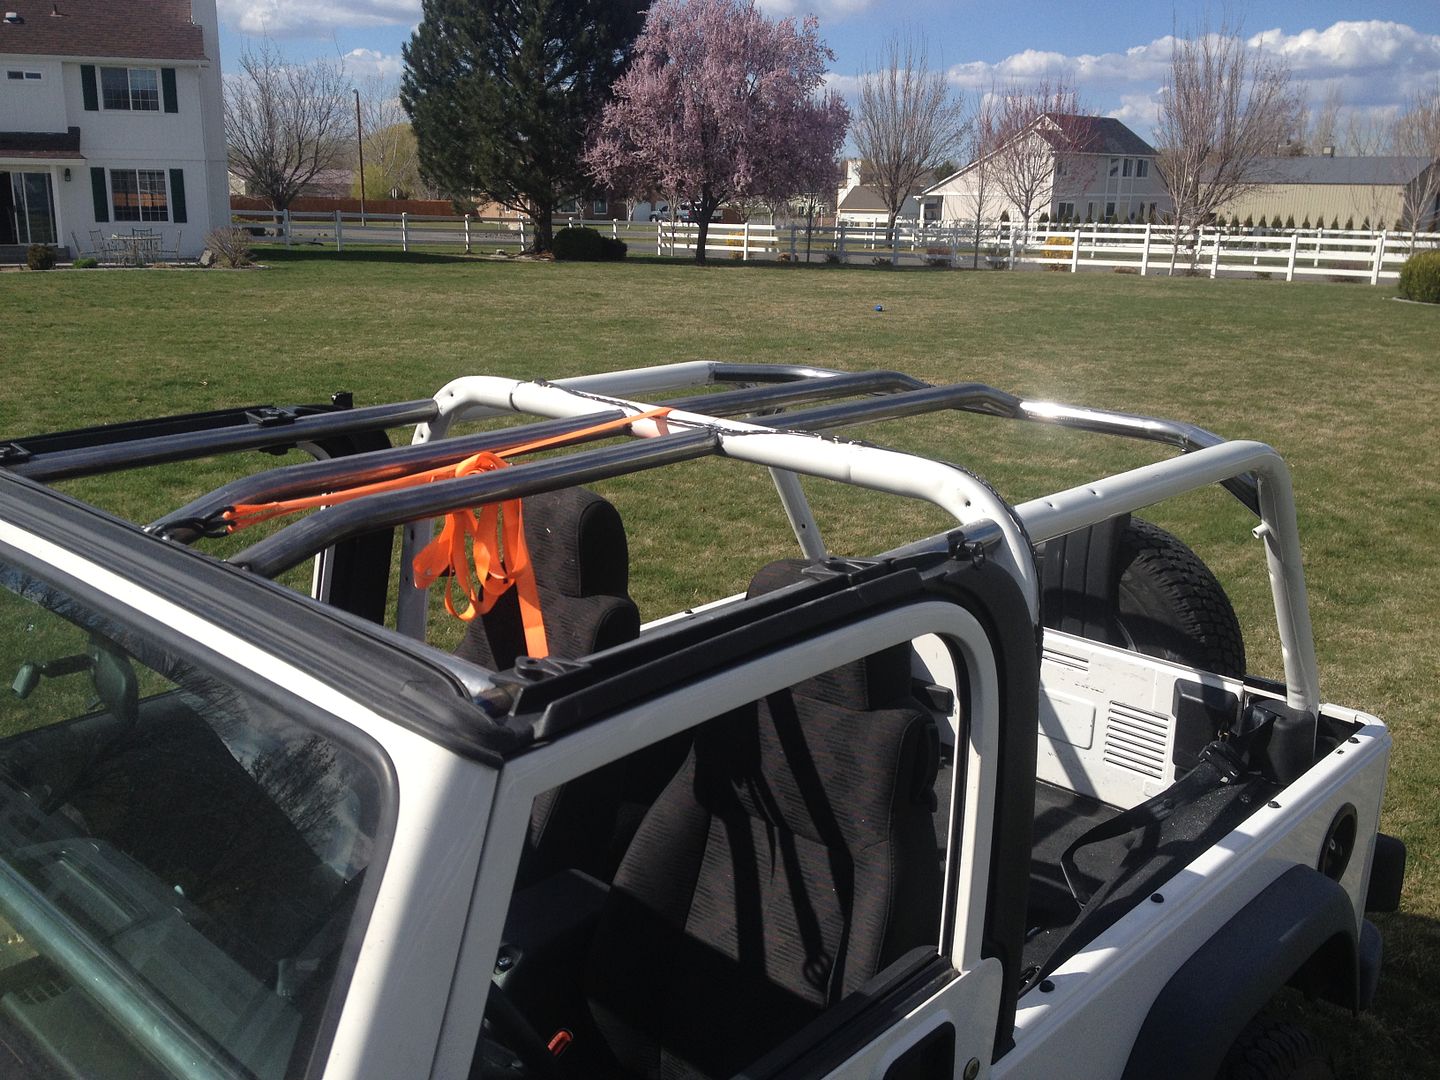
Managed to get a little bit more done on the rollcage this weekend. Still not finished, but we’ll call it a good 95% right now (weld-out notwithstanding).
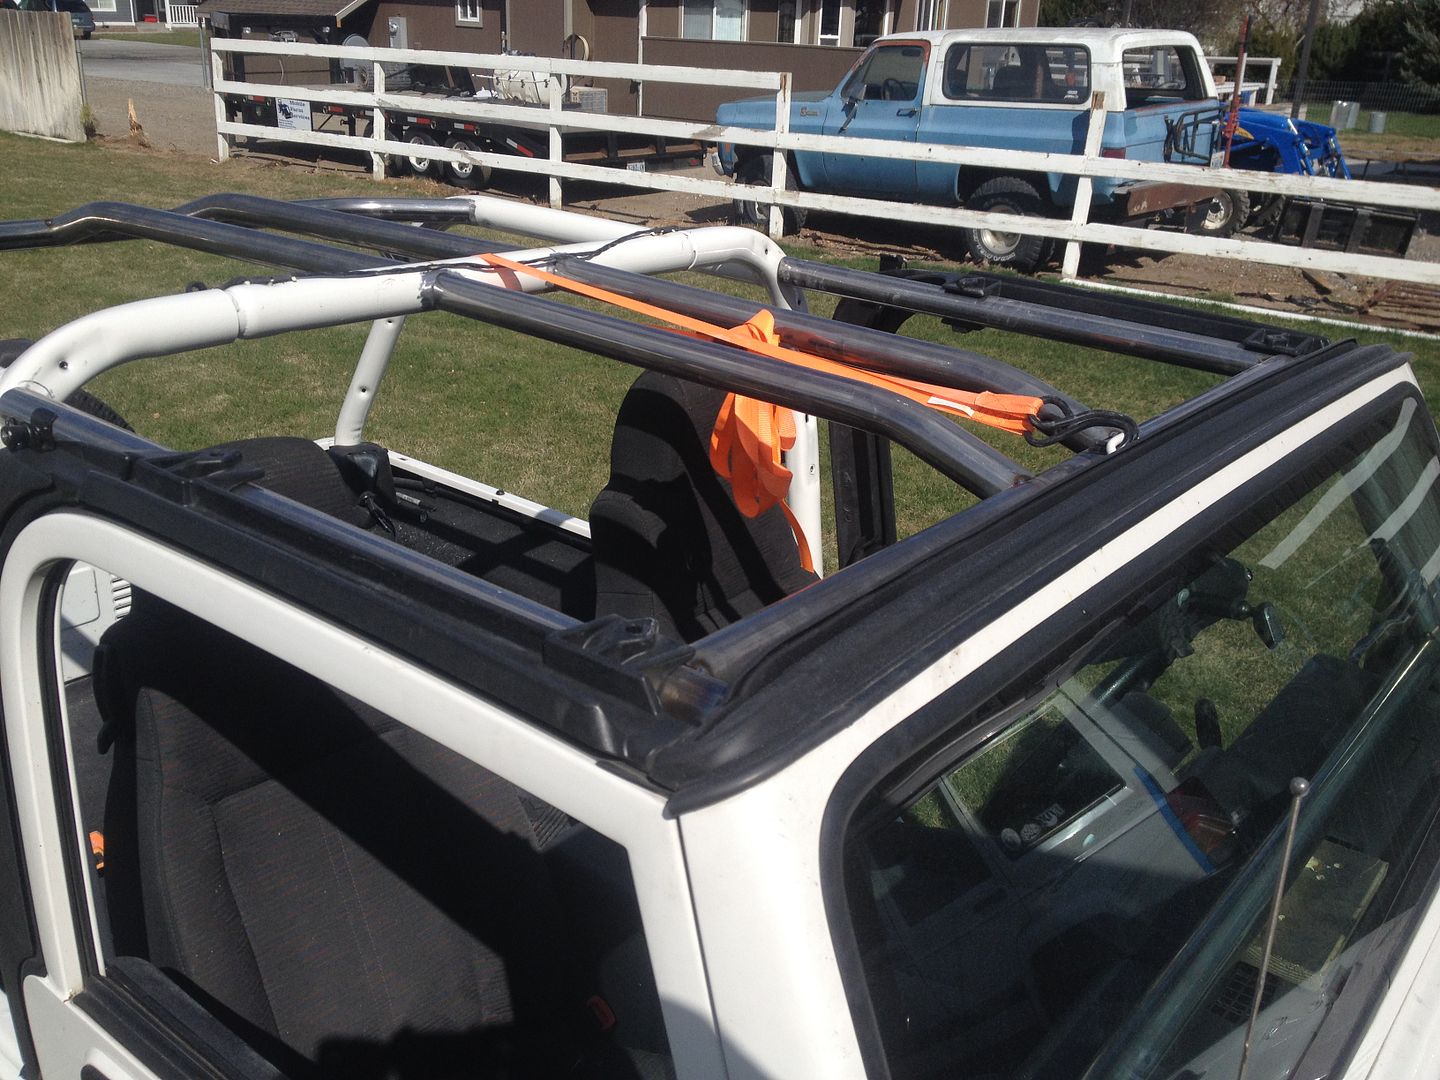
I started by performing a rinse/repeat of the passenger side A-pillar that I finished last weekend, only to find out that the driver side dash cavity was hiding a few widgets that got in the way of the clean route I had hoped for. Thankfully it was mostly wiring that could be relocated, but the ALDL connector bracket that is spot welded on location under the dash had to be cut off and relocated slightly further inboard. In addition to that, there is a bracket that holds a mass of wiring harness connectors in place that wouldn’t let the pillar push far enough forward toward the firewall, messing with my angle for the windshield section of the pillar. So, a little guess and check in the bender and I was able to get it snaked in and the windshield angle to match the passenger side. Whew… Once that was done, I whipped out the dash bar, windshield bar, and the overhead spreaders:
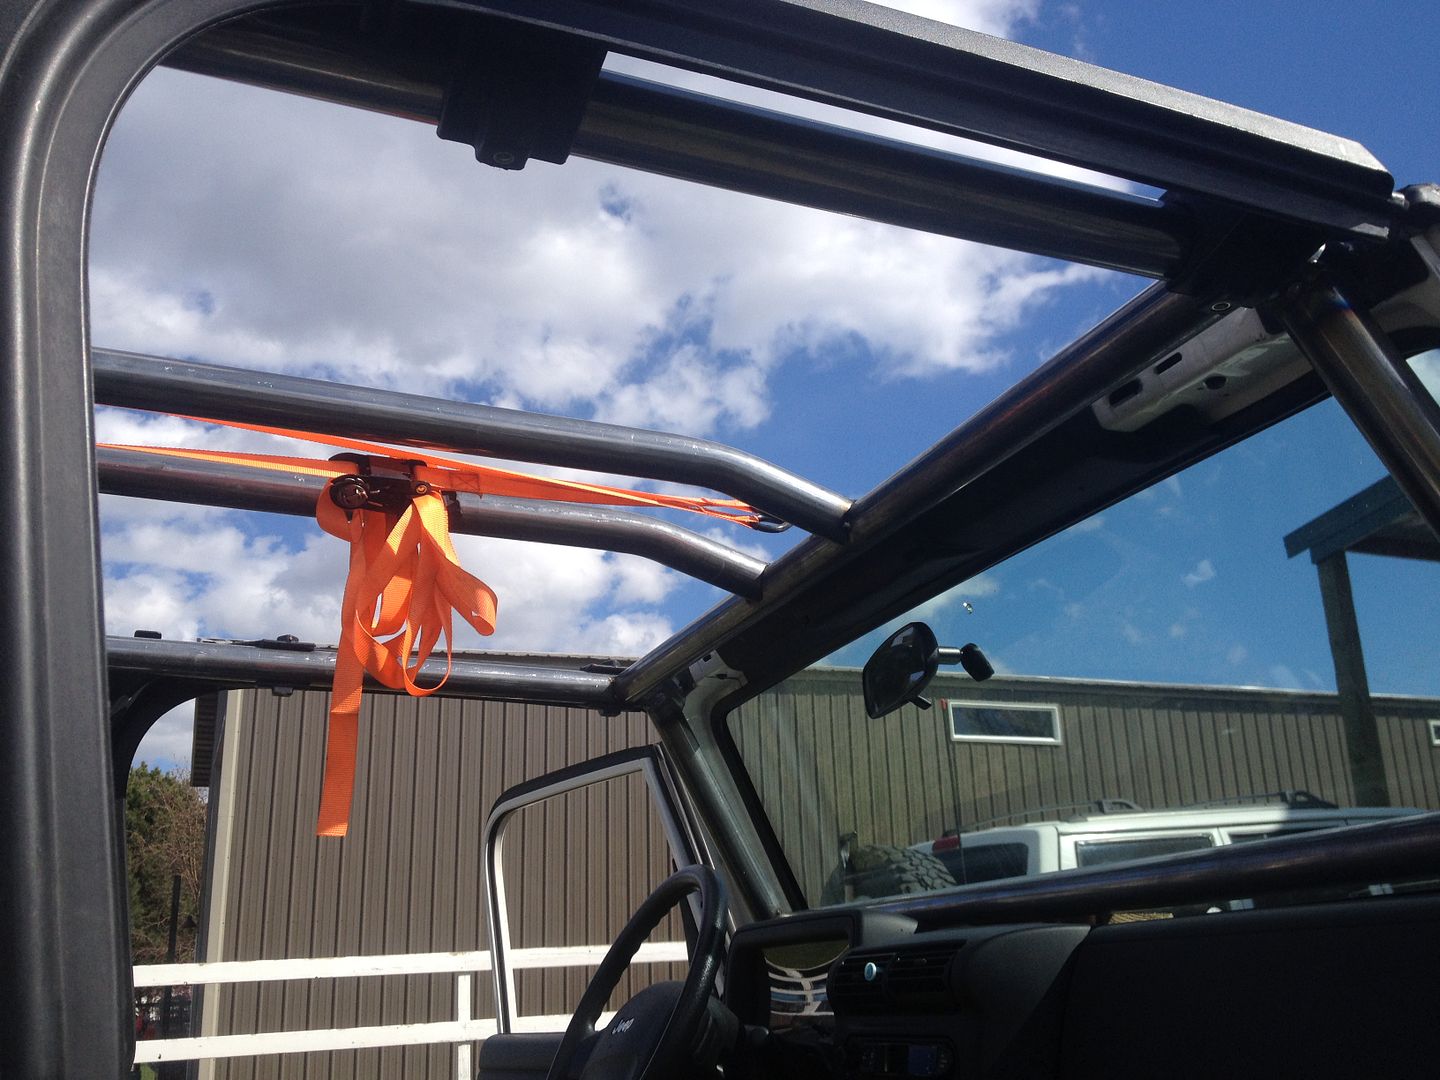
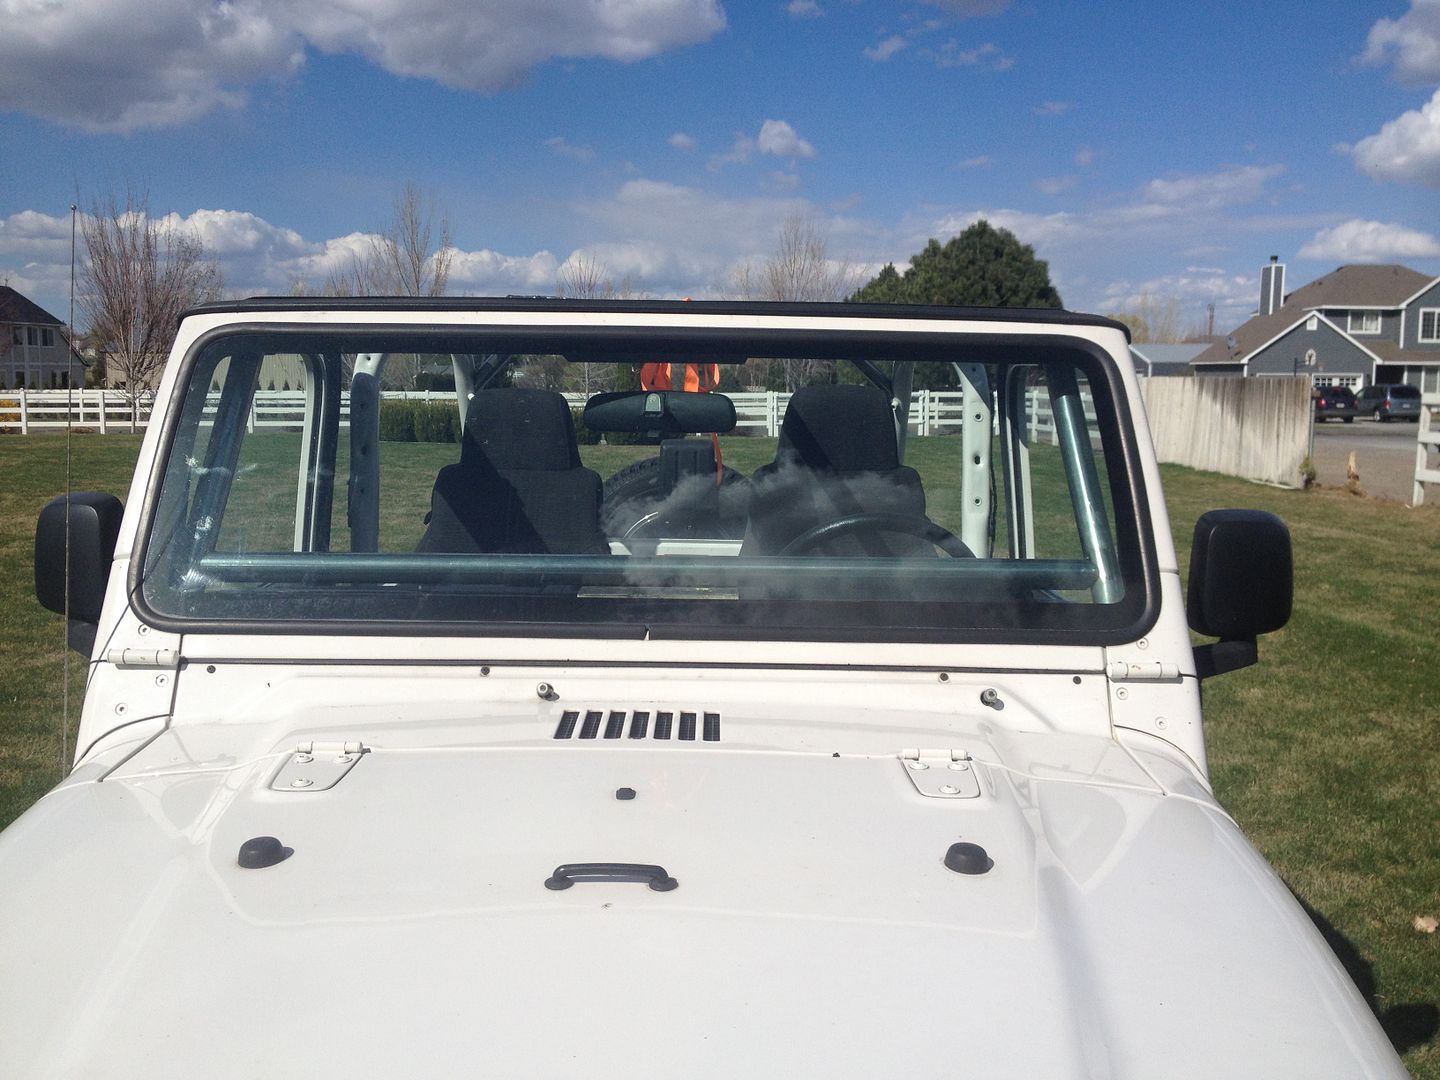
Ended up looking pretty tidy through the windshield:
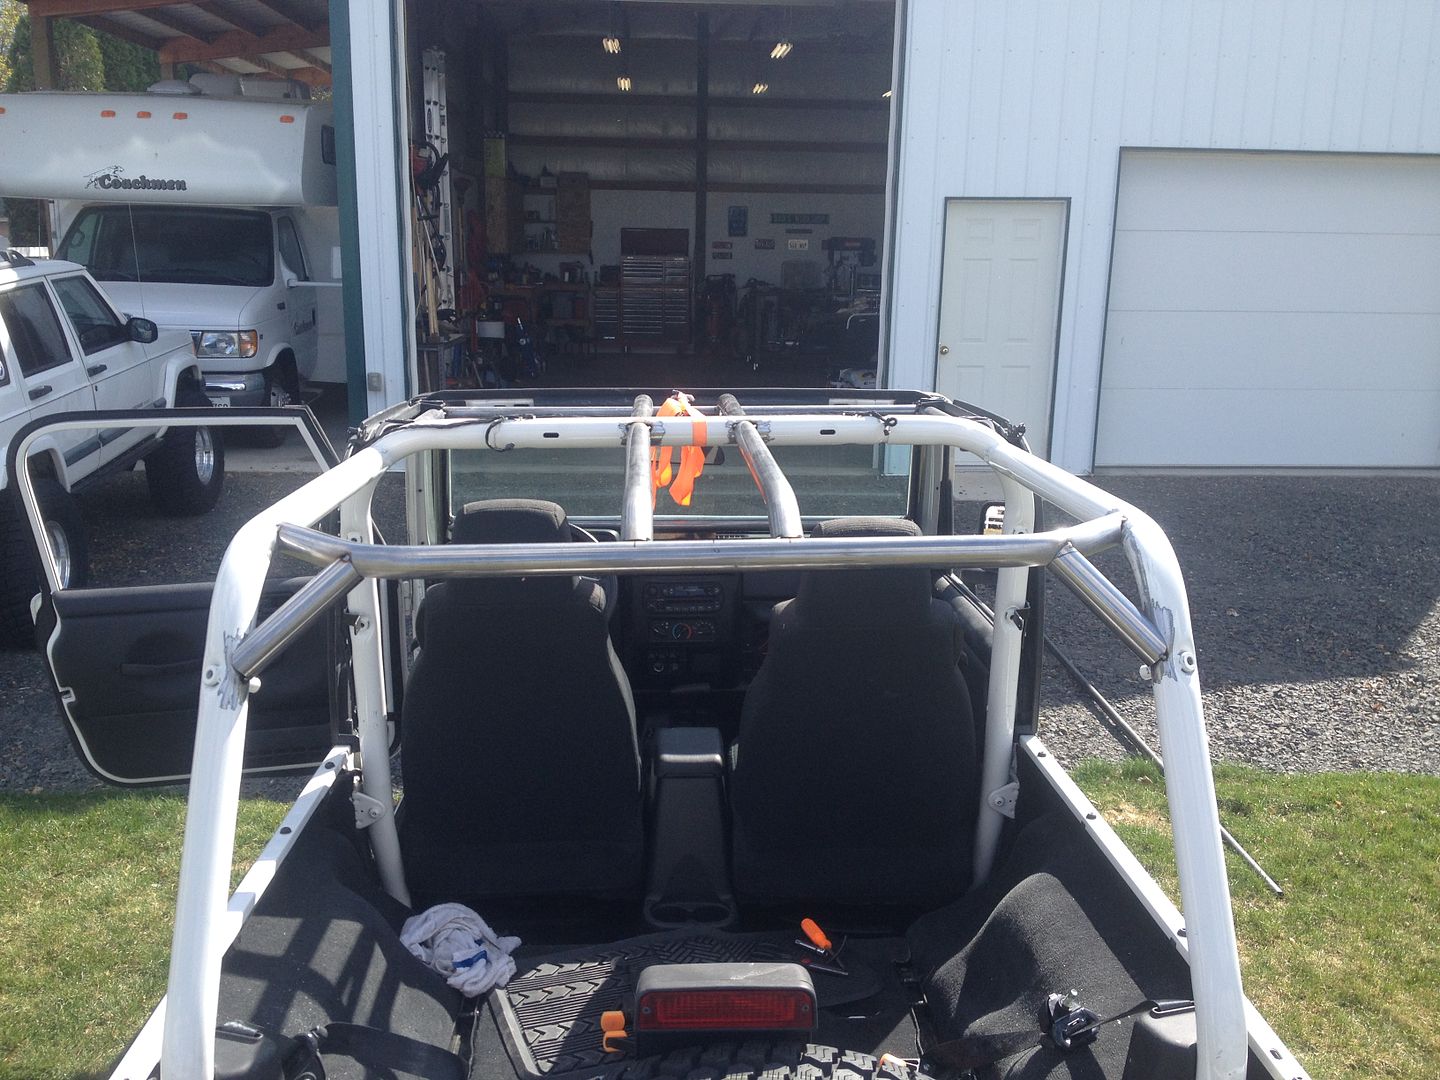
With the front end wrapped up, it was time to get back to the rear section. I had already bent up the ‘C’ spreader, but wanted to jazz it up just a touch, so I added some small diagonal kickers down to centerline of the seat belt bungs. Then finished it off with overhead spreaders t match the front section:
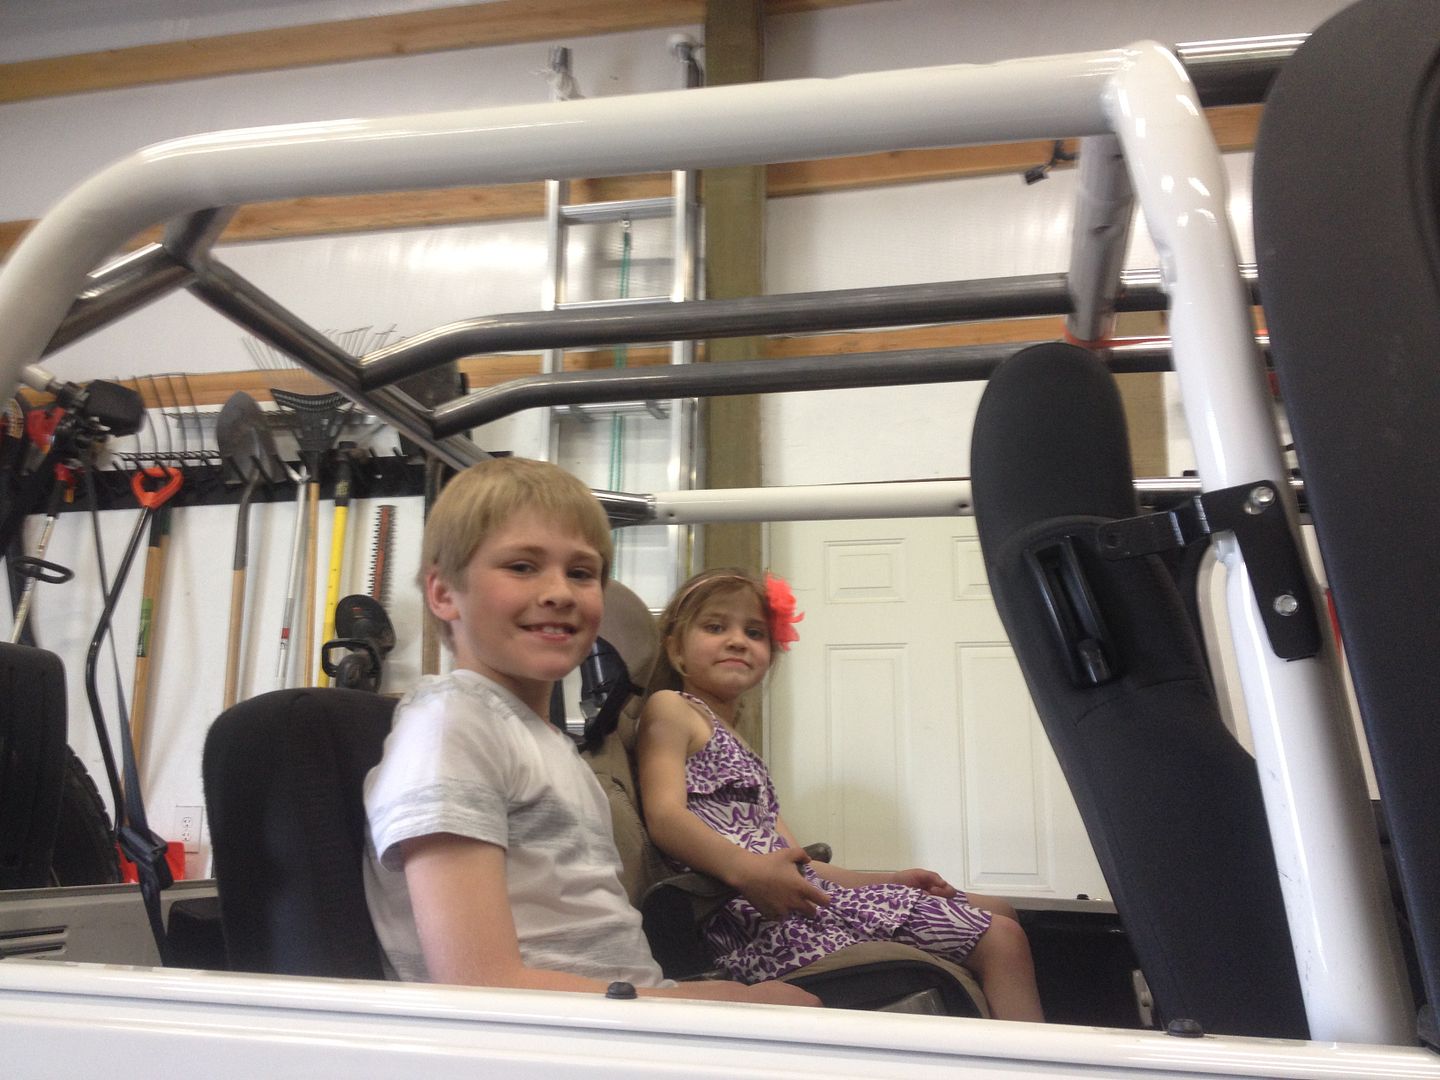
Minion approved!!
I started by performing a rinse/repeat of the passenger side A-pillar that I finished last weekend, only to find out that the driver side dash cavity was hiding a few widgets that got in the way of the clean route I had hoped for. Thankfully it was mostly wiring that could be relocated, but the ALDL connector bracket that is spot welded on location under the dash had to be cut off and relocated slightly further inboard. In addition to that, there is a bracket that holds a mass of wiring harness connectors in place that wouldn’t let the pillar push far enough forward toward the firewall, messing with my angle for the windshield section of the pillar. So, a little guess and check in the bender and I was able to get it snaked in and the windshield angle to match the passenger side. Whew… Once that was done, I whipped out the dash bar, windshield bar, and the overhead spreaders:
Ended up looking pretty tidy through the windshield:
With the front end wrapped up, it was time to get back to the rear section. I had already bent up the ‘C’ spreader, but wanted to jazz it up just a touch, so I added some small diagonal kickers down to centerline of the seat belt bungs. Then finished it off with overhead spreaders t match the front section:
Minion approved!!
Yep, I've wheeled one of those, too...
-
Toolegit86
- Posts: 421
- Joined: Wed Sep 17, 2008 8:56 am
-
mattawajeep
- Posts: 1221
- Joined: Wed May 19, 2010 6:18 pm
- Location: Mattawa, WA
That's why I need a set...
One of my beefs with a lot of the aftermarket pre-fab TJ cages is that they place the windshield spreader 6-8" back from the windshield in order to allow those clamps to function. That makes installing the top easy, but it completely misses the point of the windshield spreader by leaving that cage node unsupported. I'd much rather sacrifice ease of installing my top vs. strength in my cage
I also didn't like the overall feel of the cage with that spreader so much closer to my forehead. Still had plenty of room in the grand scheme of things, but I just didn't like it
Yep, I've wheeled one of those, too...
-
Rottwheeler

- Posts: 244
- Joined: Mon Jan 18, 2010 11:58 am
- Location: Kennewick, WA
Back to work on the roll cage…
Unlike the CJ/YJ platforms, the TJ has a somewhat odd double-wall floor near the cowl. This makes mounting a cage foot plate somewhat of a challenge, as you can’t (or shouldn’t) simply bolt a plate to the floor and then run long bolts through both walls of the flooring, because in a hard roll the foot plate would likely just crush through the first layer and down into/through the second layer as well. In an effort to avoid this, the foot plate should have a way to transfer any force down to the lower sandwich plate, and ultimately back to the frame (this will come later, haven’t gotten that far yet). So, I drilled a 1-3/4â€
Unlike the CJ/YJ platforms, the TJ has a somewhat odd double-wall floor near the cowl. This makes mounting a cage foot plate somewhat of a challenge, as you can’t (or shouldn’t) simply bolt a plate to the floor and then run long bolts through both walls of the flooring, because in a hard roll the foot plate would likely just crush through the first layer and down into/through the second layer as well. In an effort to avoid this, the foot plate should have a way to transfer any force down to the lower sandwich plate, and ultimately back to the frame (this will come later, haven’t gotten that far yet). So, I drilled a 1-3/4â€
Yep, I've wheeled one of those, too...
-
mattawajeep
- Posts: 1221
- Joined: Wed May 19, 2010 6:18 pm
- Location: Mattawa, WA
-
mattawajeep
- Posts: 1221
- Joined: Wed May 19, 2010 6:18 pm
- Location: Mattawa, WA
-
White trash

- Posts: 1763
- Joined: Tue Jan 22, 2008 9:38 pm
- Location: El Pasco
-
mattawajeep
- Posts: 1221
- Joined: Wed May 19, 2010 6:18 pm
- Location: Mattawa, WA
-
White trash
- Posts: 1763
- Joined: Tue Jan 22, 2008 9:38 pm
- Location: El Pasco
-
mattawajeep
- Posts: 1221
- Joined: Wed May 19, 2010 6:18 pm
- Location: Mattawa, WA

Return to “Projects and Build-Ups”
Who is online
Users browsing this forum: No registered users and 82 guests