<object width="425" height="344"><param name="movie" value="http://www.youtube.com/v/dmc5jvVXx14&hl=en&fs=1"></param><param name="allowFullScreen" value="true"></param><embed src="http://www.youtube.com/v/dmc5jvVXx14&hl=en&fs=1" type="application/x-shockwave-flash" allowfullscreen="true" width="425" height="344"></embed></object>
So I decided on Rokmen’s LJ Short Corner Armor made of 3/16" Cold Roll Steel.
http://www.rokmen.com/products/corner_armor/lwb_corners/lwb_corners.html
I was surprised when it arrived that it came with no hardware. Talking to Jeff at Rokmen, it turns out that FedEx Grnd lost it. I was also surprised that it came without packaging. Jeff explained that they found they had less damage with the pieces simply bolted together and not boxed than boxed. Seems the drivers could not find the handle on it when it was in the box.
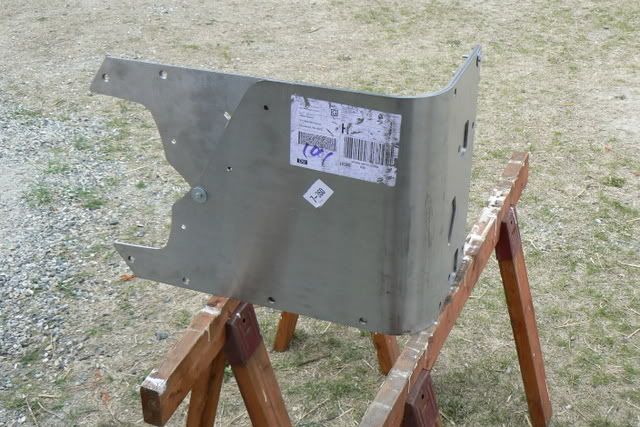
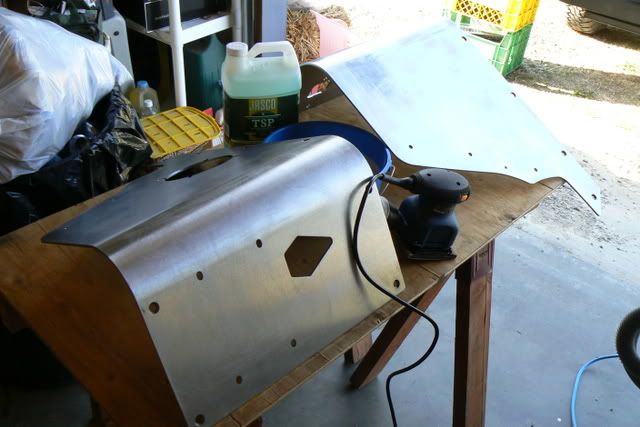
They cleaned up from their travels easily enough with my palm sander and some TSP.
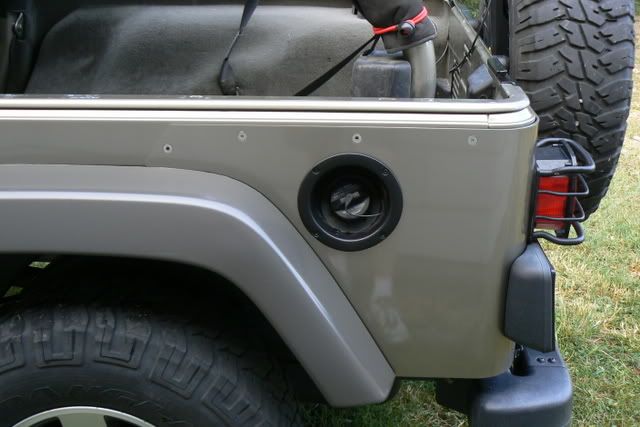
Rokmen recommends fitting the corners and drilling the holes in the tub while the corners are still bare, but I wanted them painted to match and the bodyshop was doing me a favor shooting them and I had to wait on their schedule, so I could not leave the Jeep with holes in it that long. I brought them over to Ken at Frank & Son’s and he got them in the next time they were shooting a car of similar color. The only problem with the paint job from F&S is that it is considerable better than what comes on my Jeep from Mopar.
The corners languished in my shop. Fast forward to a couple of weeks ago and I finally decided to skip some honey dews and just get the job done.
It is good to have help that understands how to handle the heat…
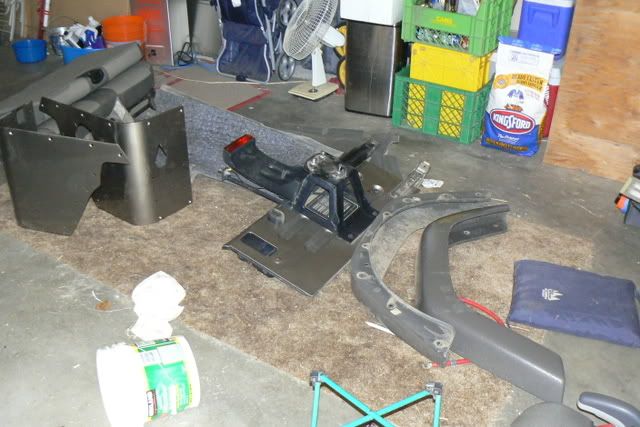
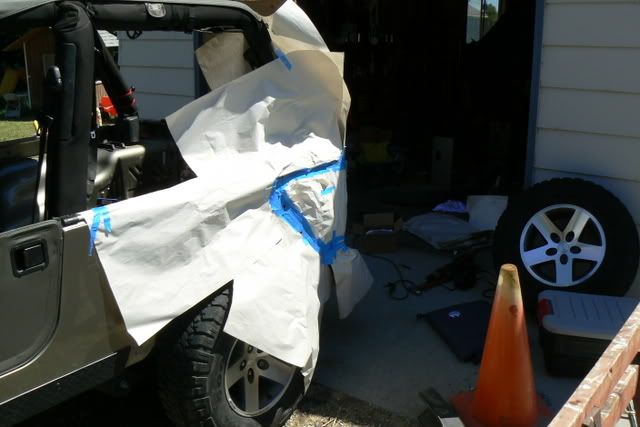
Step one: Friday night I had to remove the lock box (the Jeep rose an inch), the fender flares, tailgate and spare, fuel filler trim, license plate bracket, and taillights. The wiring for the taillights was such a snarled mess (from the original owner) I had to cut the wires. Removing the flares was a bit more of a pain than you might imagine.

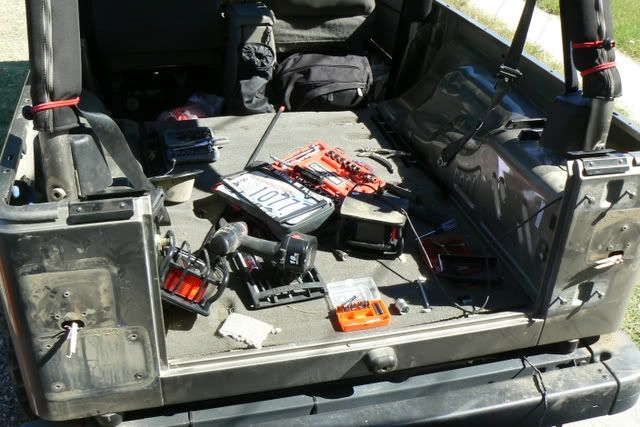
Saturday after farmers’ market I went to work, washing the soon to be covered area, fitting the corners and drilling holes in my virgin tub.
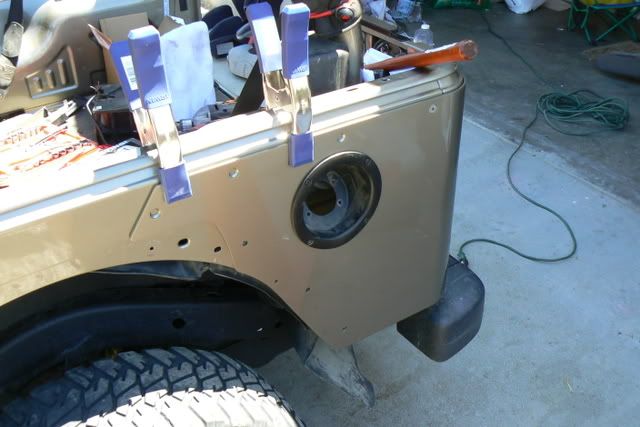
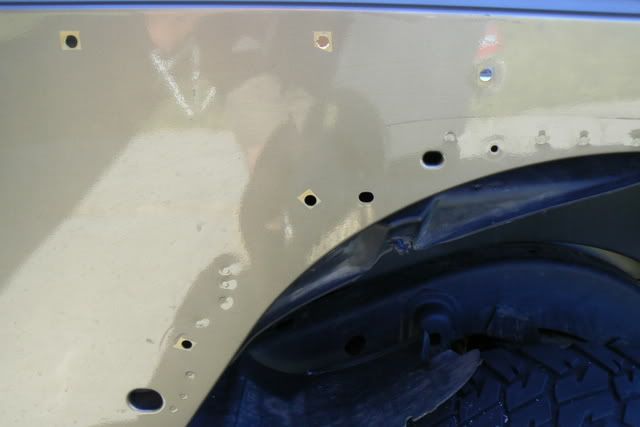
Then I removed the corners and primed and painted the drilled holes.
See how close I matched the color…
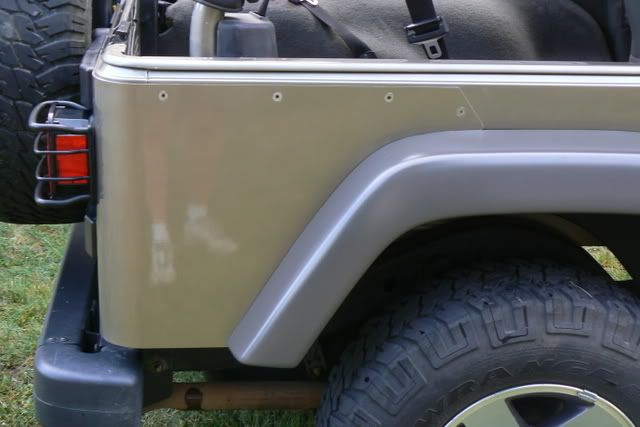
Then it was time to put the corners back on along with all removed hardware. Spacers go under the hinge on the tailgate to reposition the tailgate to its original location. Of course, I had to break out the soldering iron to repair the taillight wiring.
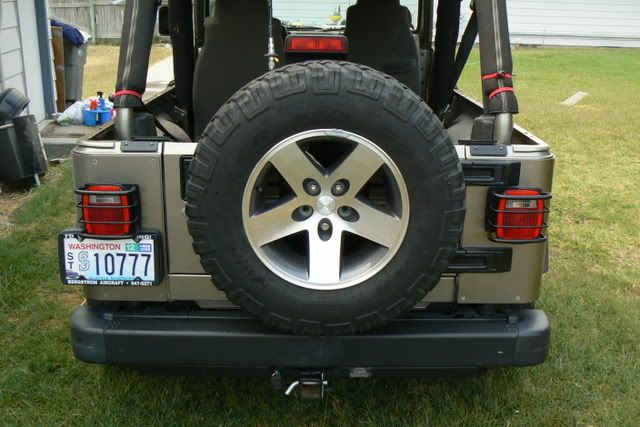
And here is the finished product…
A few tips for anyone that decides to go this route…
Put silicone on the back side of the countersunk stainless bolts and hold the in place while tightening the backing nuts, not the other way around.
When fitting the left side corner, use not only the license plate bracket bolts, but the screws for the fuel filler trim to align the corner; if I had done this in the first place I would have gotten better fitment (I’m sure I can adjust / fix this in the future.)
Oh, and these are a great product; heavy duty, well machined and thought out. For example, one countersunk bolt gets a washer that is cut in half under the plain washer and nut to compensate for where two body panels meet… Genius.