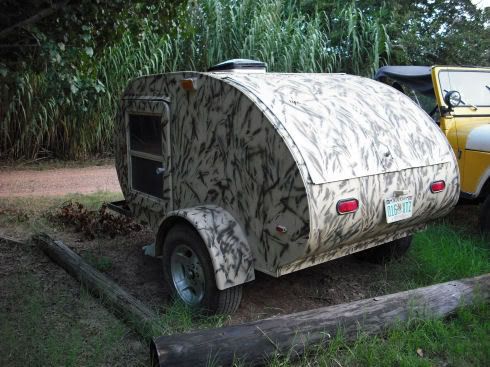
Just want to show off my home built camper. It was inspired by a commercially available model and my dislike in setting up, sleeping and tearing down a tent, having to load and unload all my gear each time I want to go. The camper allows me to store all my camping gear and I am always ready at a minutes notice, just have to throw in my bow and clothes. It holds all my gear on the trip down, when I arrive at the camp site, I pull out the folding chairs and table and I'm good to go.
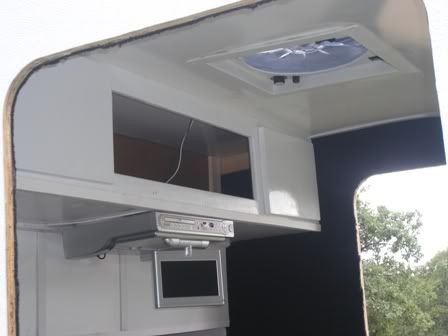
It will sleep two comfortably down to 25 degrees, this is as cold as I've had it in. It will fit a queen size bed, has LCD TV/DVD/CD/Radio and s Sony Play station for those days when the weather does not cooperate. All the electronics run off a 12v marine battery. I do most of my camping during hunting season and am usually by myself. I spent over 30 nights last season and was quite comfortable. All my cook ware is in the back galley. All I have to do is lift the hatch to access all my cook ware and some storage.
I am going to post the pics of the build so If some one else wants to give one a go they can have somewhere to start. Bear in mind I am by no means an expert on anything, just a guy who has a disease of liking to do things my self. The campers you can buy commercially are nice, but I wanted to customize things.
I did not take any pictures of the frame during the build but it is just basically a 5'x 6' square with some bracing all done with a mig welder. The axle is a 2000# torsion at about 60/40 offset. I got the wheels off a Jeep Cherokee for the salvage yard.
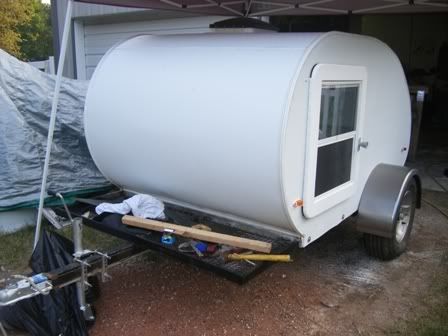
The camper is 5' wide by 8' long. Constructed of 4'x8' 3/4" plywood with (FRP) Fiberglass re-enforced plastic as a outer shell. Over all length including tongue is 12'. The walls are just 4x8 3/4" plywood, no insulation in the walls. The roof is made of 2x2's sparing with only the FRP on the outside and coated Masonite on the inside with R13 insulation. The insulation was compressed due to the 2" space so I am guessing maybe I'm getting an R7 performance out of it. All I know is it has been comfy in the winter and Summer.
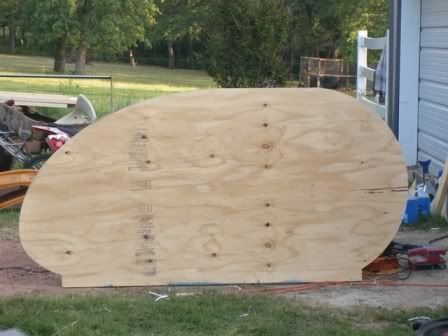
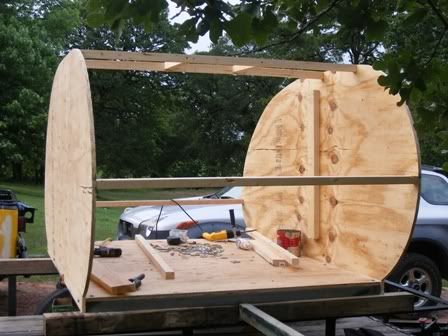
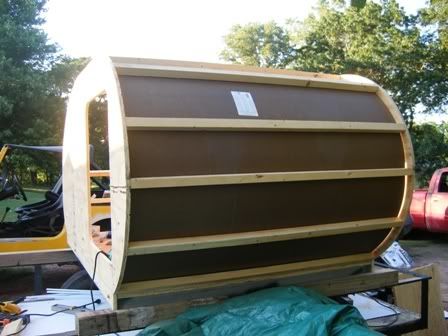
To get the design I was looking for I used a CAD program to draw up the outline. I then printed it out at full scale. I had 86 piece's of printer paper that I had to cut and tape together. I then placed it on the plywood and traced the outline. I clamped both (sides) plywood 4x8 pieces and using a jigsaw cut both boards at the same time. With one 5x8 piece of plywood as the floor I bolted the side to the steel frame with bolts. I used temp bracing to hold the walls in place.
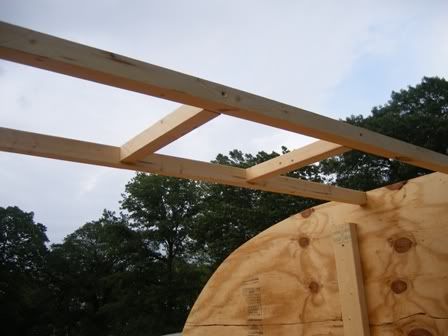
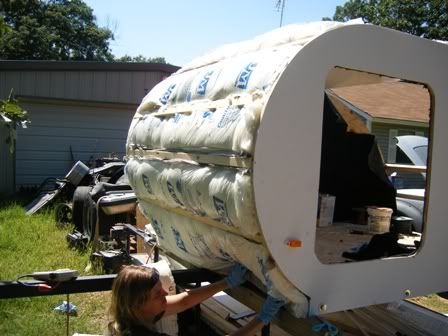
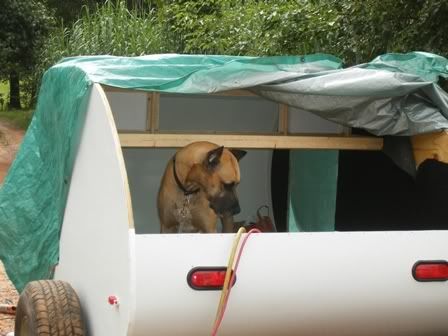
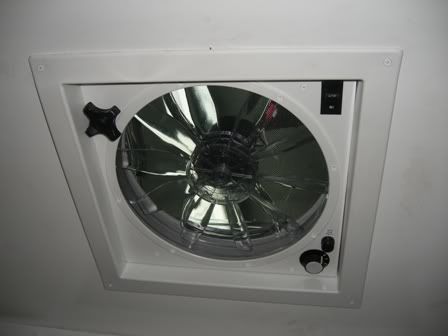
I used 2x4 cut in half to make what I call spars, the wood used to shape the roof and build a cut out for the Vent/Fan. Once the roof support was in place I installed the Masonite on the interior using trim molding to hide any seams. After that my wife and I installed the insulation followed up by the FRP. We covered the floors and walls with indoor outdoor carpeting. My dog thought I was making him a dog house.
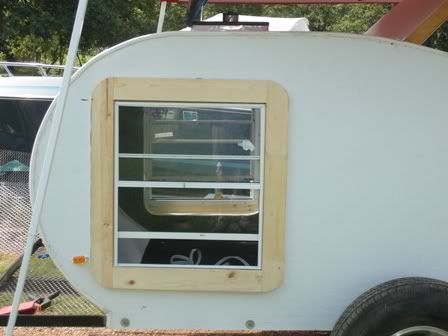
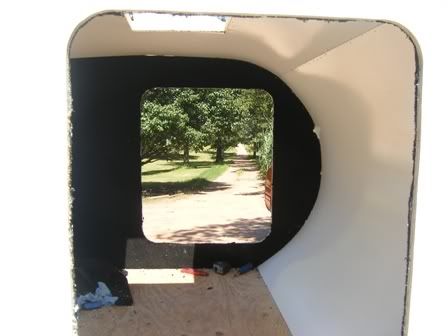
The doors are basically just a framed window. Not what I had in mind in the beginning but are serving the purpose at the present. I am pretty sure I'm going to change them in the future. They are air tight and have lasted almost a year now with no problems.
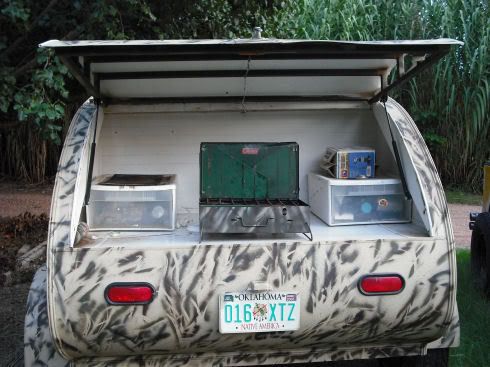
The galley area was then made with plywood and Masonite. Once this was built it gave me the backing for my interior cabinets. I just used cut down 2x4's for the frame work and 1x12 for the doors. You can defiantly tell I'm no cabinet maker .
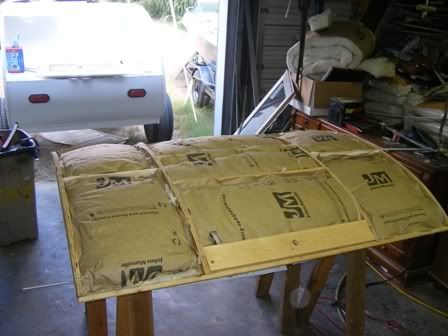
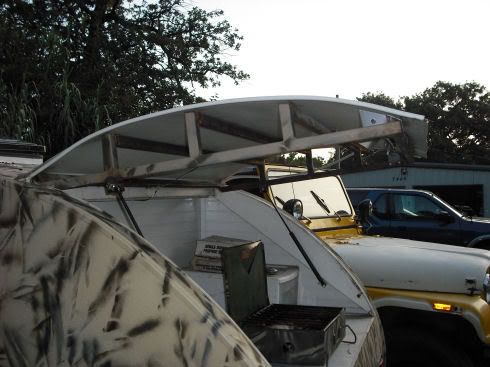
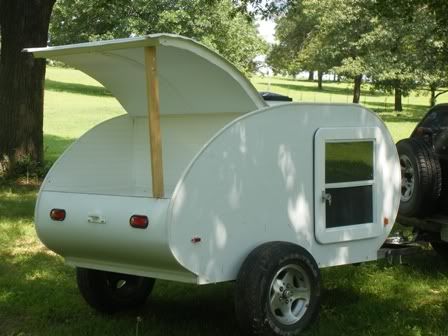
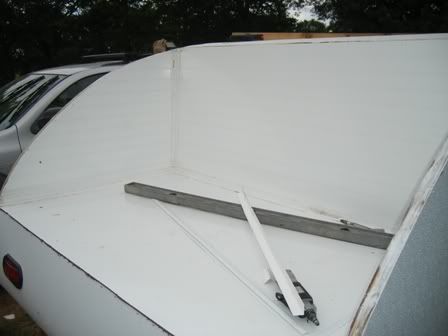
I have built two separate rear hatches. The first one was made from scrap plywood for spars covered with FRP and insulated. It came out kind of heavy and did not care too much for it so I built another one. Here's some pics of the first one and second.
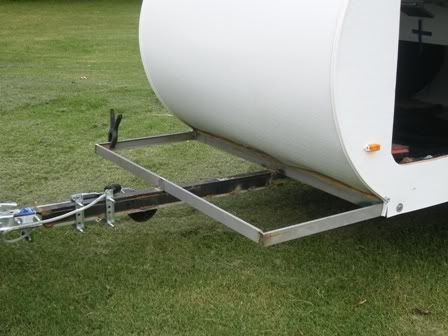
The front storage area was an after thought and if I were to do it all over again I would of just made the frame longer. this would have added a lot more strength to it. It works for holding my folding chairs, table and canopy. Sometimes I used it to store wood, hopefully someday I'll use it to haul a deer back home.
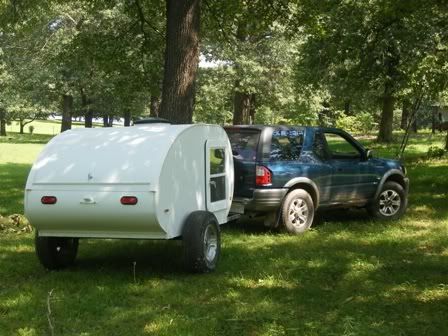
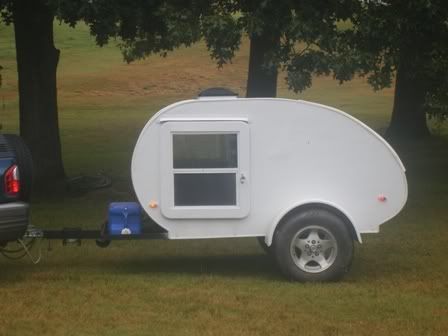
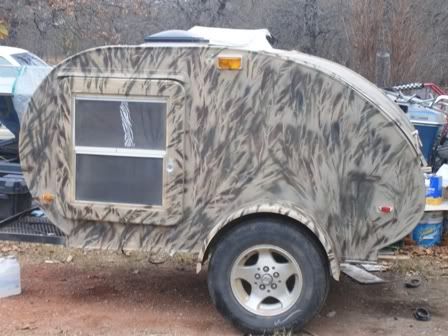
I really enjoy having the camper, it has served my needs well. It's small, pulls easy and gets lots of looks. There are some things I would change if I did it again and I just might. I would make the front storage area big enough for a ATV or couple trial bikes. I would put AC service into it in case I camped in a place that provided it. It seems like it was harder to put this little bit of post together than it was to build the camper. You'll notice a there are two different paint jobs, I tend to like the second one best. When I built the second hatch I had to repaint. There are more pics in my album if you want to see more. I know this is kind of vague but I can provide or answer questions if requested, but please note I am just like most of you guys. Love the outdoors and will do what ever it take to get there.