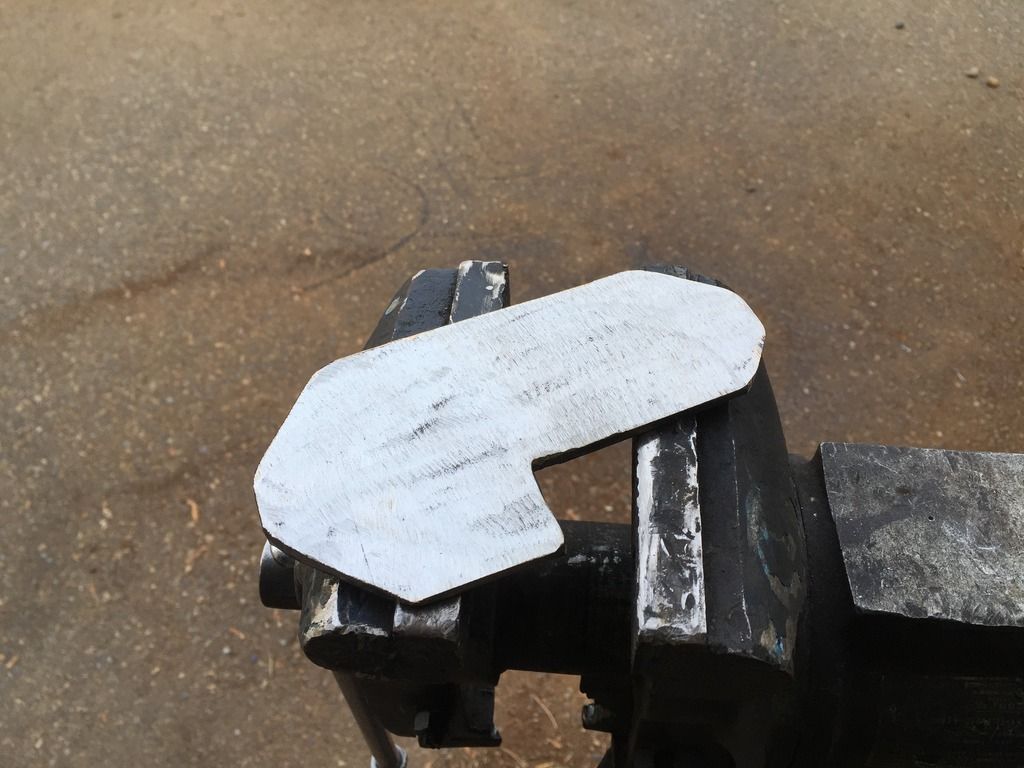
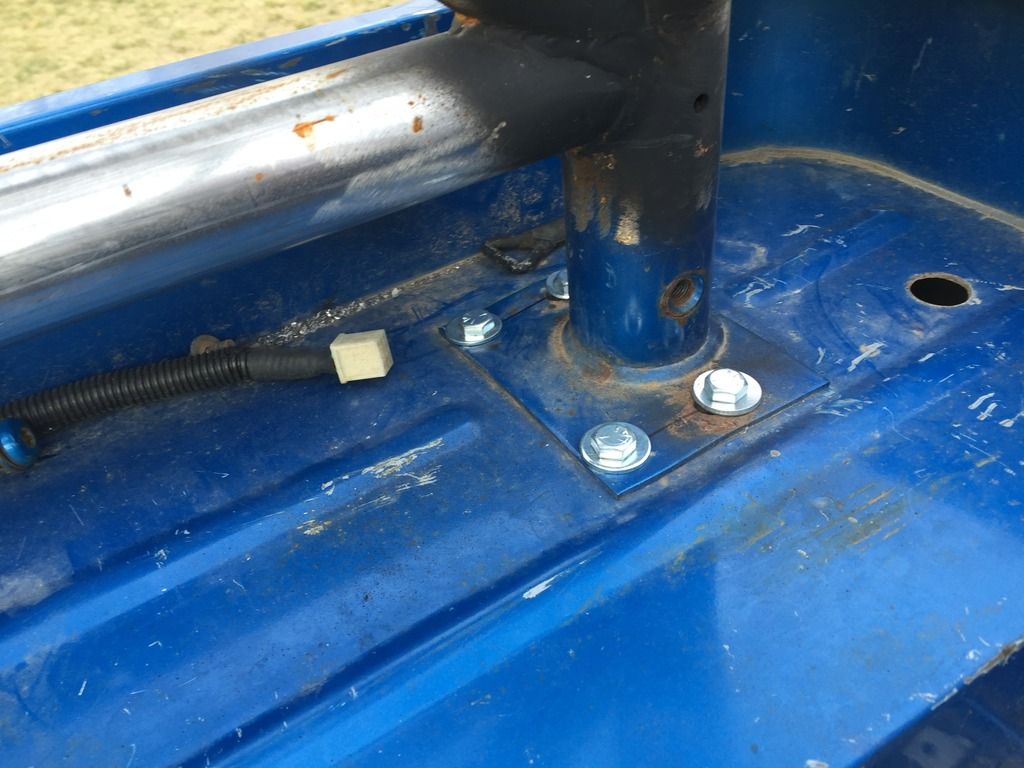
Sooooo, after last weekend, I felt that I had gotten ahead of myself with the b-pillar mounts. The mount design was OK but wasn't wild about welding it straight to the frame, so a new plate was made. Thicker with more weld to the frame.
The b-pillar body mount was removed and painted.

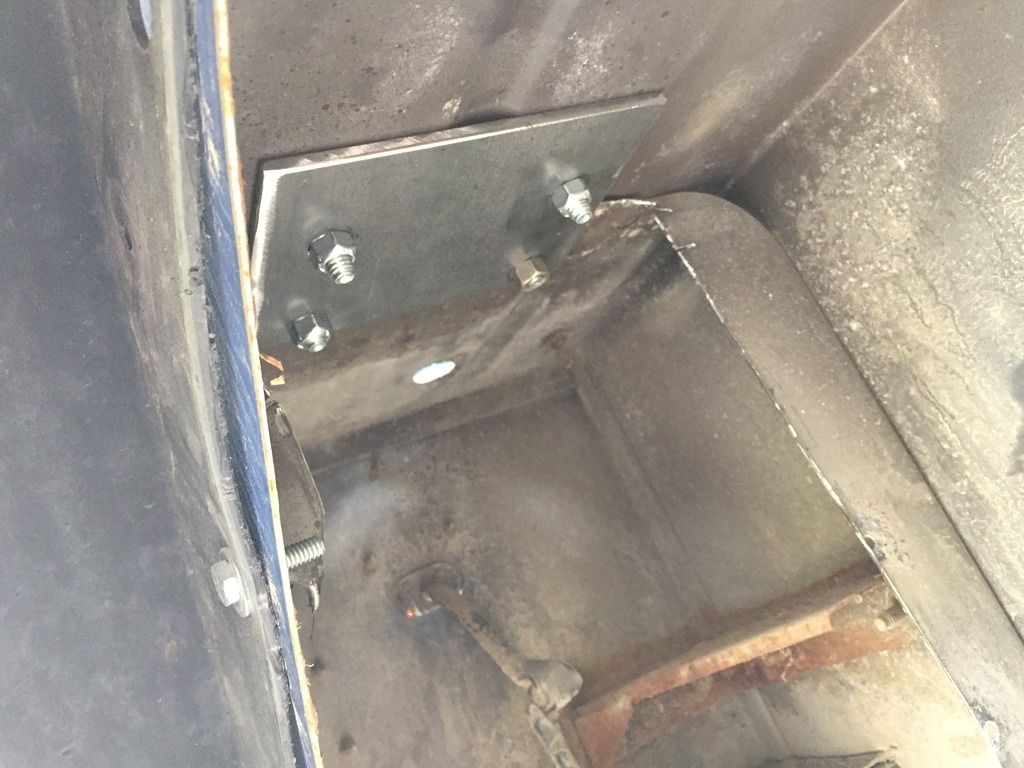
The b-pillar frame mount was welded in and body mount was re-installed.
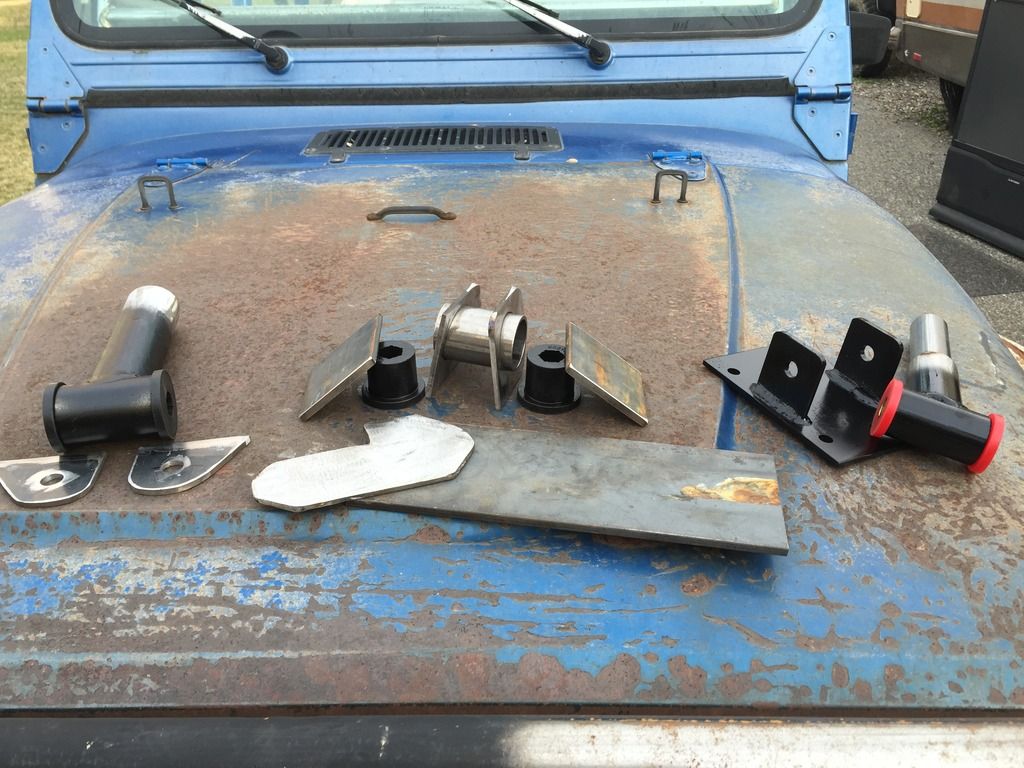
Then attention was moved to the c-pillar.
A couple extra holes in the stock plate
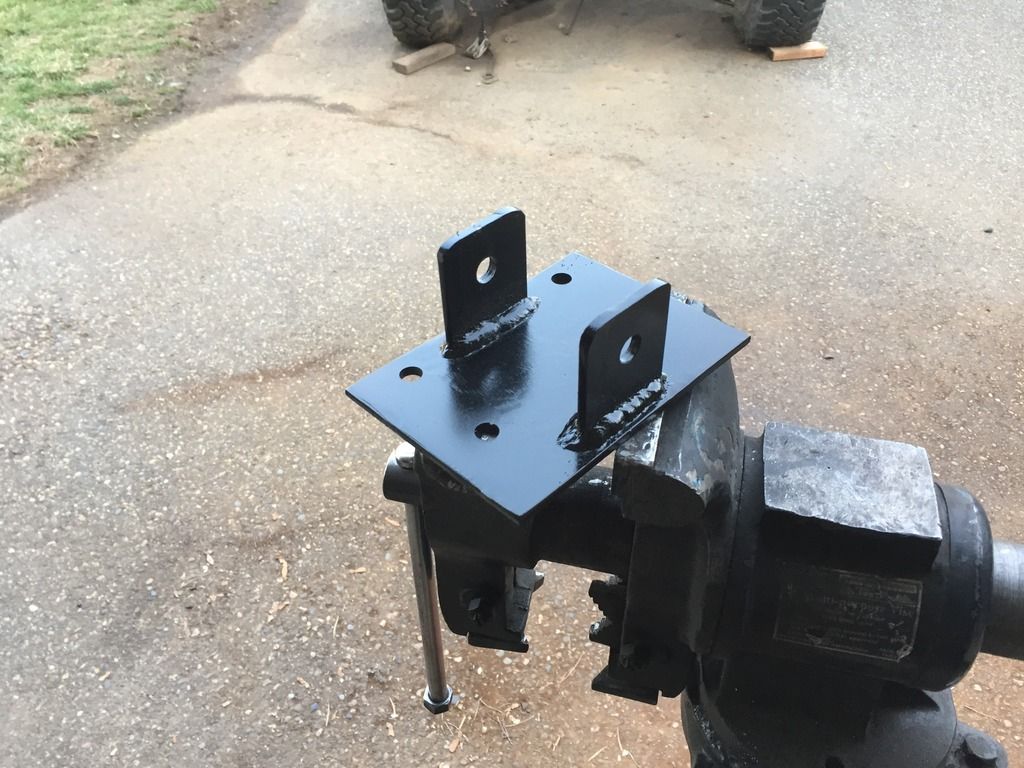
Couple plates tacked together and drilled, drilling 4 holes is better than 8.
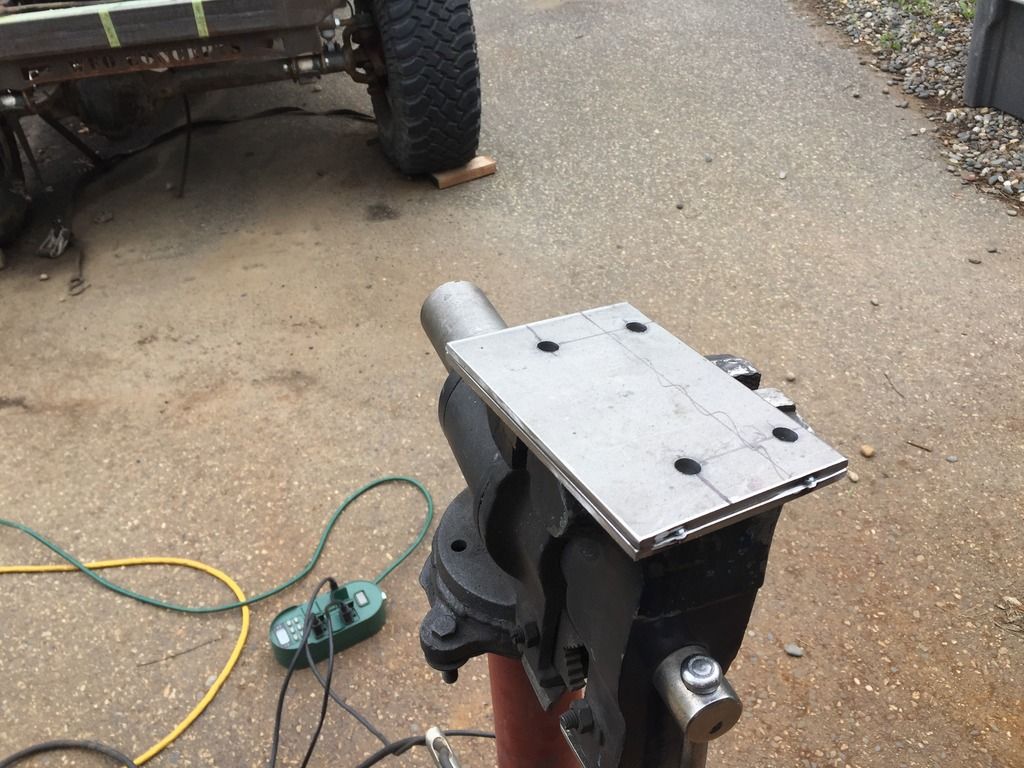
Test fit to make sure the holes are right and placement for the bushing tabs.
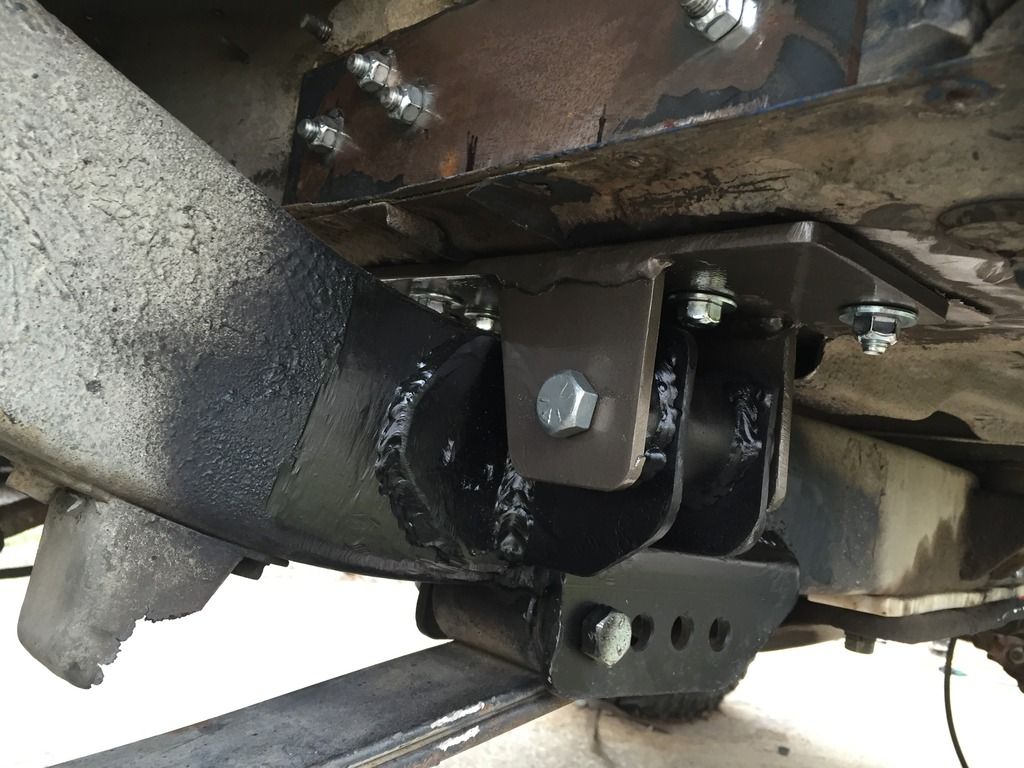
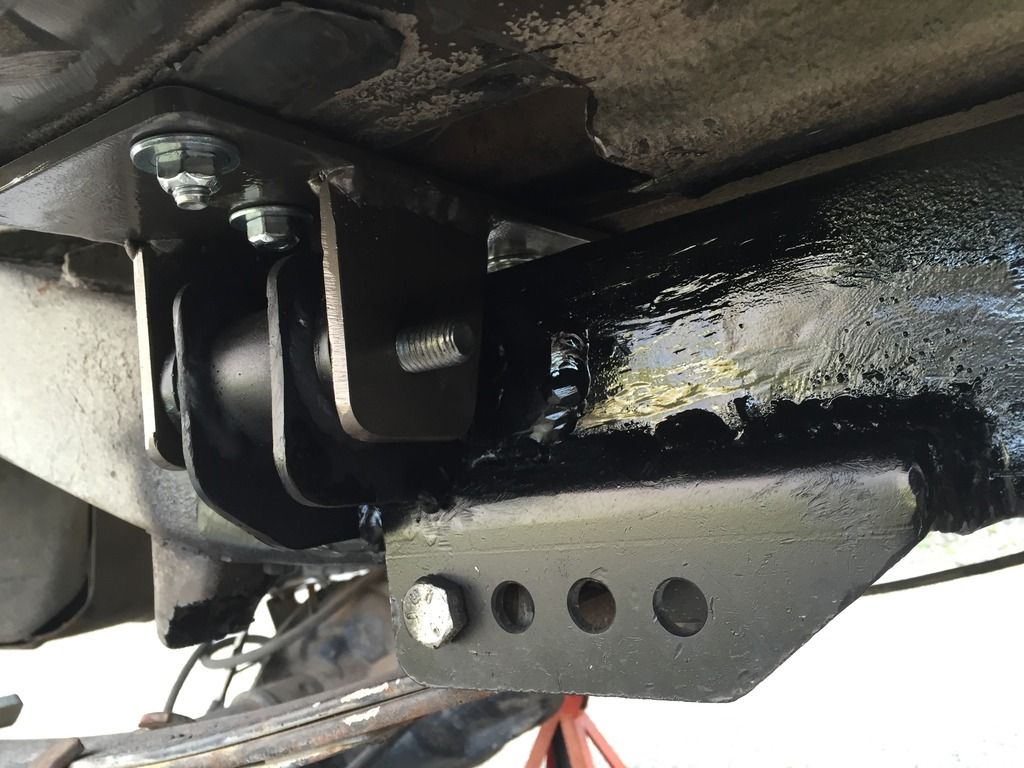
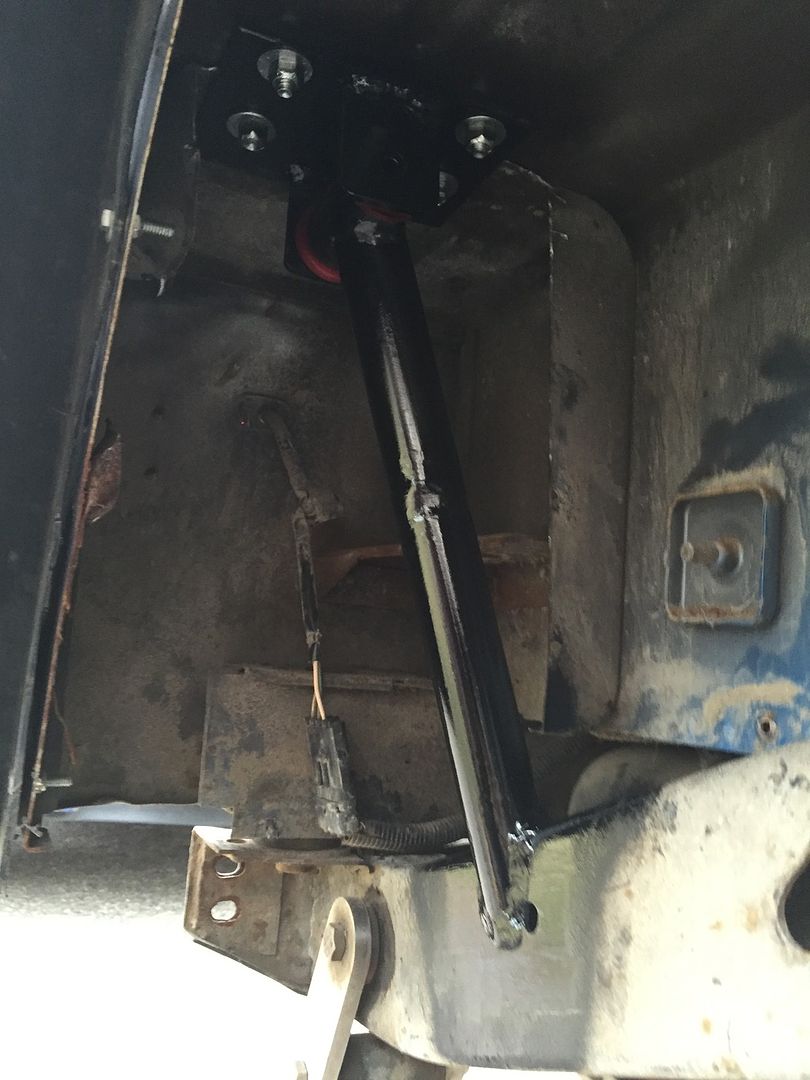
Originally wanted to put the bushing on the frame but decided there was to much "pivot" affect there and putting them up high was better. Am I right??? But is the way I did it.
Tabs welded and painted. Got to love how fast paint dries on freshly welded parts.
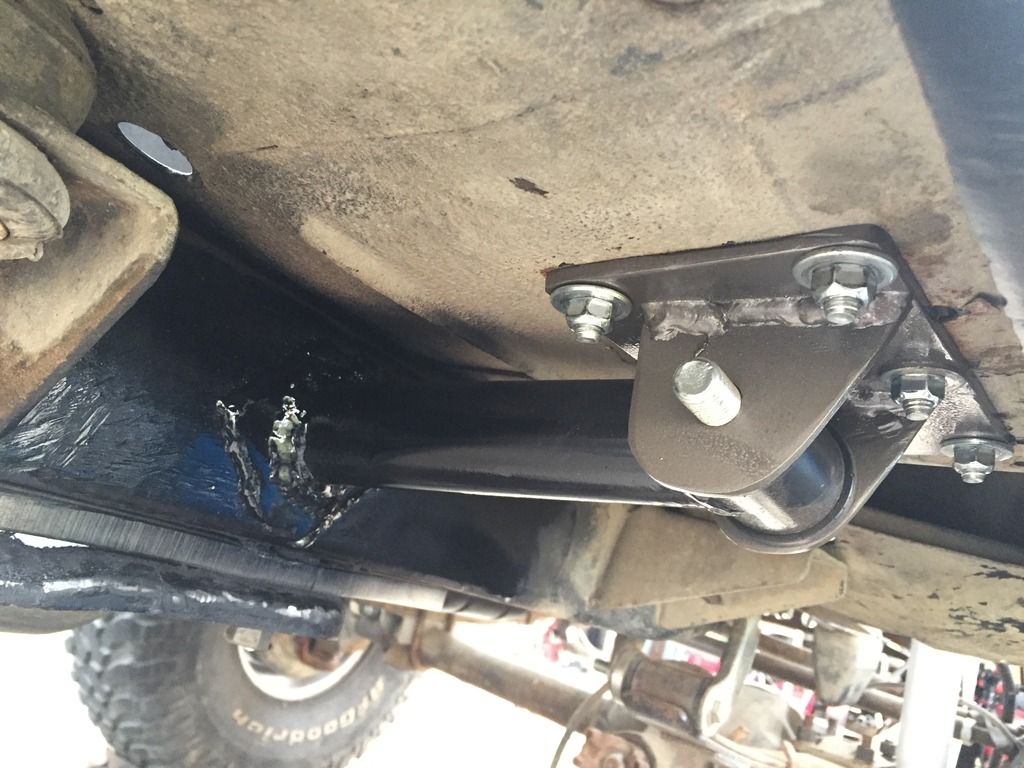
Welded frame support in.
Front mount was finish welded
And now just have to do it all again on the driver's side, fortunately most of the pieces were copied while building the pass side.