new warr-wagon
-
warrpath4x4
- Posts: 205
- Joined: Sat Aug 30, 2008 9:52 pm
- Location: Prosser, WA
-
White trash

- Posts: 1763
- Joined: Tue Jan 22, 2008 9:38 pm
- Location: El Pasco
-
warrpath4x4
- Posts: 205
- Joined: Sat Aug 30, 2008 9:52 pm
- Location: Prosser, WA
-
White trash
- Posts: 1763
- Joined: Tue Jan 22, 2008 9:38 pm
- Location: El Pasco
I made the mistake getting them for my old V8 yota.... Cheap wang kang fui junk. I ended up buying hooker supercomps for just over double the cash and ONE of them weighed more than the set of flowjunks. never had a leaking issue with the hookers either.  The terminator mufflers are good quality though.
-
warrpath4x4
- Posts: 205
- Joined: Sat Aug 30, 2008 9:52 pm
- Location: Prosser, WA
-
White trash
- Posts: 1763
- Joined: Tue Jan 22, 2008 9:38 pm
- Location: El Pasco
-
warrpath4x4
- Posts: 205
- Joined: Sat Aug 30, 2008 9:52 pm
- Location: Prosser, WA


-
warrpath4x4
- Posts: 205
- Joined: Sat Aug 30, 2008 9:52 pm
- Location: Prosser, WA
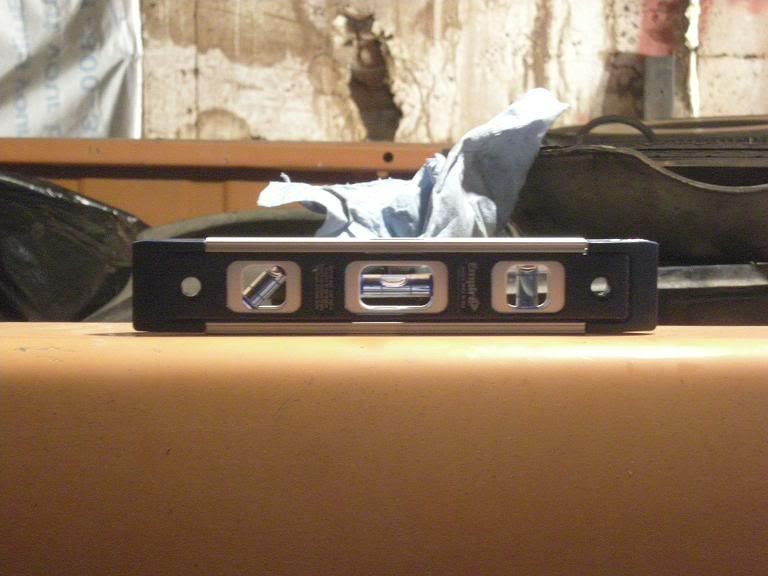
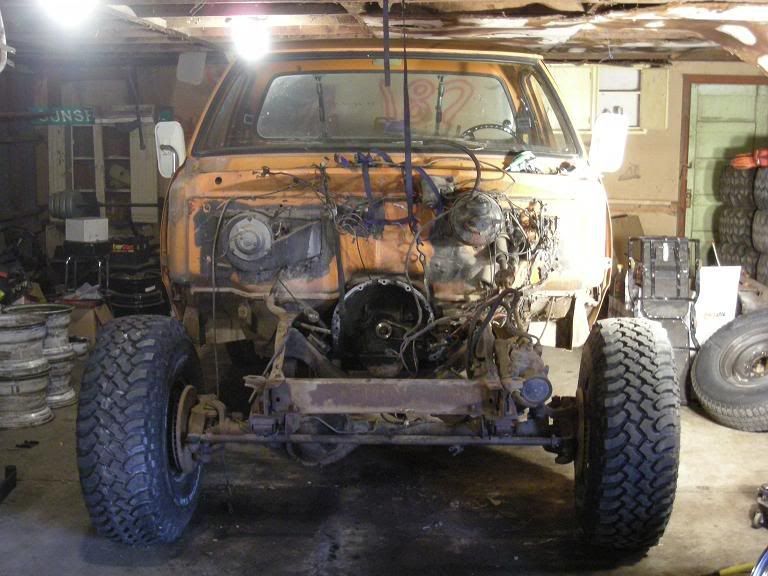
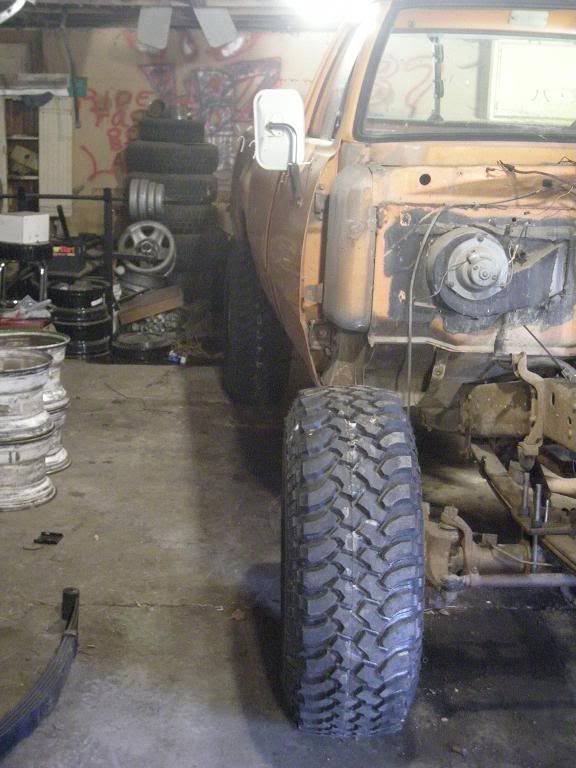
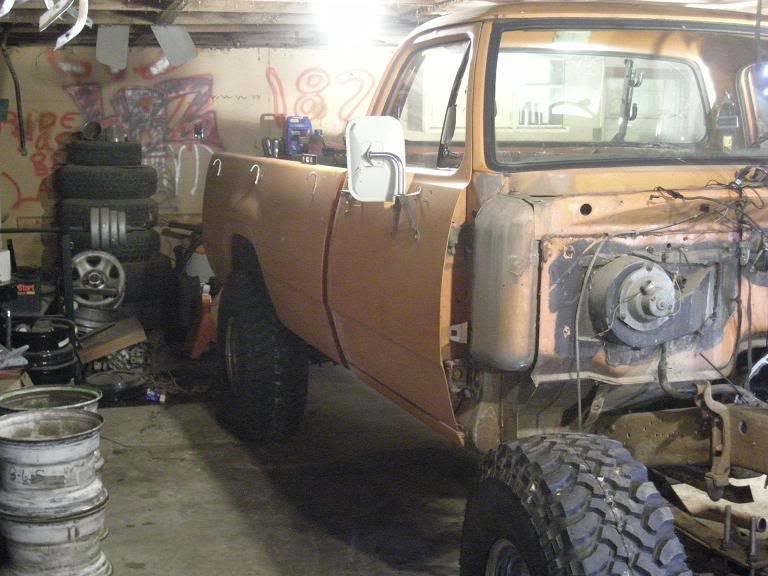
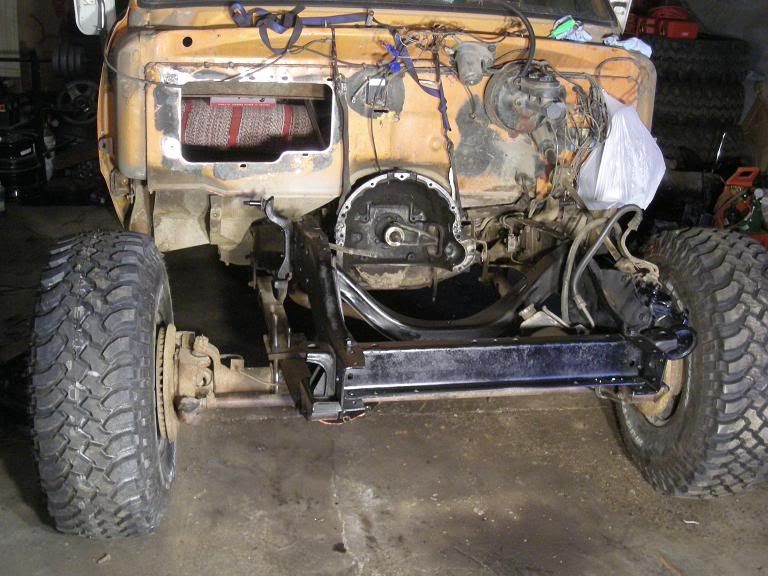
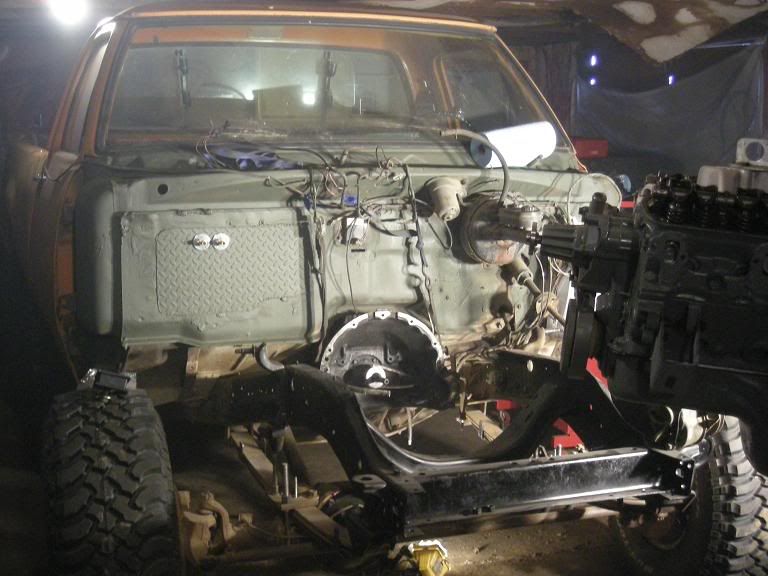
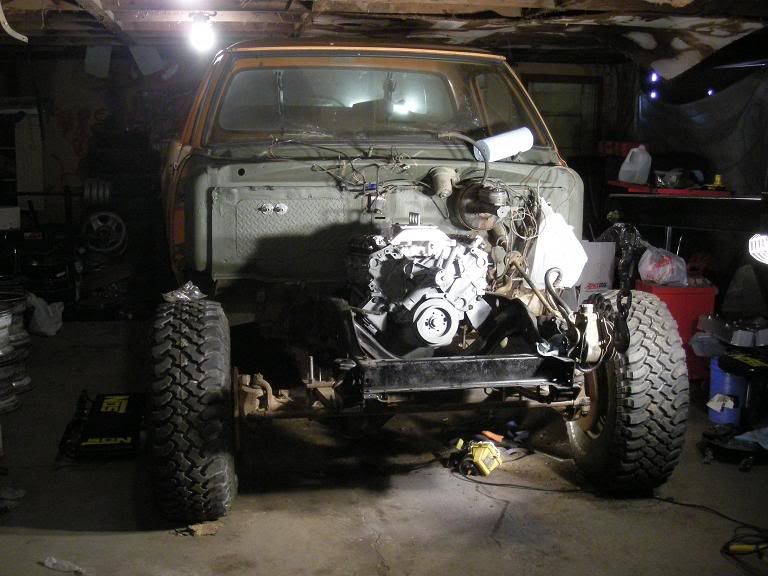
got my BFG's mounted on a different set of wheels with less back spacing, mounted them on the truck and without the engine in its almost level on the bed.
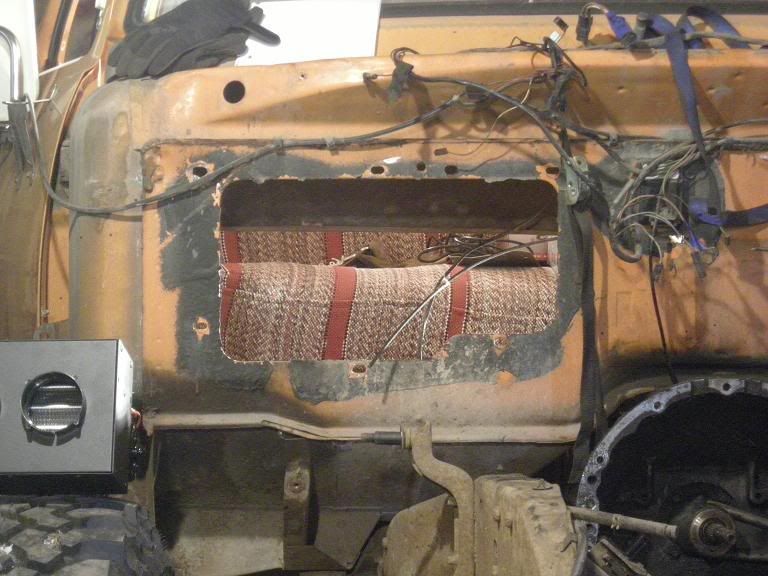
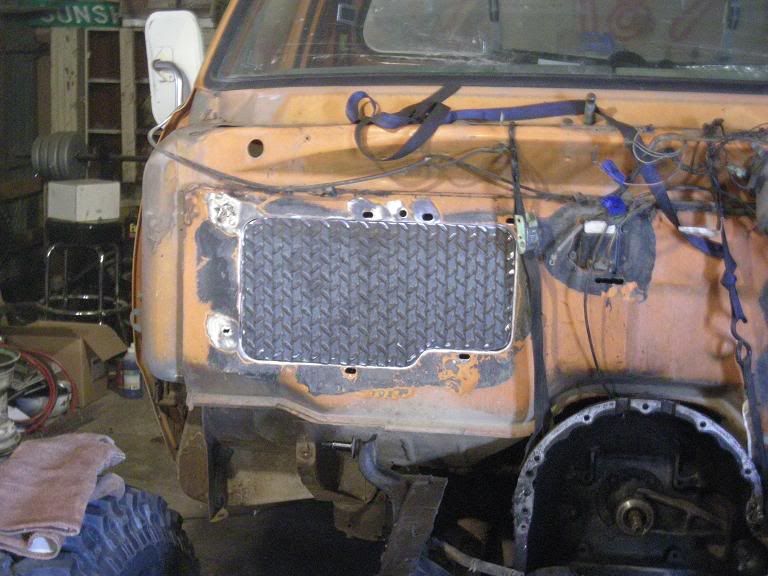
got the old heater core out, didnt come out as simple as i had planned, im going to weld in a piece of sheetmetal to fill the hole. then i have a summit brand mojeve heater to mount inside.
it sits at 23 3/4" t the pinch seam.
got the old heater core out, didnt come out as simple as i had planned, im going to weld in a piece of sheetmetal to fill the hole. then i have a summit brand mojeve heater to mount inside.
it sits at 23 3/4" t the pinch seam.
-
warrpath4x4
- Posts: 205
- Joined: Sat Aug 30, 2008 9:52 pm
- Location: Prosser, WA
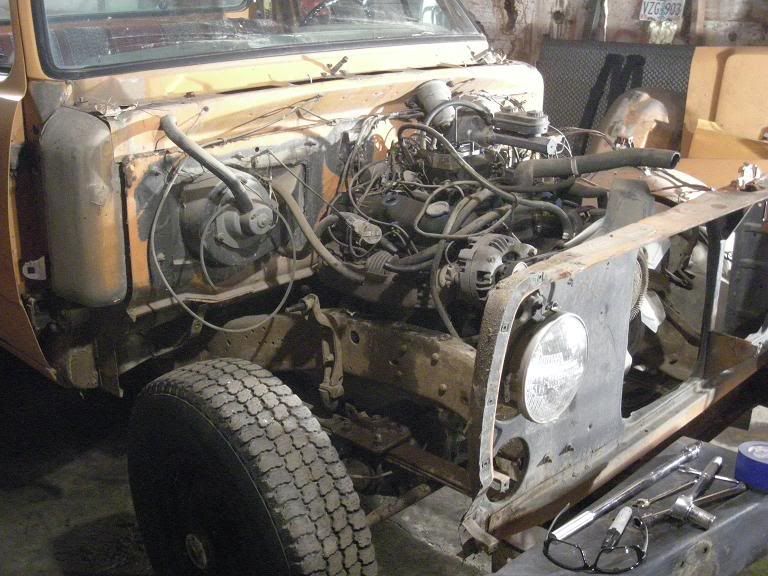
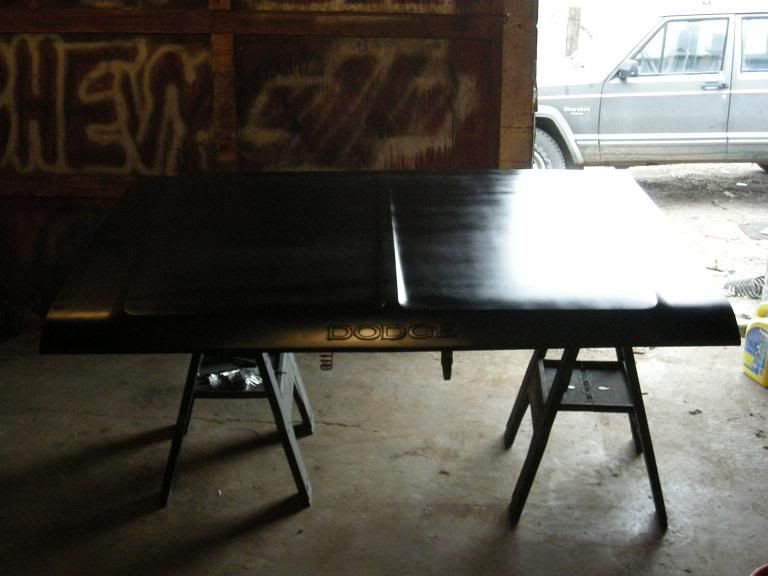
went out today for a few hours after i got off work, doesnt really feel like i did much cause i kinda just bounced around. i pulled the motor mounts off the cross member, the driver side was fun. painted some of the front frame section. pulled the front diff cover and cleaned it up and painted it, inside the diff didnt look bad, a ittle bit of metal grind in there but no chunks or anything like that and the fluid looked fairly new. also started to sand the hood down, i dont know about anyone else but MOPAR to me just screams blacked out hood ;D
thats a 2 foot pipe wrench and a 3 foot pipe on my half inch drive
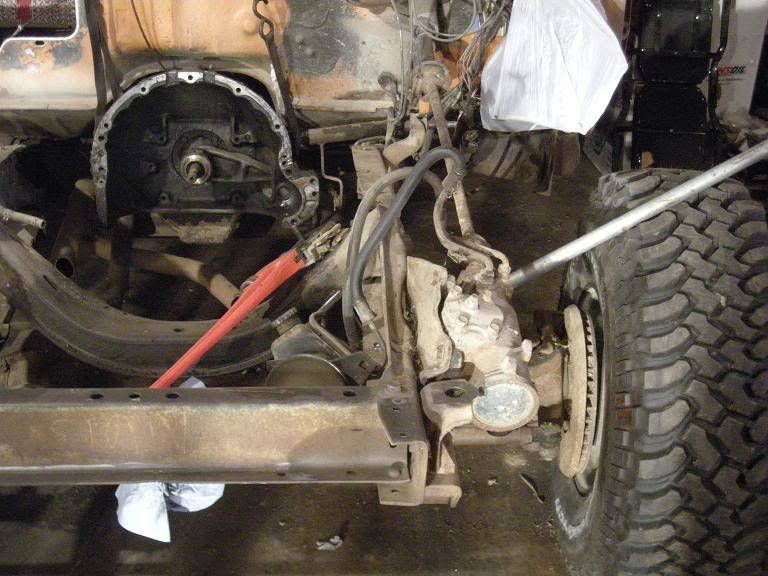
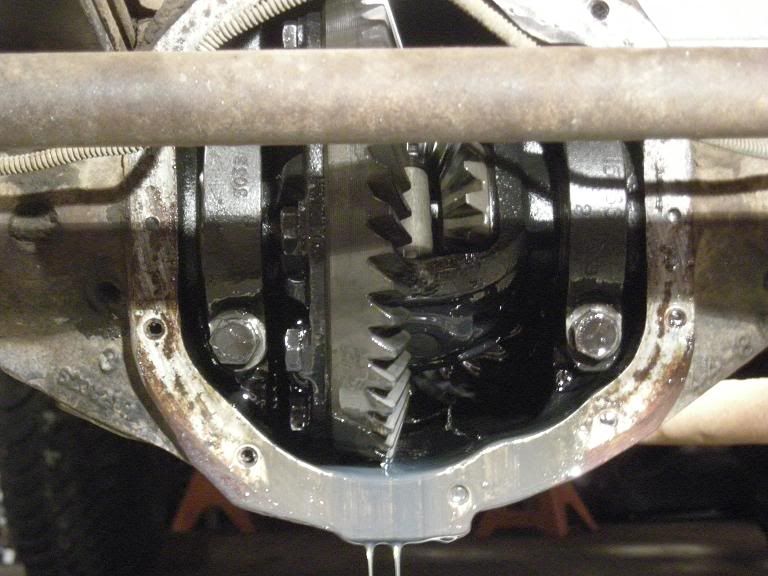
thats a 2 foot pipe wrench and a 3 foot pipe on my half inch drive
-
warrpath4x4
- Posts: 205
- Joined: Sat Aug 30, 2008 9:52 pm
- Location: Prosser, WA

-
warrpath4x4
- Posts: 205
- Joined: Sat Aug 30, 2008 9:52 pm
- Location: Prosser, WA
bobracing wrote:Might want to rethink the gloss black and change to flat black. Had a friend do the gloss black, to much reflection and changed it within a week.
might be a good point, but thats why i was trying the semi gloss instead of the high gloss, but atleast its not like i paid to have it done and then have it changed.
-
warrpath4x4
- Posts: 205
- Joined: Sat Aug 30, 2008 9:52 pm
- Location: Prosser, WA
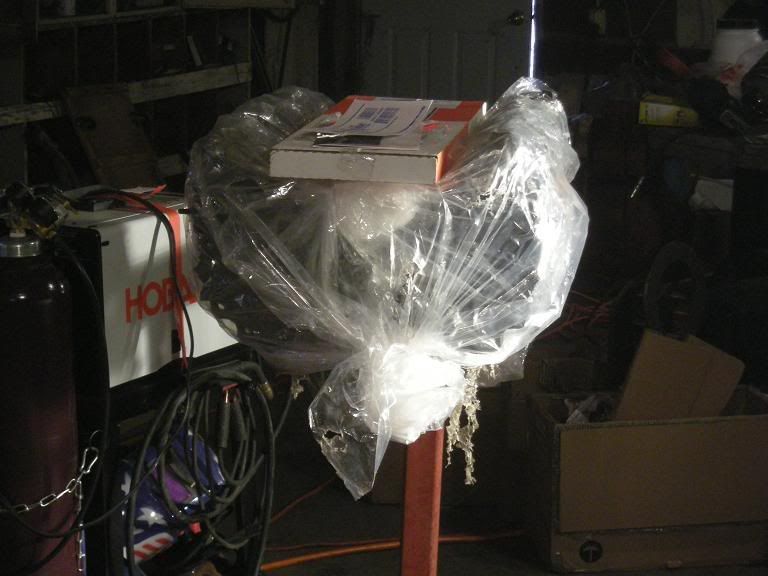
kinda splurged a little this morning. i tried to clean up the valve cover but there is so much crap baked onto the inside and i couldnt get it all out of there and i didnt want to chance any of it getting into the new motor so here we go
Fabricated Small Block Mopar Aluminum Valve Covers
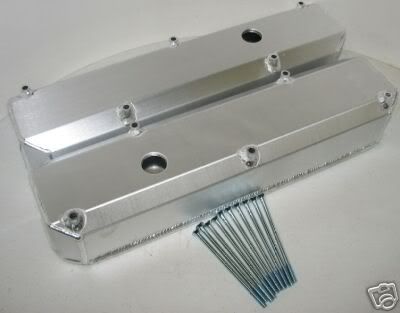
These are a fully TIG welded aluminum cover. Thick 1/4" billet rail. 1 1/4" baffled breather holes. 3.5" tall. Includes bolts.
Fabricated Small Block Mopar Aluminum Valve Covers
These are a fully TIG welded aluminum cover. Thick 1/4" billet rail. 1 1/4" baffled breather holes. 3.5" tall. Includes bolts.
-
warrpath4x4
- Posts: 205
- Joined: Sat Aug 30, 2008 9:52 pm
- Location: Prosser, WA
-
warrpath4x4
- Posts: 205
- Joined: Sat Aug 30, 2008 9:52 pm
- Location: Prosser, WA
so after we put the interior back into the XJ, i cut out my first piece with my plasma cutter

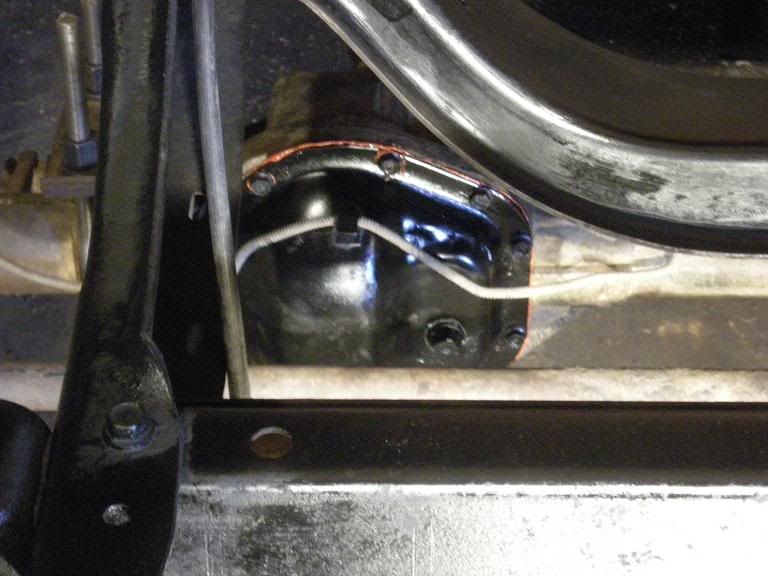
but i didnt make some of my corners right and i cought my hose on my clamp and took a bigger slice out of one spot, plus i decided i wanted the diamond tread on the inside of the engine bay so i cut a ew piece. it turned out alot better, here it is fitting in place.
half way welded in and with the two holes drilled in it for the hose fittings for the new heater
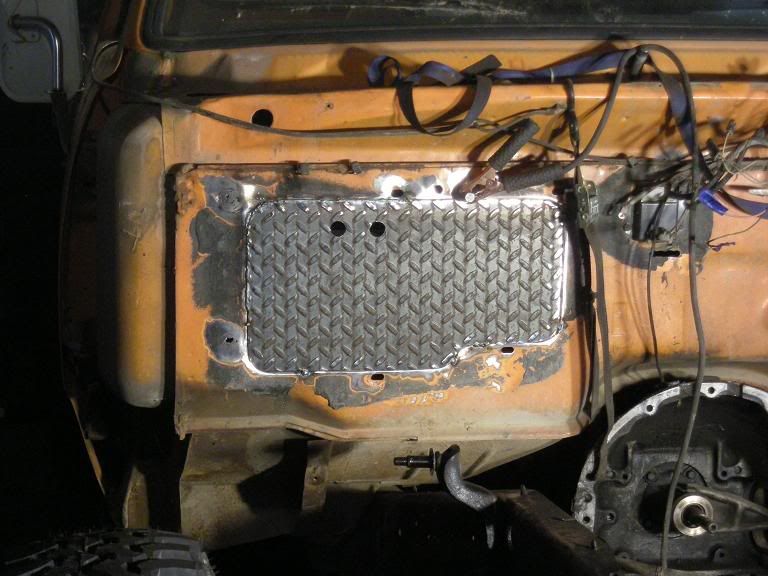
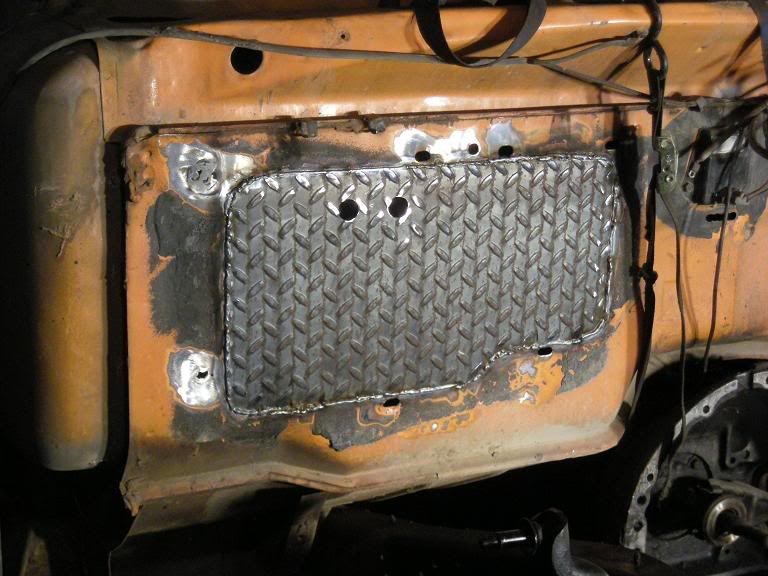
fully welded, then after this picture i finished welding the old mounting holes but dont have a pic of that yet.
but i didnt make some of my corners right and i cought my hose on my clamp and took a bigger slice out of one spot, plus i decided i wanted the diamond tread on the inside of the engine bay so i cut a ew piece. it turned out alot better, here it is fitting in place.
half way welded in and with the two holes drilled in it for the hose fittings for the new heater
fully welded, then after this picture i finished welding the old mounting holes but dont have a pic of that yet.
-
warrpath4x4
- Posts: 205
- Joined: Sat Aug 30, 2008 9:52 pm
- Location: Prosser, WA
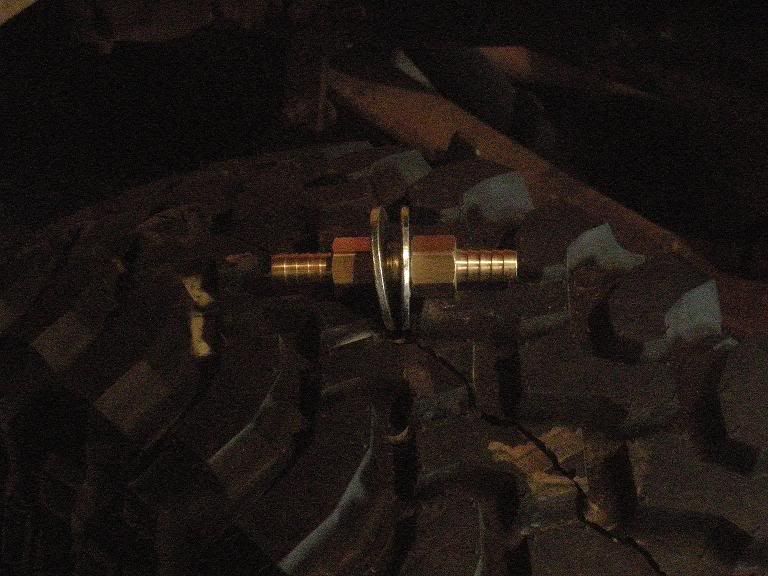
instead of using a rubber grommet and just pushing the heater hose through the firewall i came up with this. just a coupler and two barbed fittings that will smash the firewall between the big washers.
i think i found an orange that closely matches
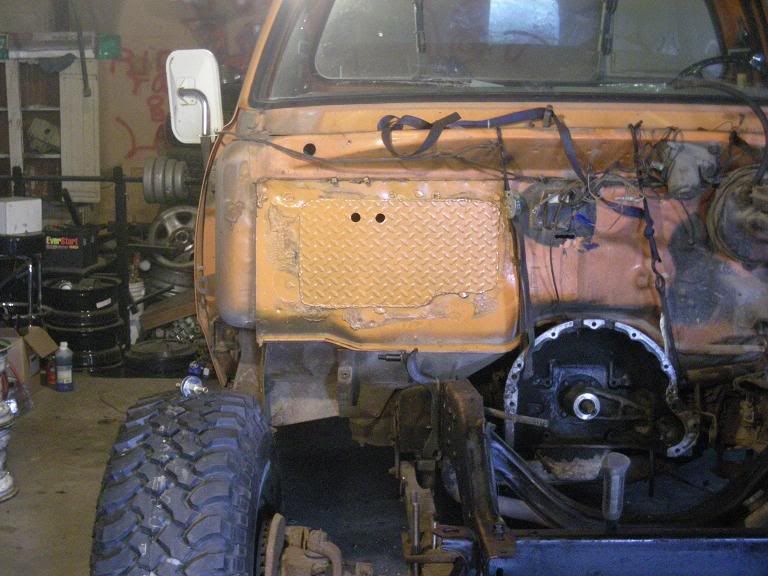
and here is the piece i am going to use for my new dash (rough cut of course)
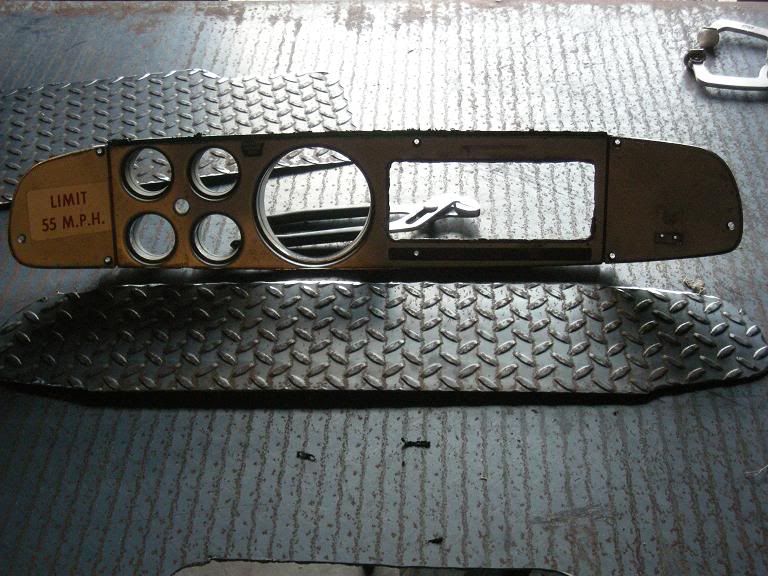
other than that it was a day to clean the shop after i got off work.
i think i found an orange that closely matches
and here is the piece i am going to use for my new dash (rough cut of course)
other than that it was a day to clean the shop after i got off work.
-
warrpath4x4
- Posts: 205
- Joined: Sat Aug 30, 2008 9:52 pm
- Location: Prosser, WA
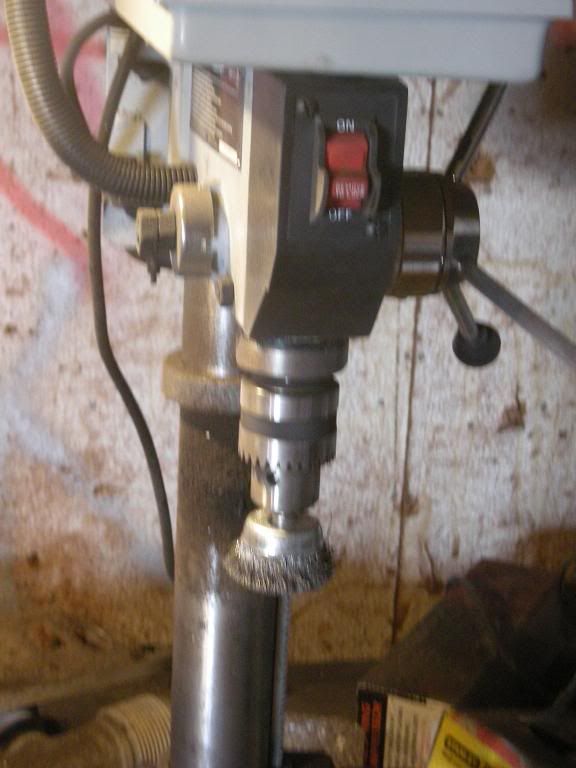
did a little bit of prep work this afternoon, my dad is comming out to help me get the motor back in this week so today i put in the new throw out bearing, cleaned up some more parts, painted some of them.
this thing is a life saver, i have been using it to clean ALOT of parts.
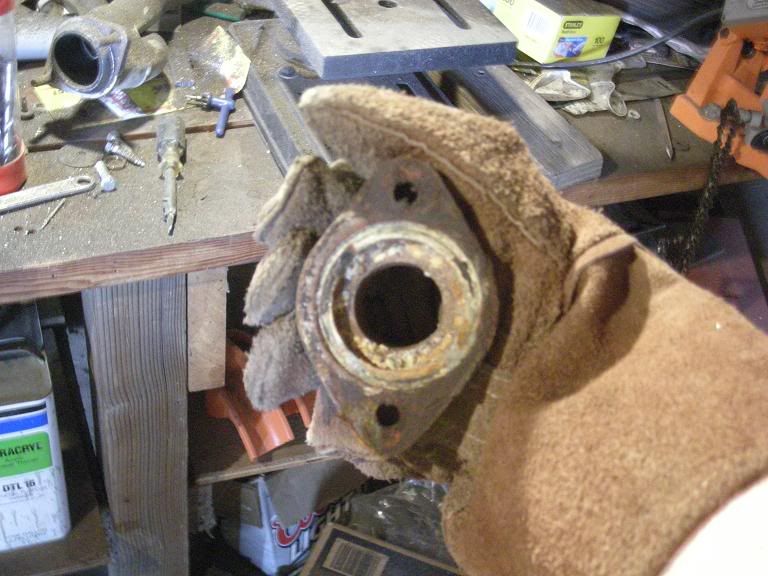
here is the thermostat housing before i cleaned it
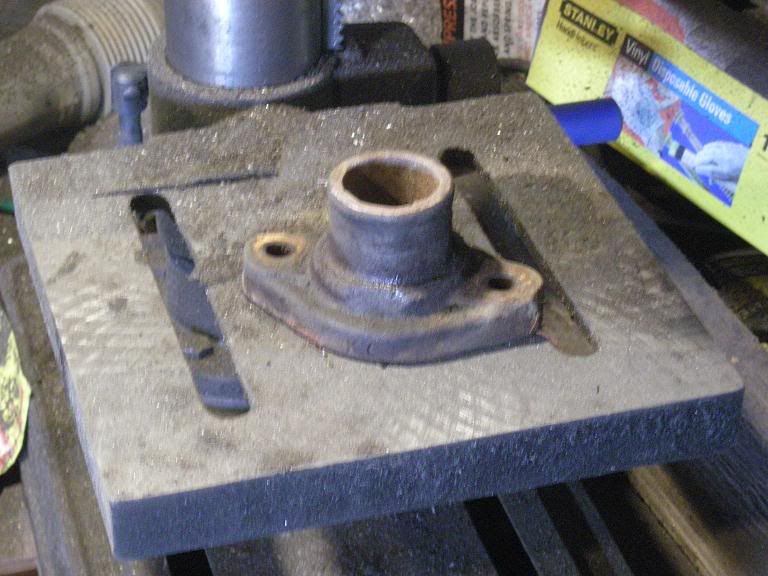
and after
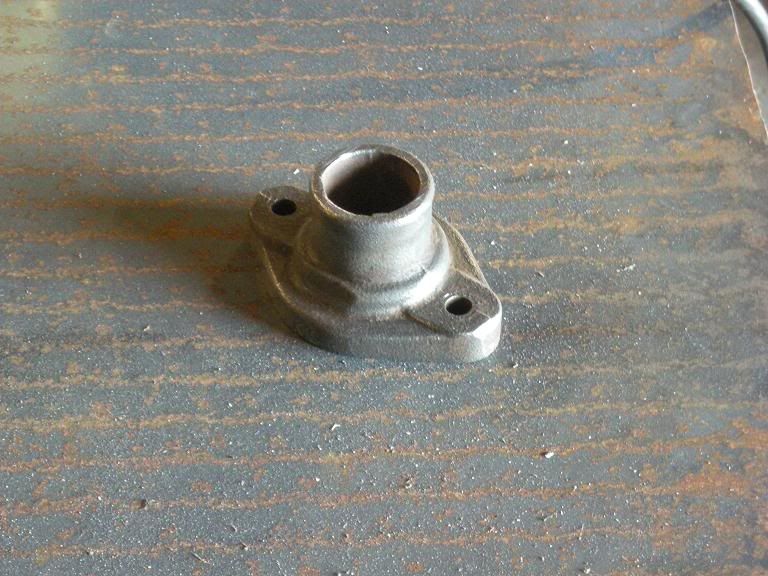
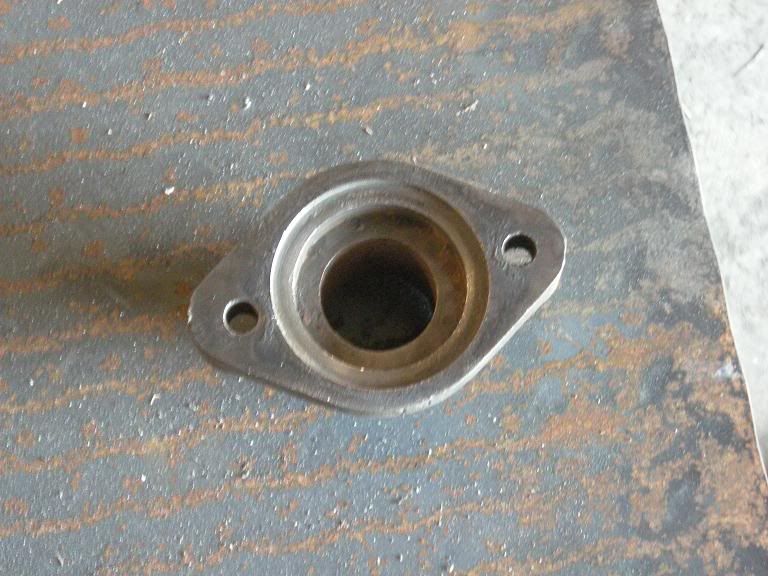
this thing is a life saver, i have been using it to clean ALOT of parts.
here is the thermostat housing before i cleaned it
and after
-
warrpath4x4
- Posts: 205
- Joined: Sat Aug 30, 2008 9:52 pm
- Location: Prosser, WA
-
warrpath4x4
- Posts: 205
- Joined: Sat Aug 30, 2008 9:52 pm
- Location: Prosser, WA
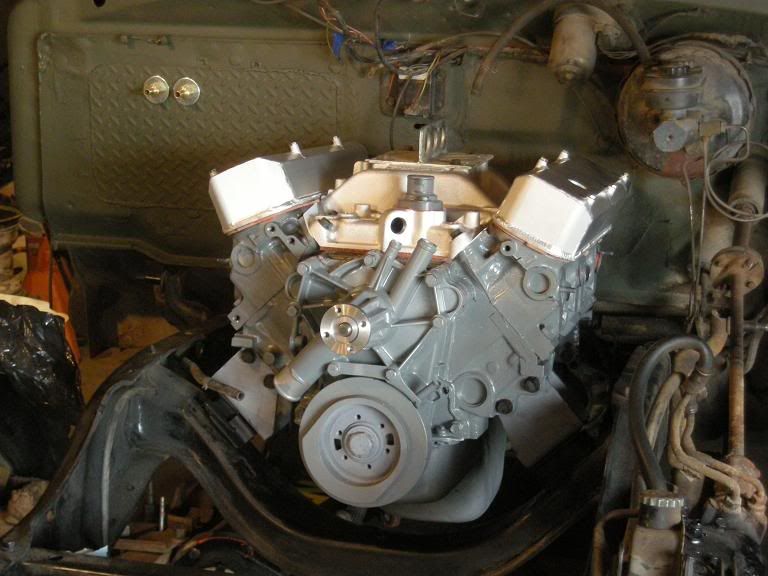
did lots of little things today, or atleast it felt like little things. bolted on the flywheel, clutch, harmonic balancer, mouts for the motor mounts and the motor mounts, then dropped the motor in but we had to clearence the bellhousing. you could see where the flywheel made marks inside the bellhousing when we took it out and it would not fit back in. then i we put the valve covers on but only sealed the passenger side since i still ned to mess with TDC on the drivers side, and put in the thermostat and housing.
we pulled the tub off of my dads jeep yesterday so he brought it out today so i can cut out the rust and weld in new metal.
we pulled the tub off of my dads jeep yesterday so he brought it out today so i can cut out the rust and weld in new metal.
Return to “Projects and Build-Ups”
Who is online
Users browsing this forum: No registered users and 0 guests